
My walk-in closet island construct is coming alongside very properly! I obtained nearly every part completed on the field of the dresser yesterday, which implies I’ve just a bit bit to complete up in the present day, after which I can get began on the drawers, drawer fronts, and cupboard doorways.
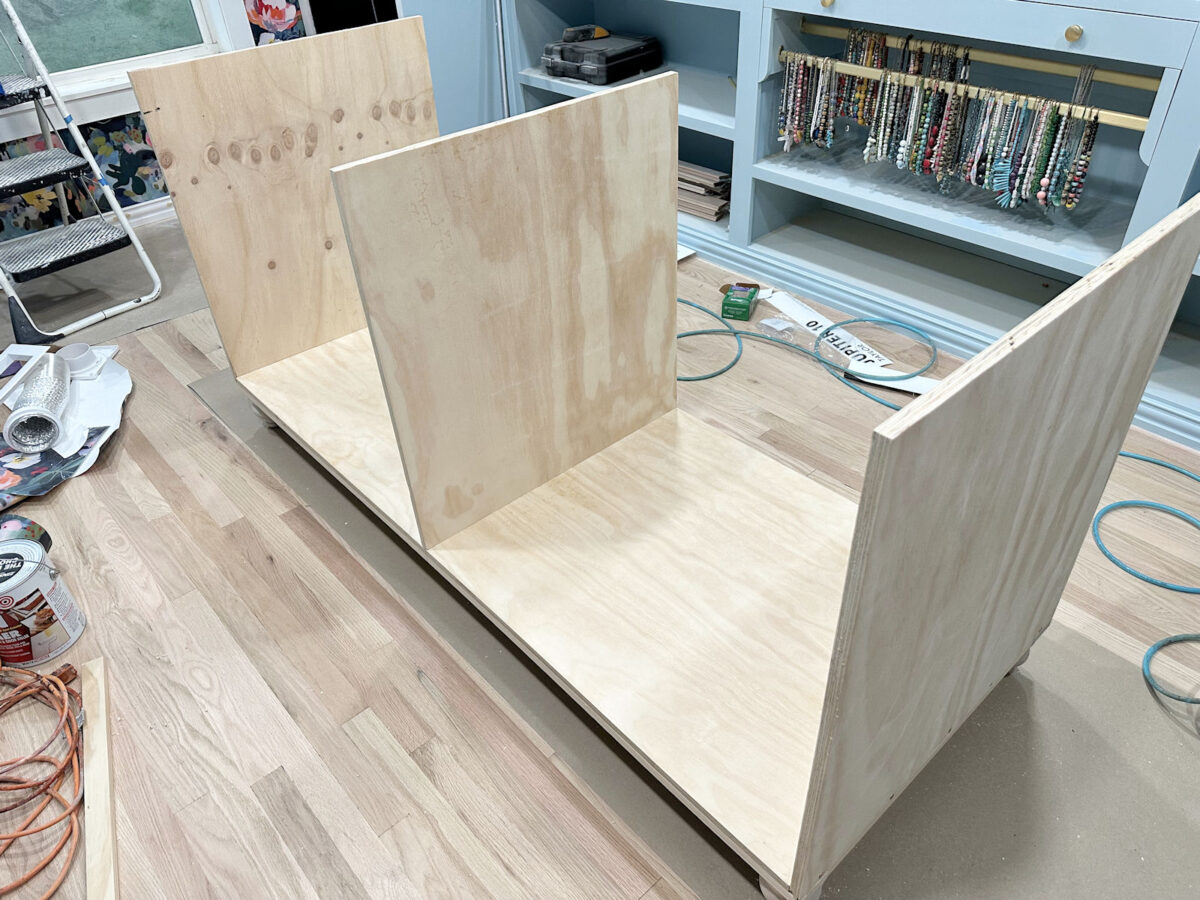
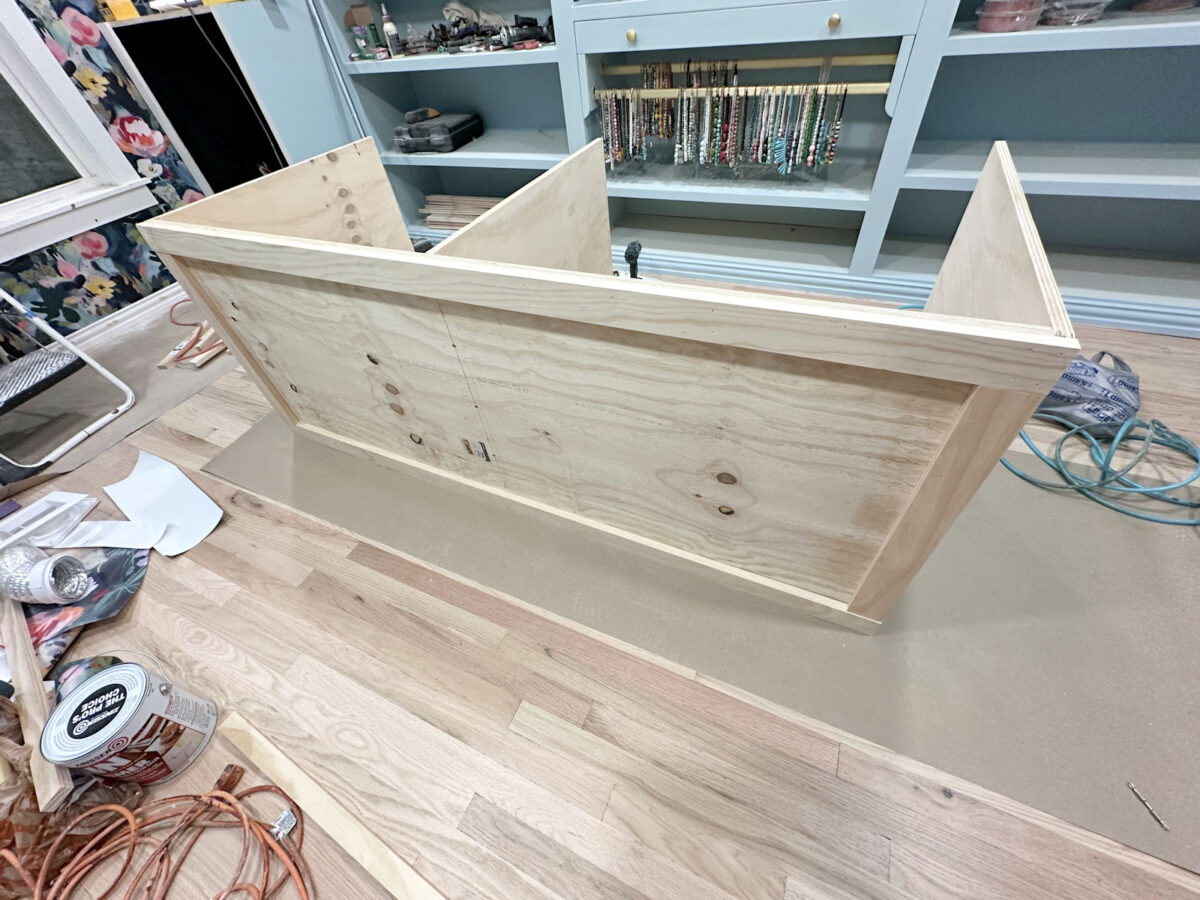
On the finish of that publish, I hadn’t gotten very far on the island. It regarded like this…
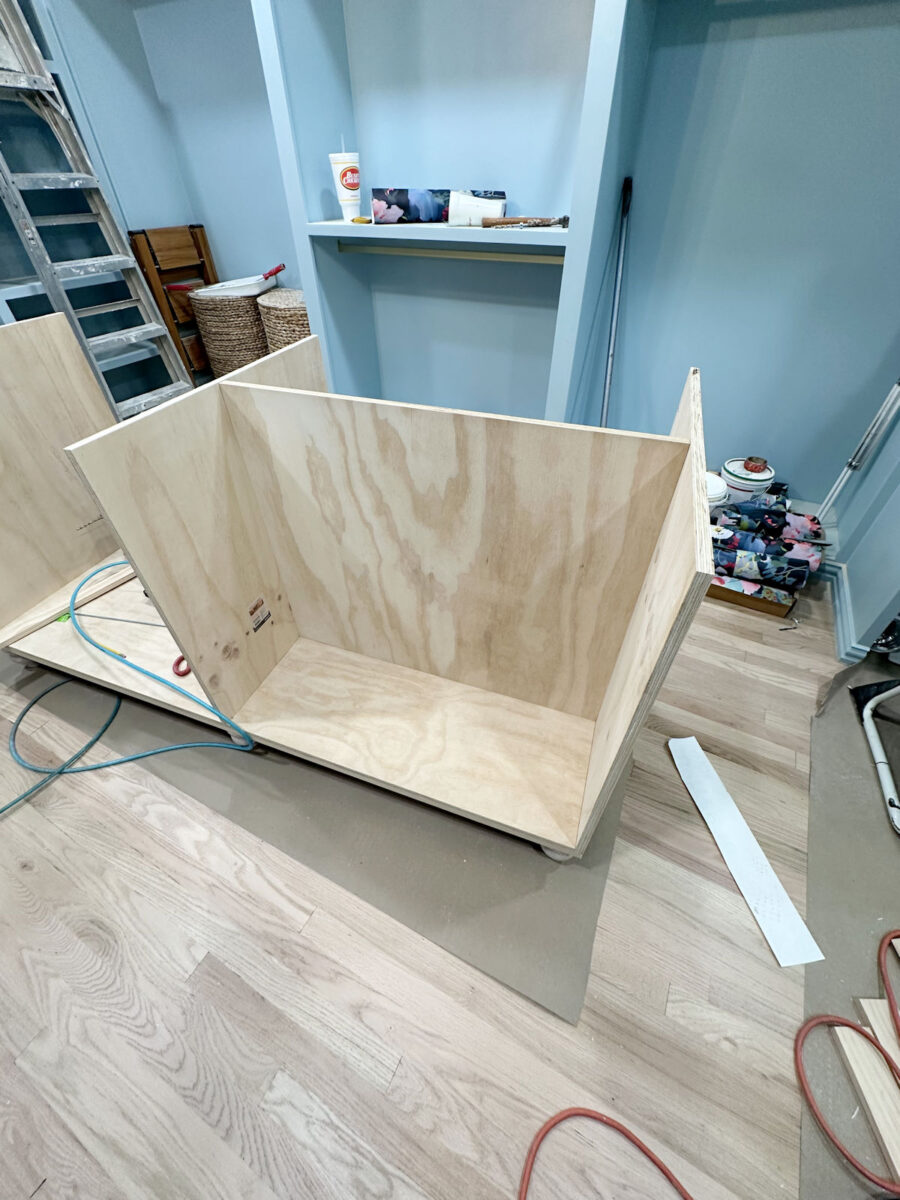
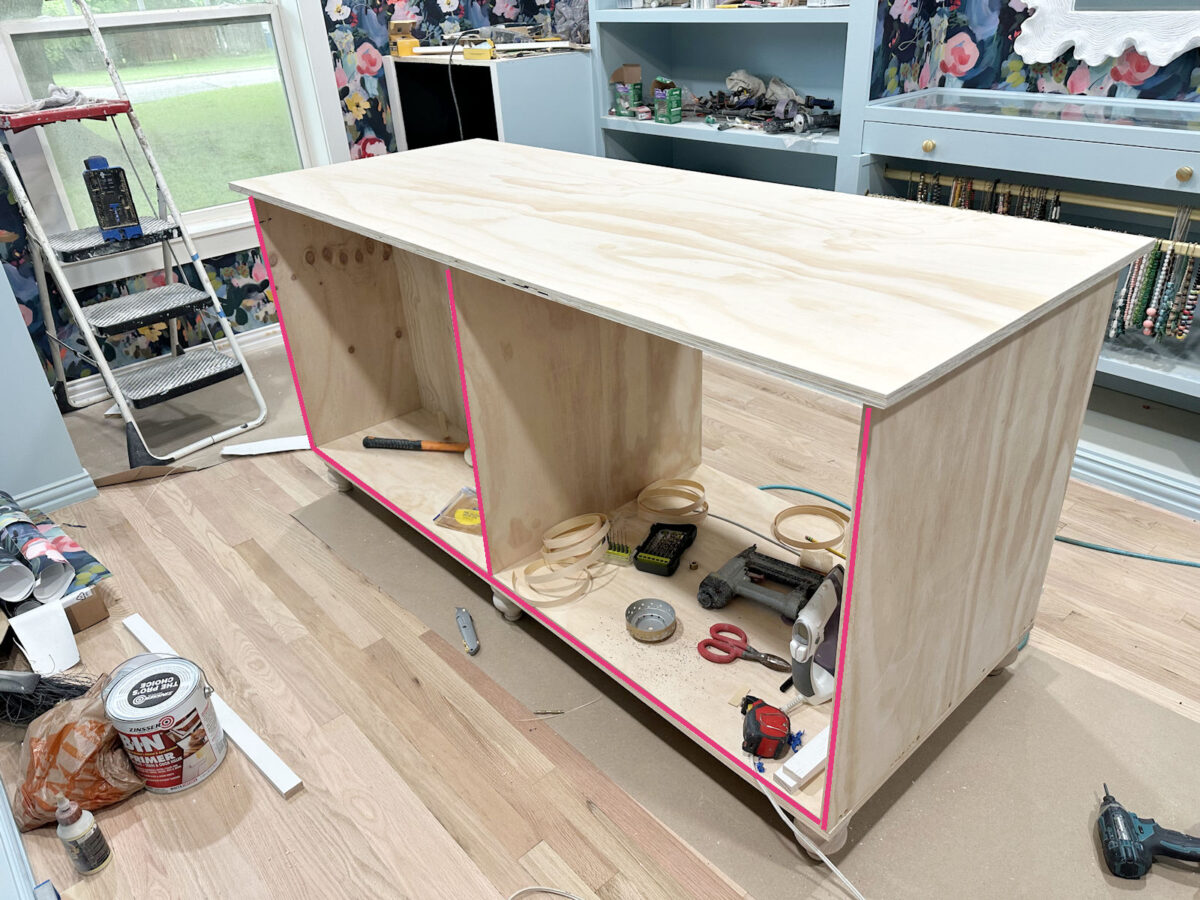
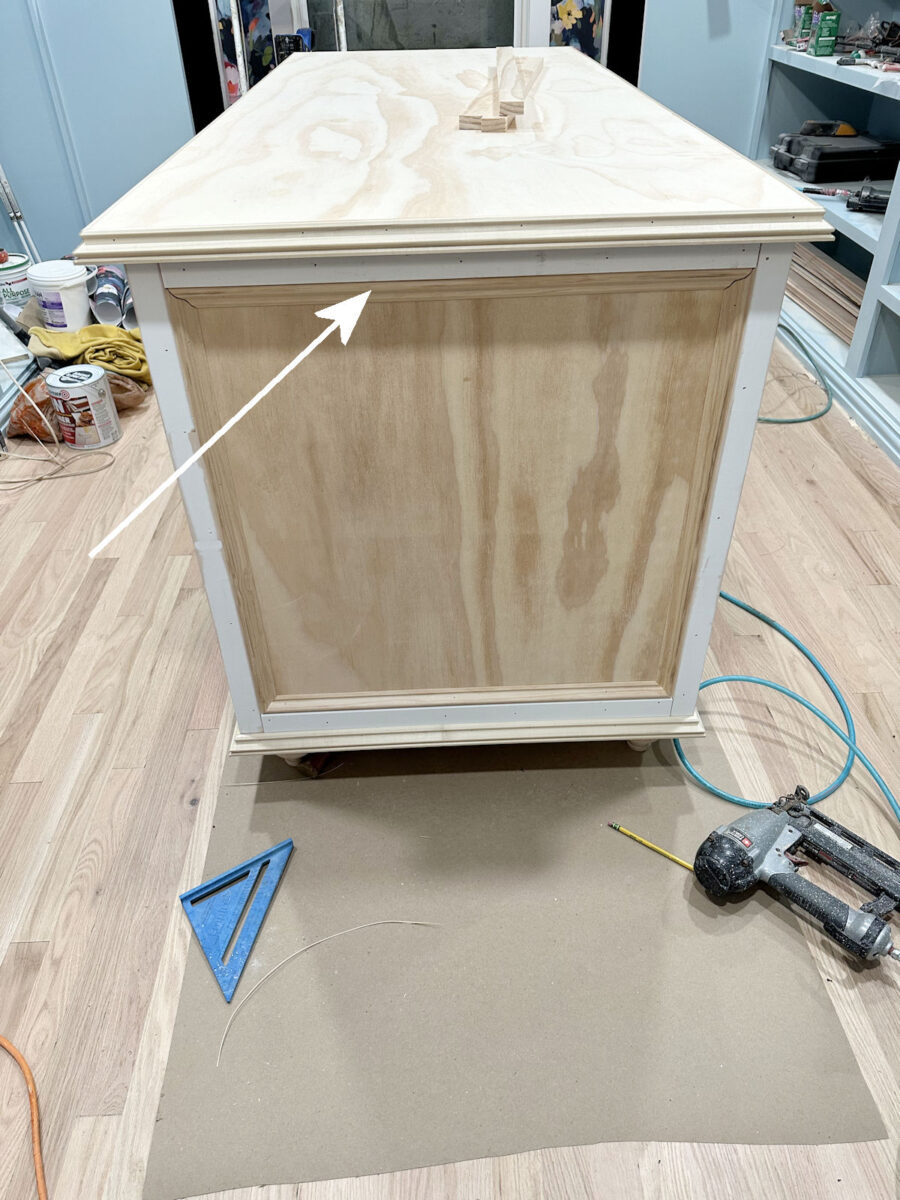
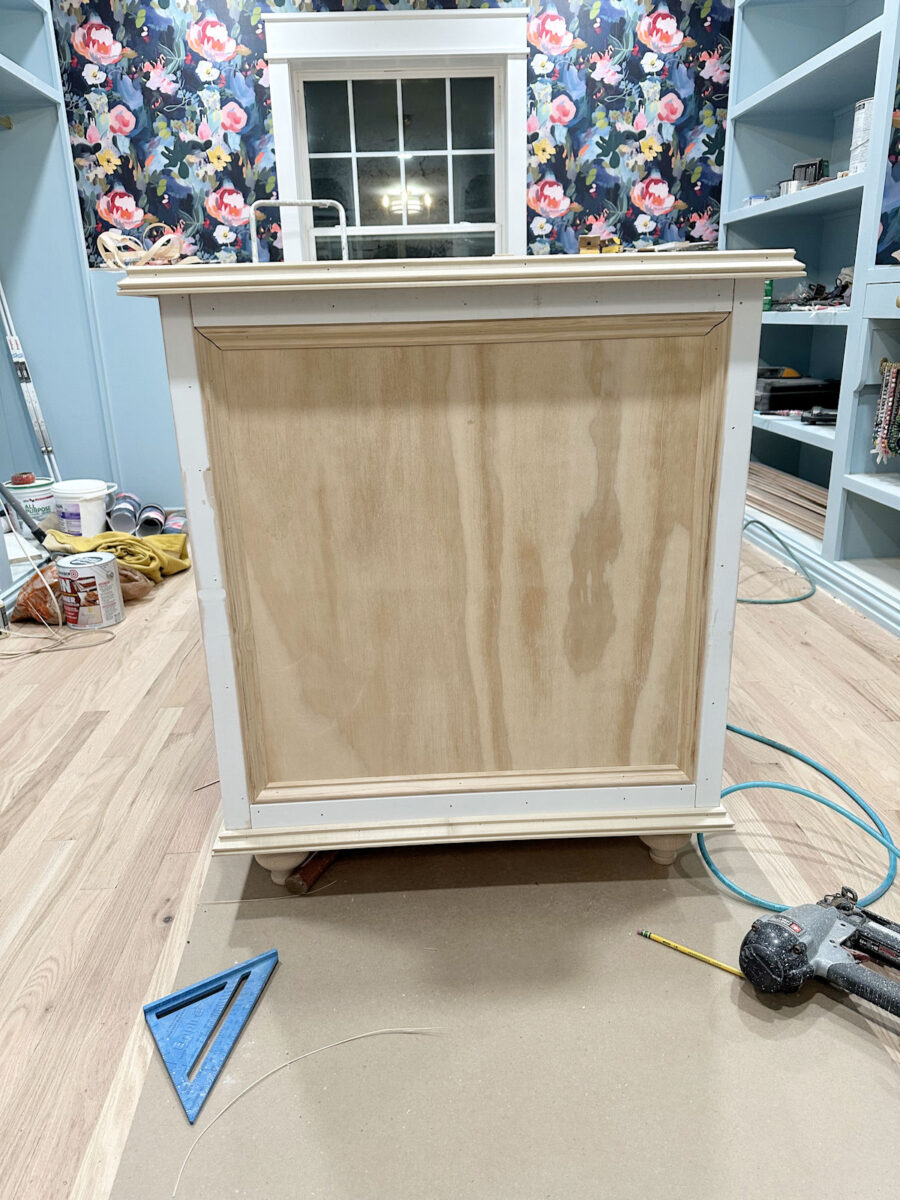
It was sort of exhausting to inform that it was an island at that time. However on the finish of the day yesterday, it regarded an entire lot extra like an island. That is what it appears like now…
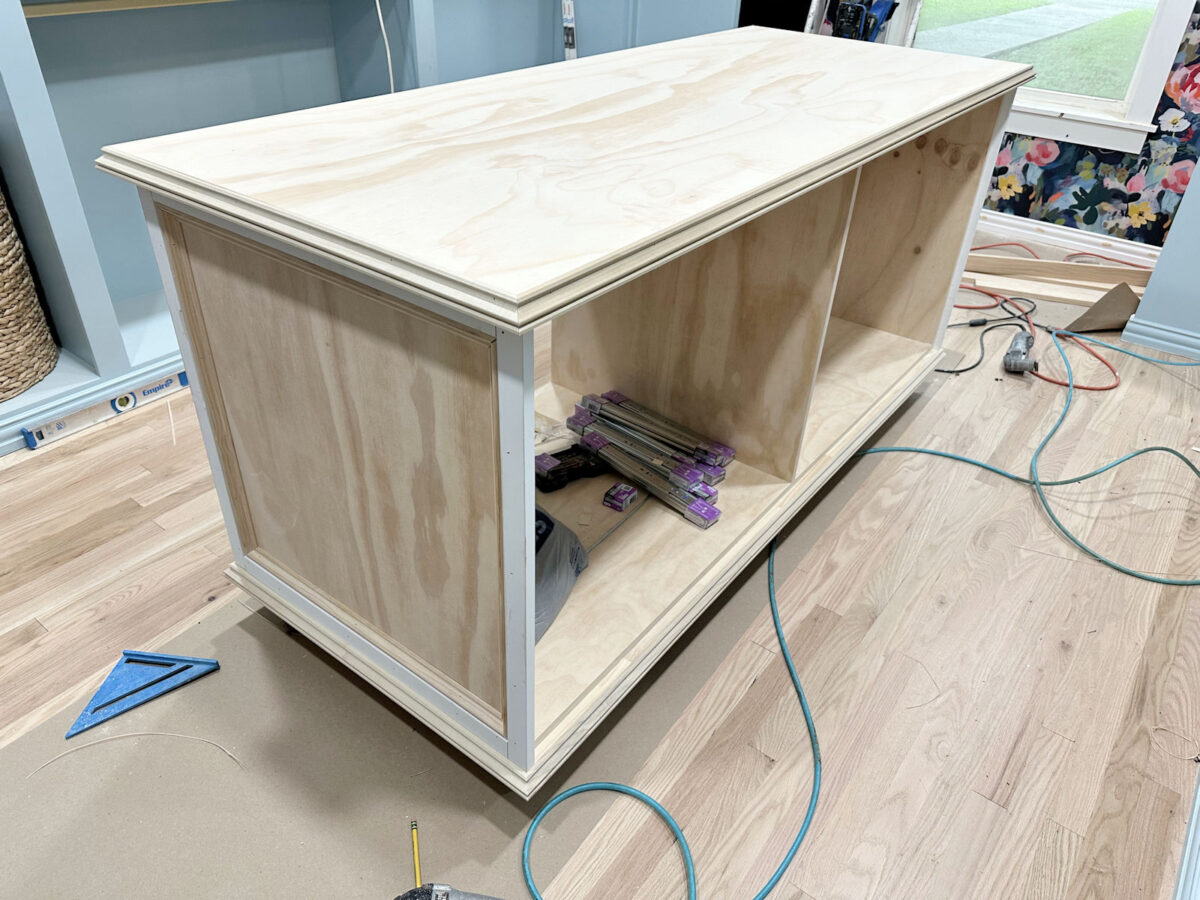
So let me present you the steps it took to get from that very primary kind that I left off with final time to what it appears like now.
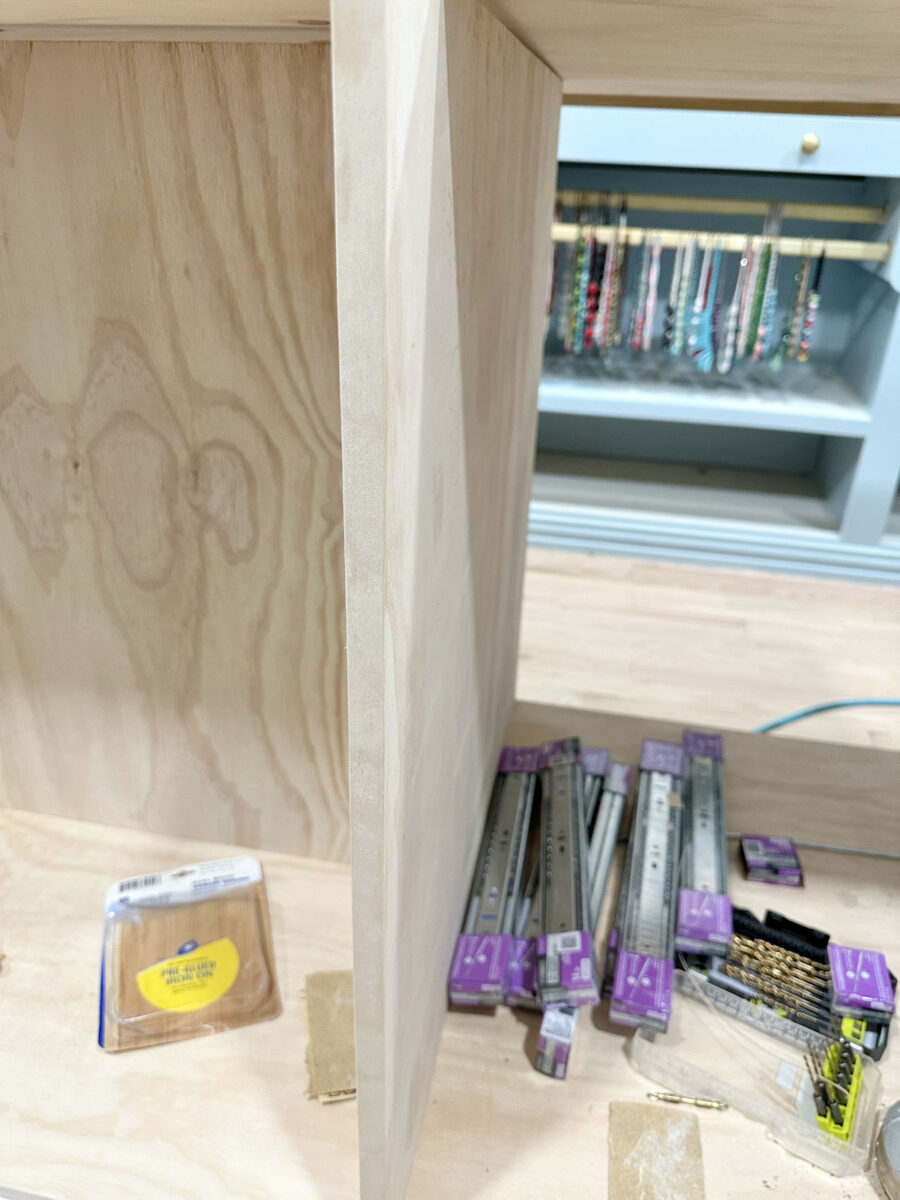
First, I needed to minimize and connect a chunk of plywood to separate one of many sections right into a back and front part. Since one part can have drawers on the back and front, it doesn’t want a separator. However the different part can have drawers on one facet and cupboard doorways on the opposite facet, in order that cupboard facet wants a again. To connect that separator piece of plywood, I measured and marked a vertical line in the course of the middle plywood piece…
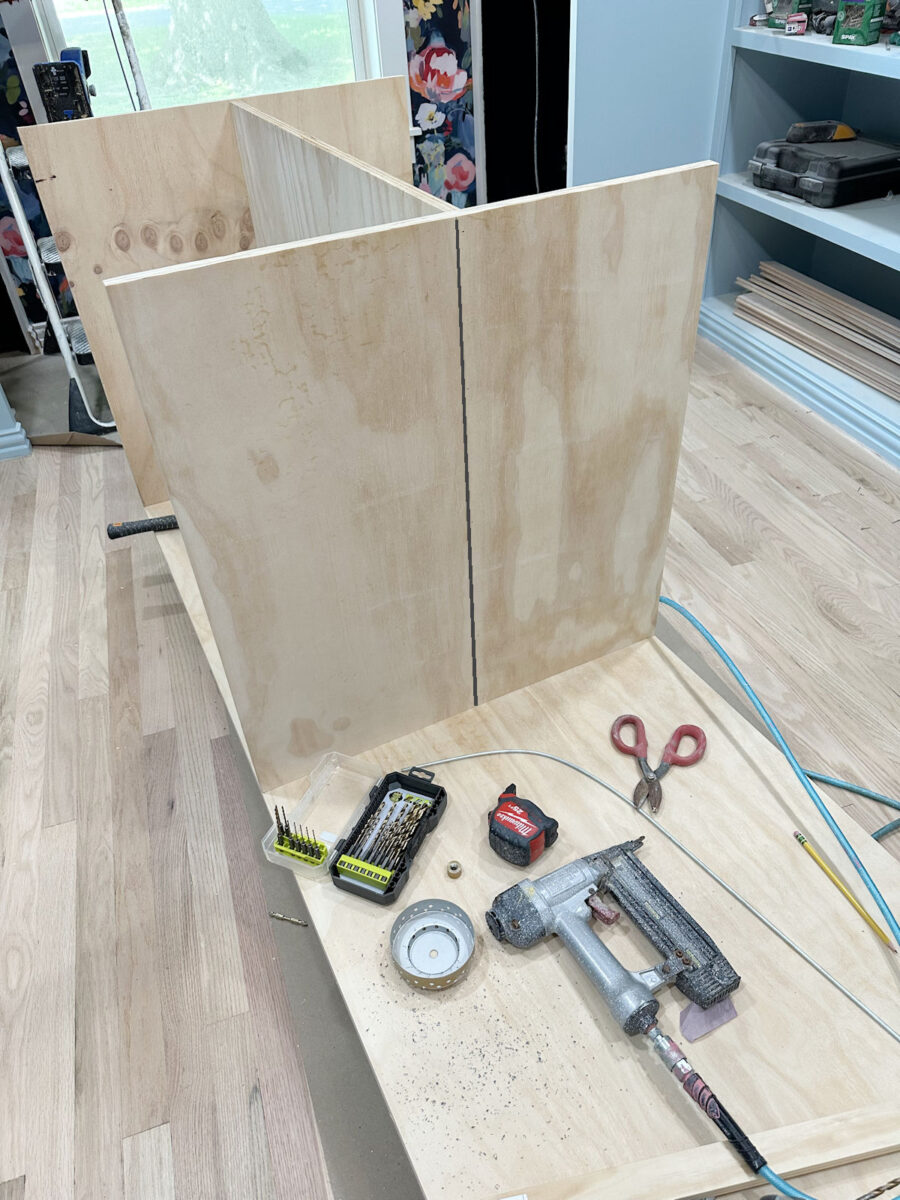
After which I measured and marked that very same line on the surface piece of plywood. And I used these traces to line up the separator piece of plywood and nail it into place. I simply nailed proper by means of the surface of the plywood and into the sting of the separator piece. I used small 18-gauge nails, so these holes will likely be very simple to cover with wooden filler.

And right here’s what that regarded like with that piece in place.
Subsequent, I wanted to cowl the sides of a lot of the plywood since these would present, and the sides of plywood aren’t very fairly.
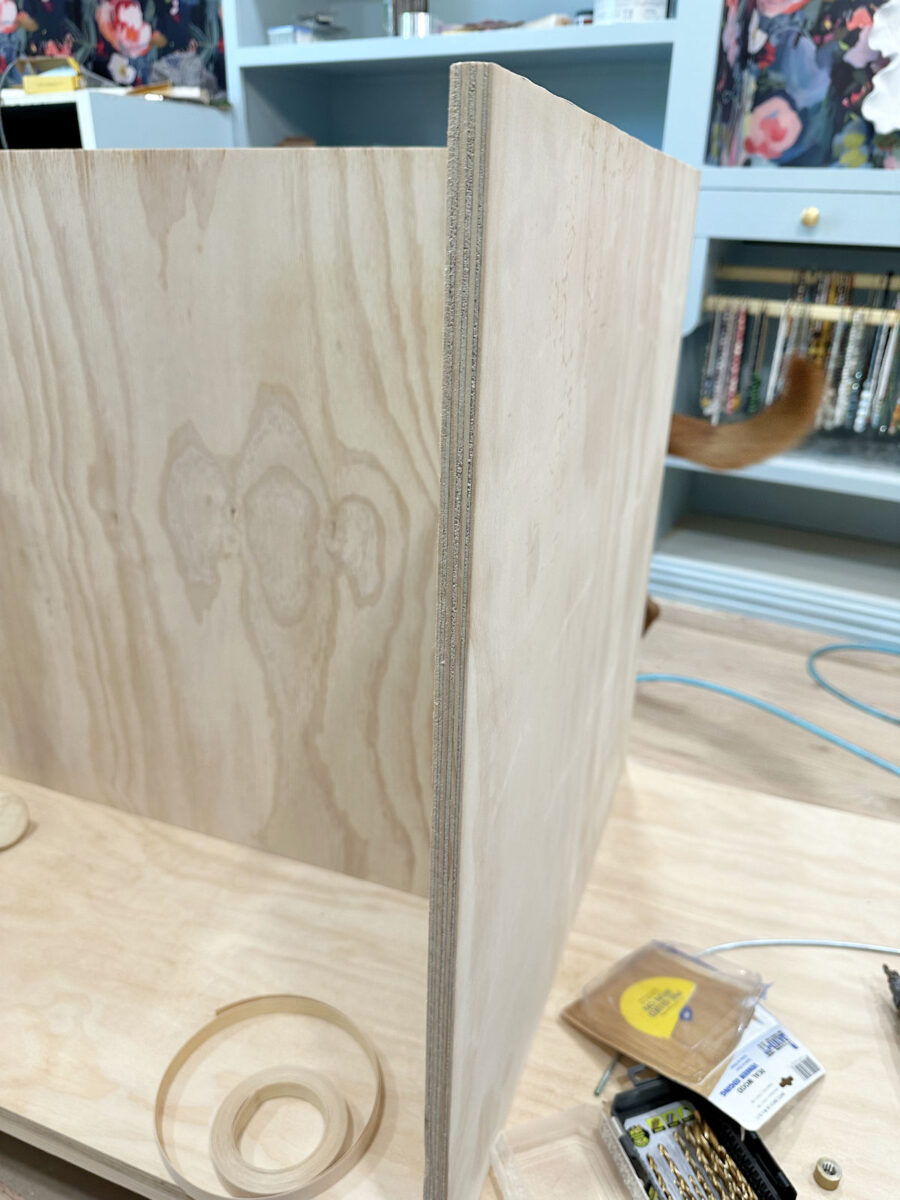
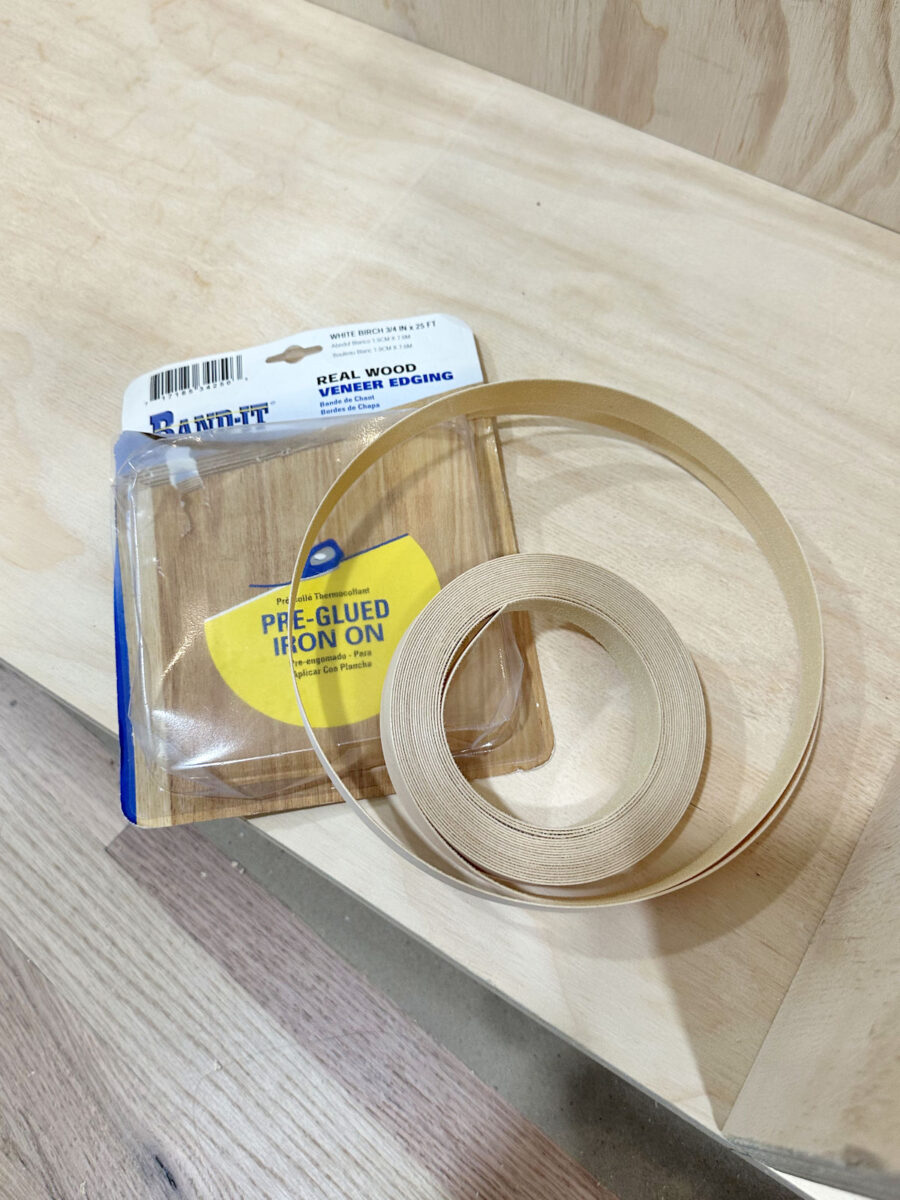
I lined these edges utilizing pre-glued iron-on wooden veneer…
This edge banding goes on with an iron set to a excessive warmth setting. The iron melts the glue, and when it cools, the banding is adhered to the sting of the plywood. The sting banding is at all times somewhat bit too extensive, so I used a brand new, sharp blade in my utility knife to trim the surplus, after which sanded the sides clean utilizing 120-grit sandpaper. And that is what the completed edges regarded like…
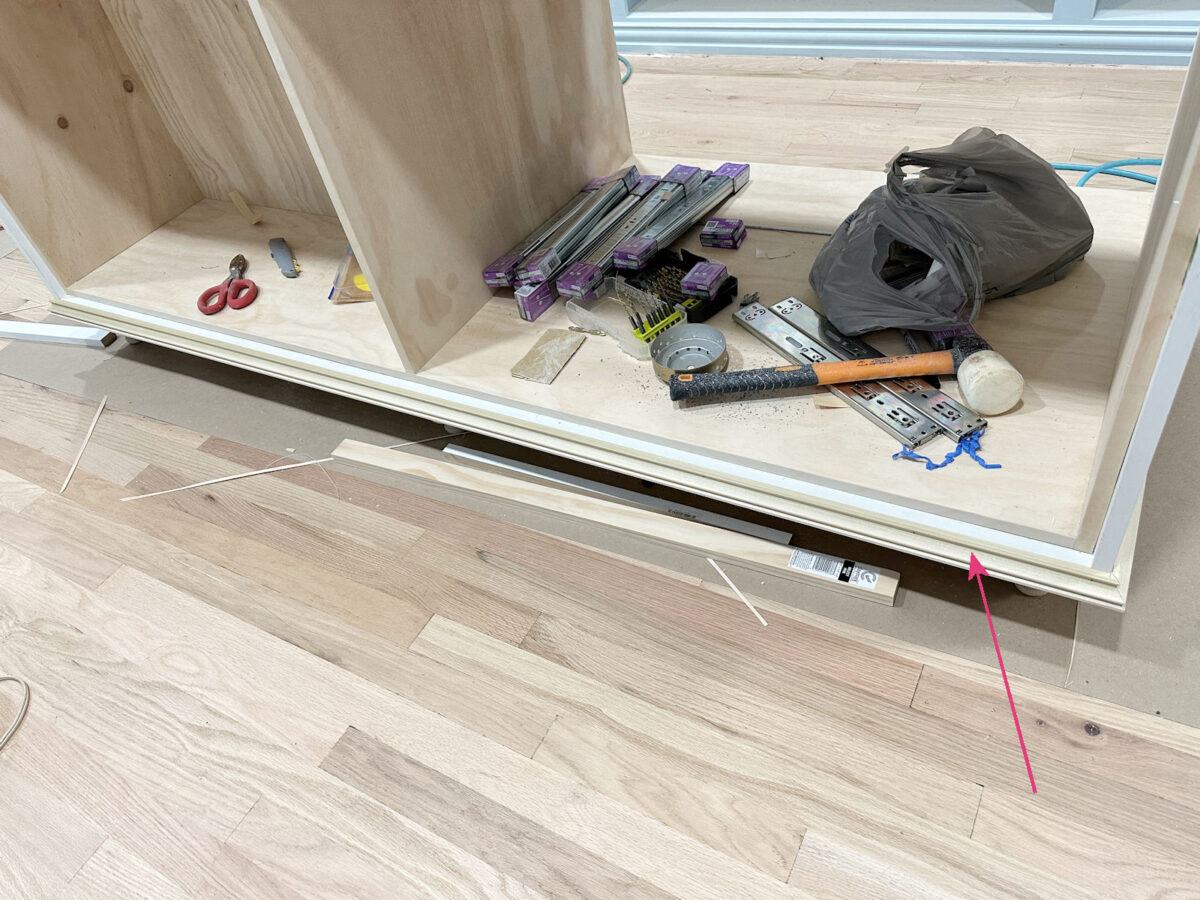
I put the sting banding on the entire edges proven in pink beneath, after which repeated that course of on the opposite facet of the island.
For those who’ll bear in mind, the underside fringe of my island really has a layer of plywood after which a body of 1x3s. Right here’s a reminder of what that appears like from the earlier publish. That is the view of the underside of the island with it flipped over on its facet. See that 1×3 body connected to the underside?
I’m displaying you that to say that I didn’t put edge banding on the sides of these 1x3s. I solely put the sting banding on the sides of the plywood. Not solely does strong lumber not want edge banding, however I used to be additionally going to cowl the sides of that lumber with trim. So once more, the sting banding solely went on the sides of the plywood.
Earlier than I might add trim, I wanted so as to add some depth across the backside, so I used my desk noticed and ripped some 1×3’s into strips which are 3/4″ x 3/4″, after which I connected that every one the best way across the backside to the sting of that 1×3 body.
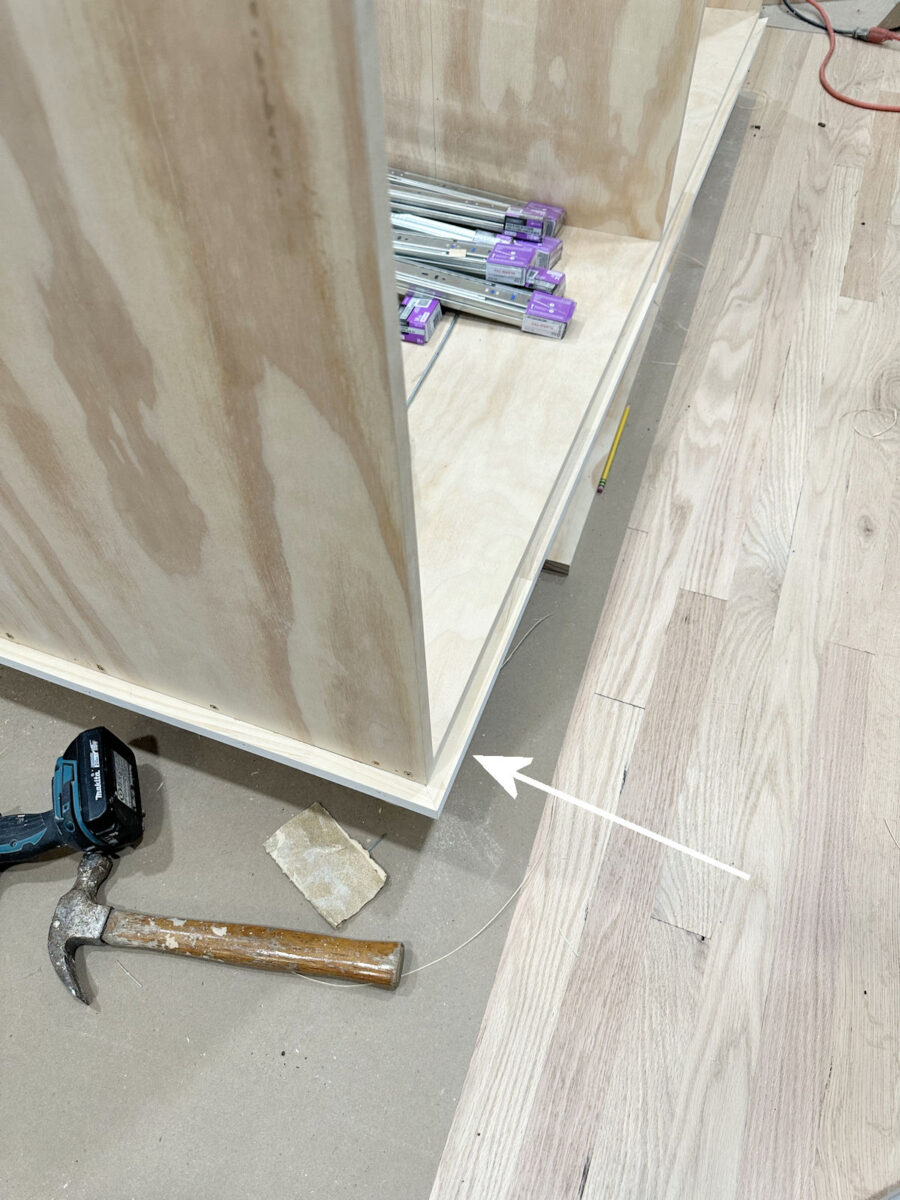
Right here’s a greater view of what that regarded like. You’ll be able to see the plywood with the sting banding on prime, after which the three/4″ strip beneath connected to the sting of that 1×3 body across the backside of the island. …
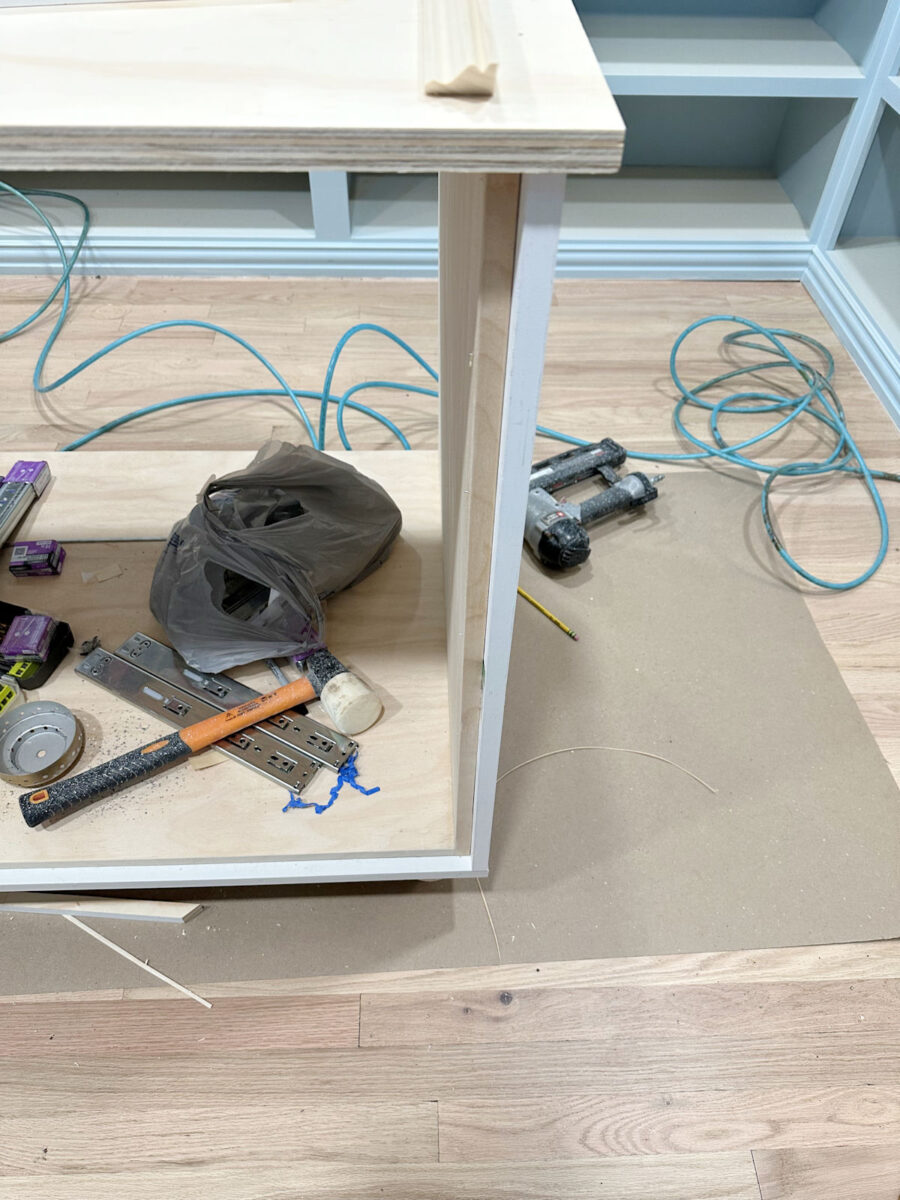
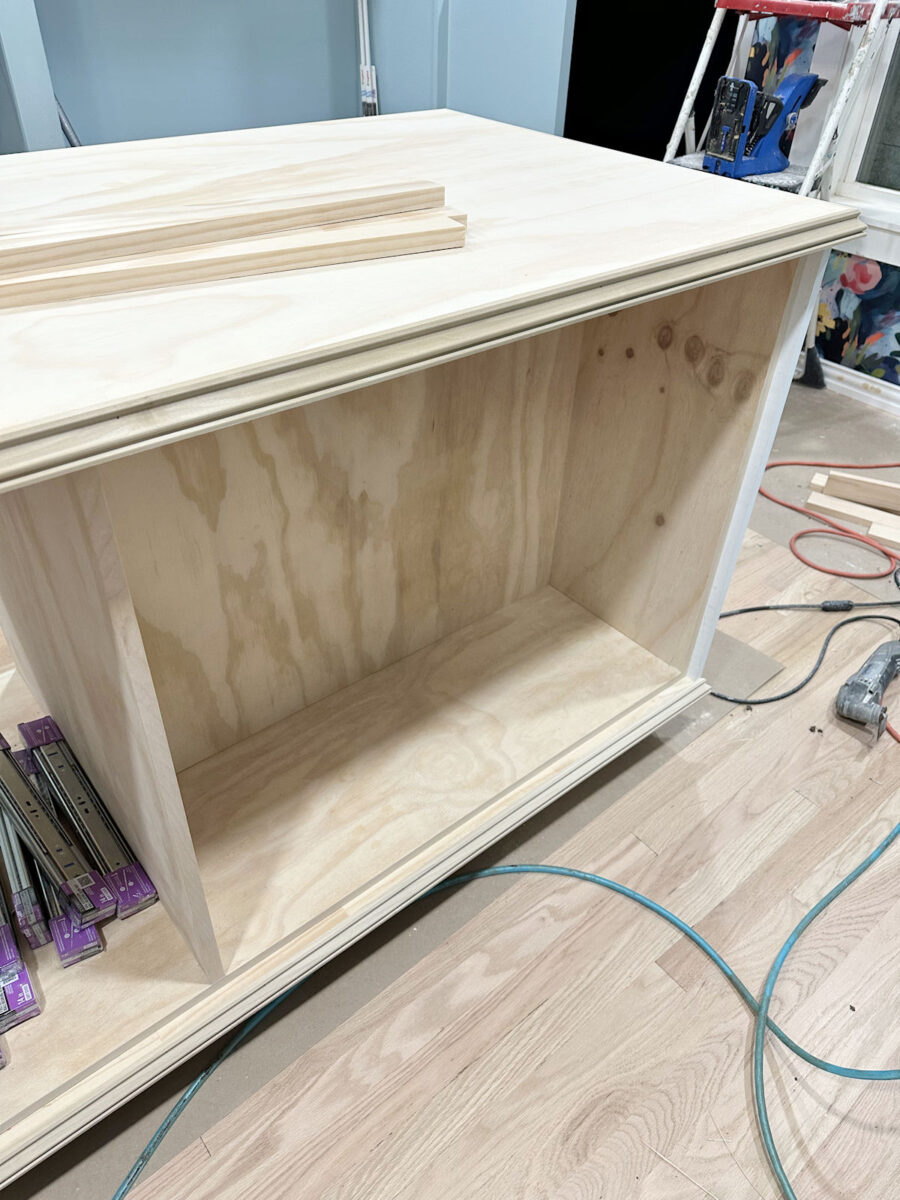
With that in place, I began trimming out the top of the island. I began by connected 1×2’s on the left and the best, however I prolonged these 3/4″ previous the sting of every facet. After which I connected the underside horizontal piece of 1×2.
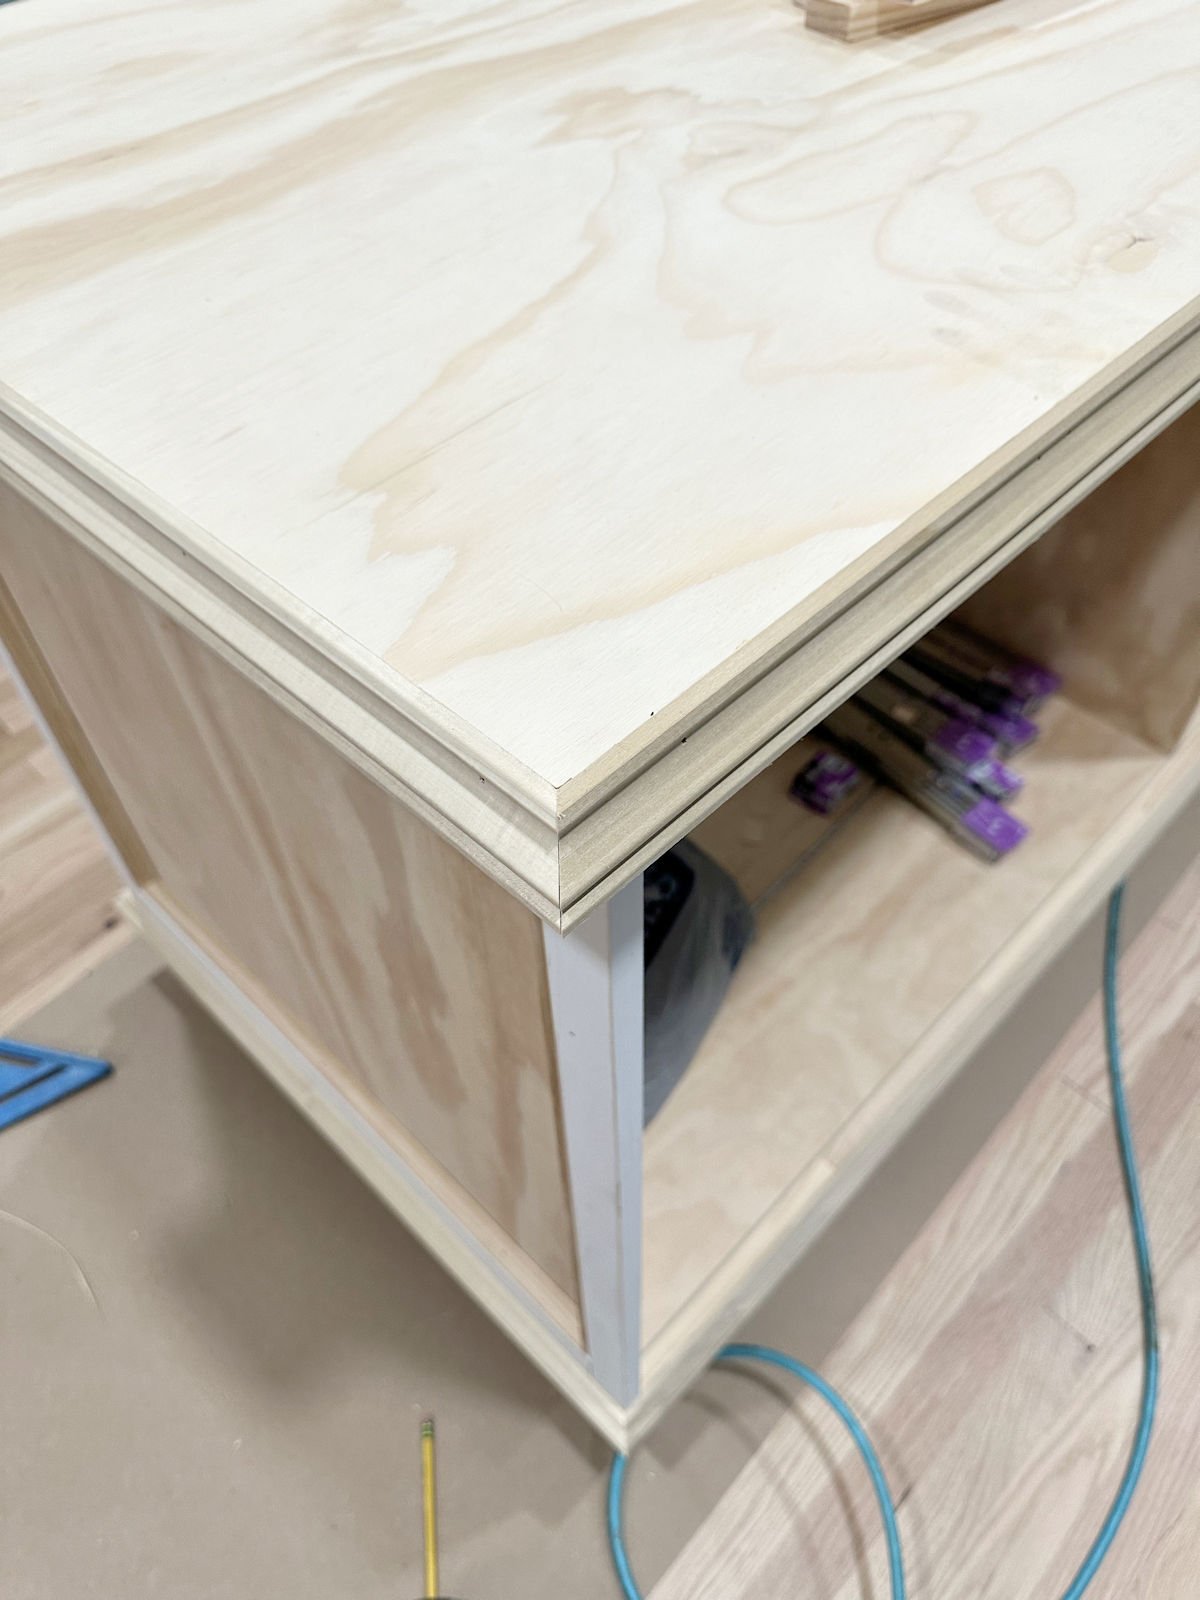
Earlier than I might connect the highest horizontal 1×2 to finish that body, I connected the sting trim to the countertop (which I forgot to take a photograph of) to see how far down that prime body piece wanted to come back. Because the edge trim of the countertop overhangs the sting of the island only a bit, that signifies that had I put that prime horizontal facet body piece on proper on the prime of the plywood, the body would have regarded off only a bit as a result of the sting trim on the countertop would have minimize off the view of that piece. So I ended up dropping that prime horizontal body piece down about 1/2″ from the highest of the facet plywood piece in order that the entire thing could be seen.
Right here’s a view of the facet body items displaying the way it extends previous the sting of the plywood 3/4″. The aim of this, in addition to that backside horizontal piece connected on the backside, is to create an inset for the drawer fronts.
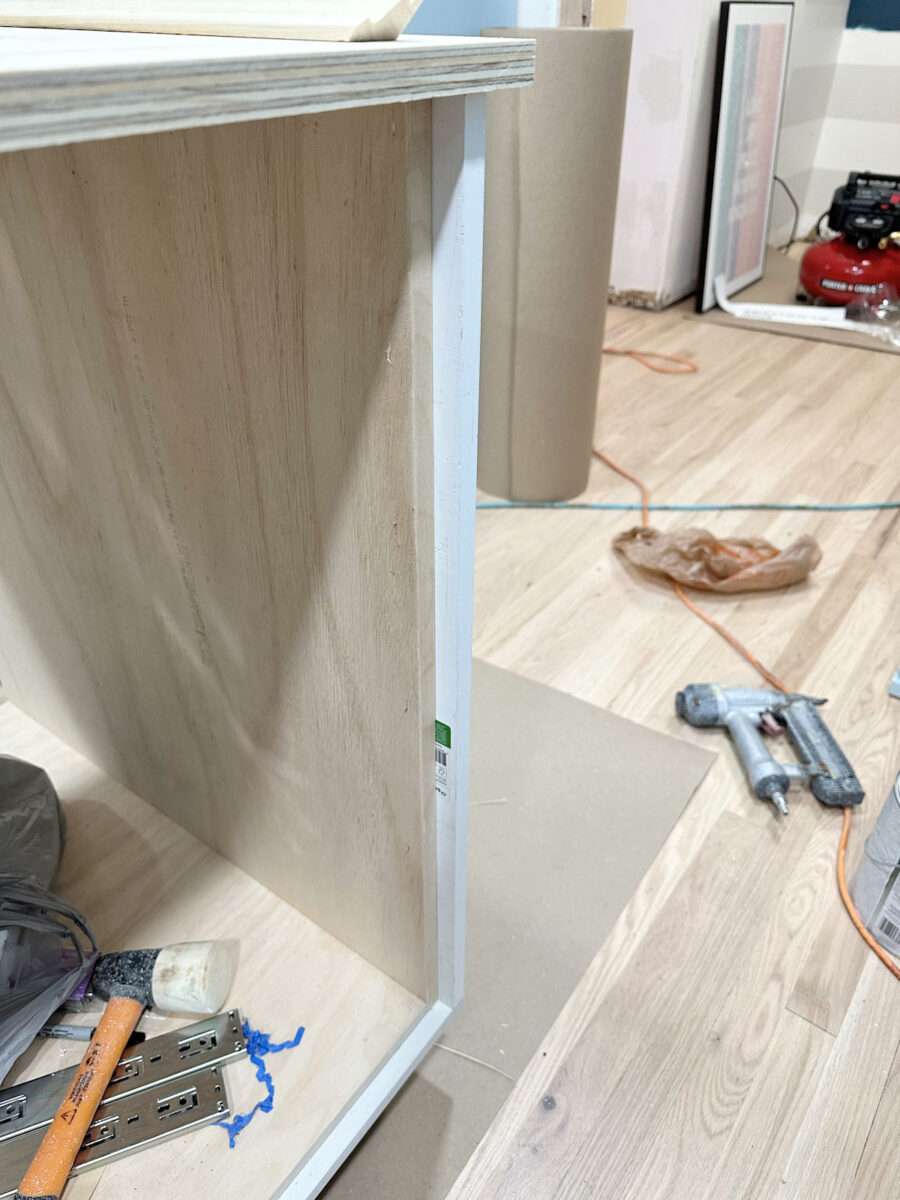
Right here’s what that appears like straight on…
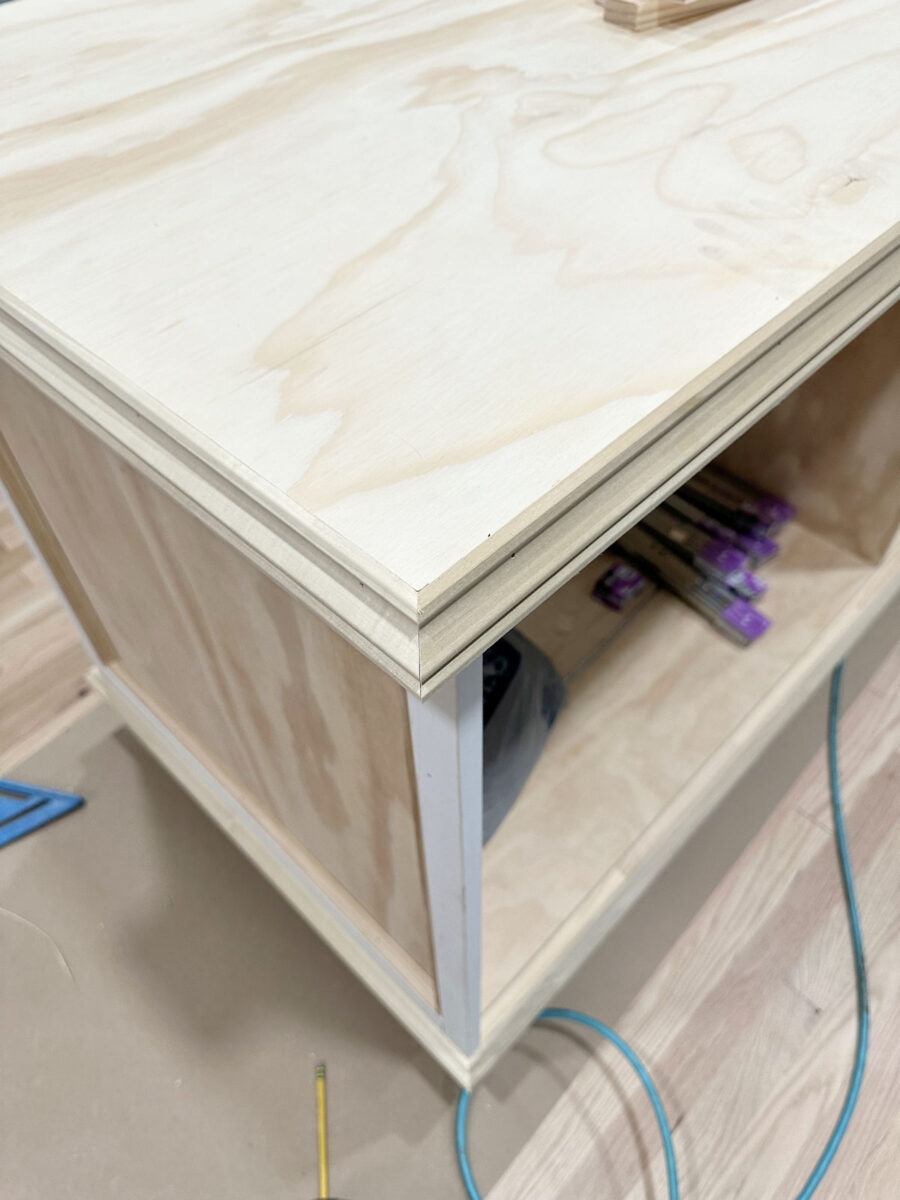
Then I connected the identical trim that I had used across the fringe of the countertop to that backside strip going across the backside of the island.

And contained in the 1×2 body, I used base cap molding to complete off the top design.
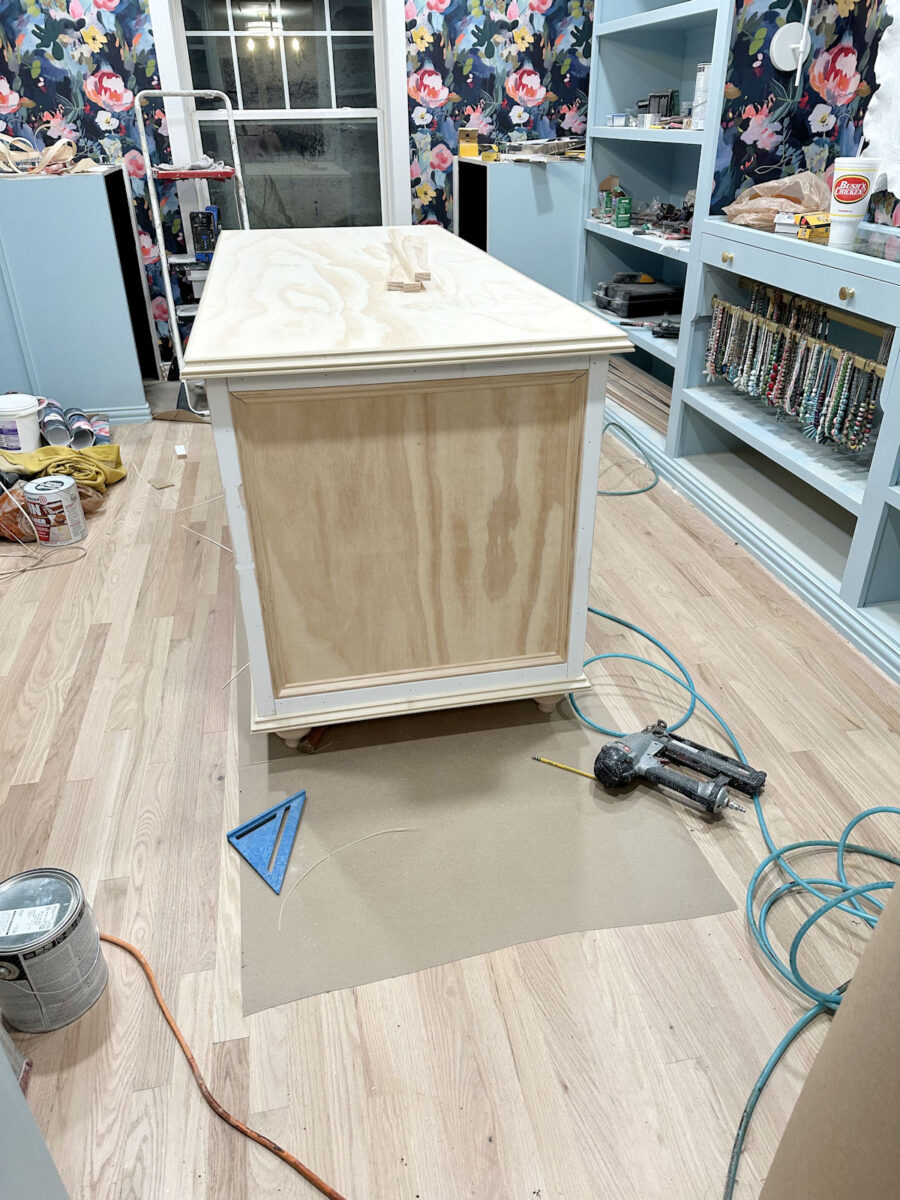
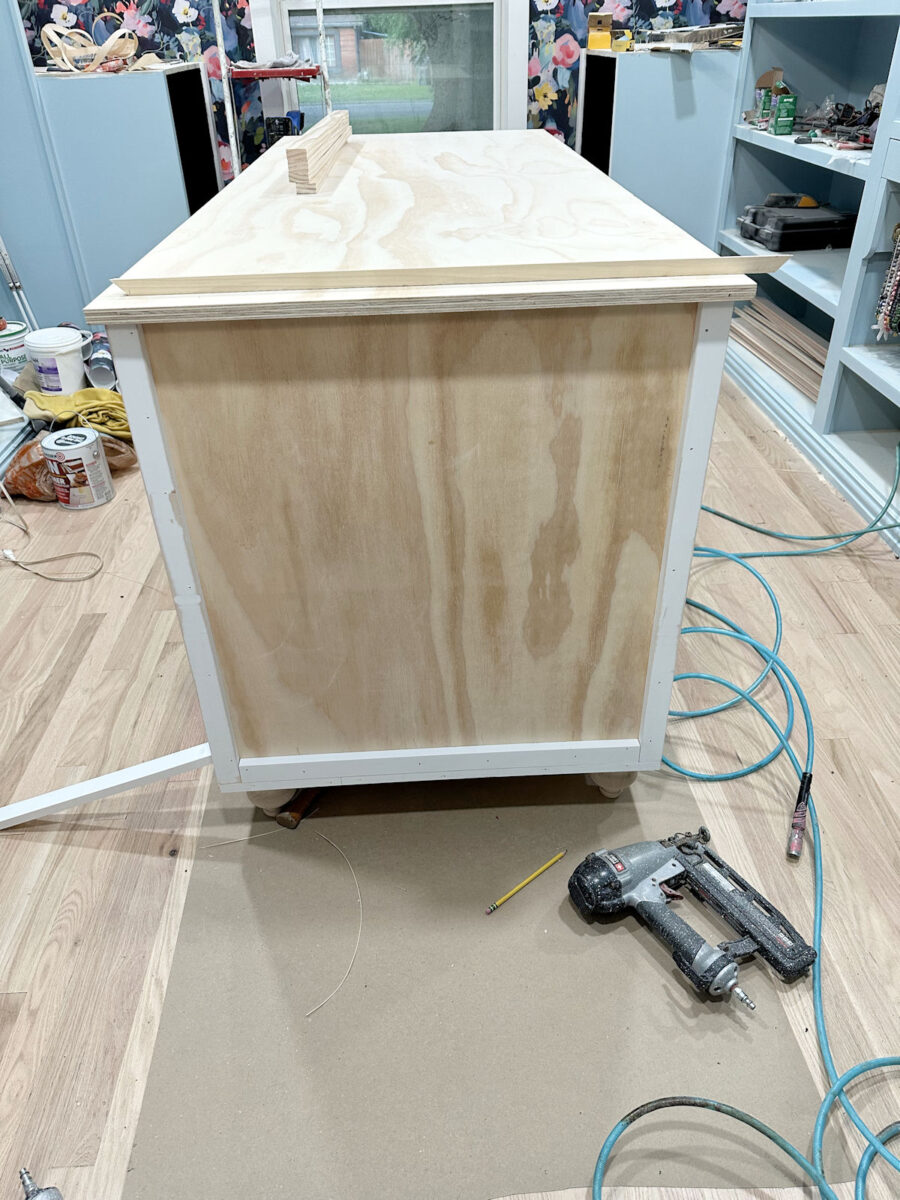
So that is what the top of the island, the view from the doorway, appears like.
And you’ll see that backside trim continues all the best way round, nailed to the entrance of that backside piece that I nailed on, with each items being flush with one another on the highest.
Right here’s a view from the opposite facet. So hopefully, you’ll be able to think about that the drawer fronts will sit contained in the body created with these items extending on the edges and the underside.
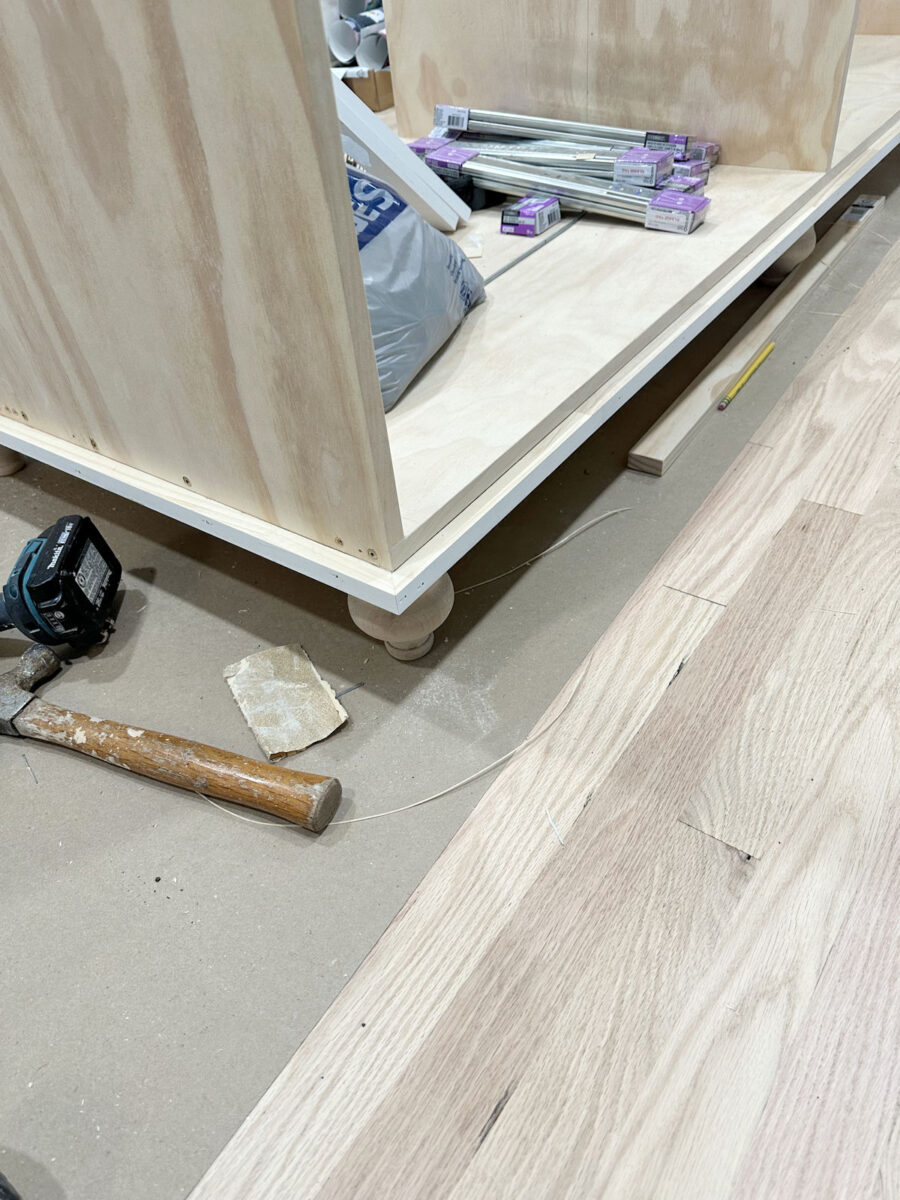
And right here’s a better view of the trim that I connected across the edges of the countertop.
One drawback that I seen nearly instantly is that I miscalculated the location of the ft. Now that I’ve added all of that trim across the backside, the ft are inset too far in order that they’re nearly not even seen. So I’ll must flip the island over and transfer the ft out. It’ll look significantly better and extra balanced as soon as I do this.
However that’s the progress! I’m fairly enthusiastic about the way it’s shaping up. Hopefully I could make a number of headway on the drawers, drawer fronts, and doorways this weekend, and have an almost-finished closet island by Monday!
Extra About My Stroll-In Closet/Laundry Room

see all walk-in
closet diy initiatives

learn all walk-in
closet weblog posts

Addicted 2 Adorning is the place I share my DIY and adorning journey as I transform and embellish the 1948 fixer higher that my husband, Matt, and I purchased in 2013. Matt has M.S. and is unable to do bodily work, so I do the vast majority of the work on the home on my own. You can learn more about me here.
Trending Merchandise


![Rustic Grey Mason Jar Sconces for Home Decor, Decorative Chic Hanging Wall Decor Mason Jars with LED Strip Lights, 6-Hour Timer, Silk Hydrangea, & Iron Hooks for Home & Kitchen Decorations [Set of 2]](https://m.media-amazon.com/images/I/41DPf4UgGOL._SS300_.jpg)
