

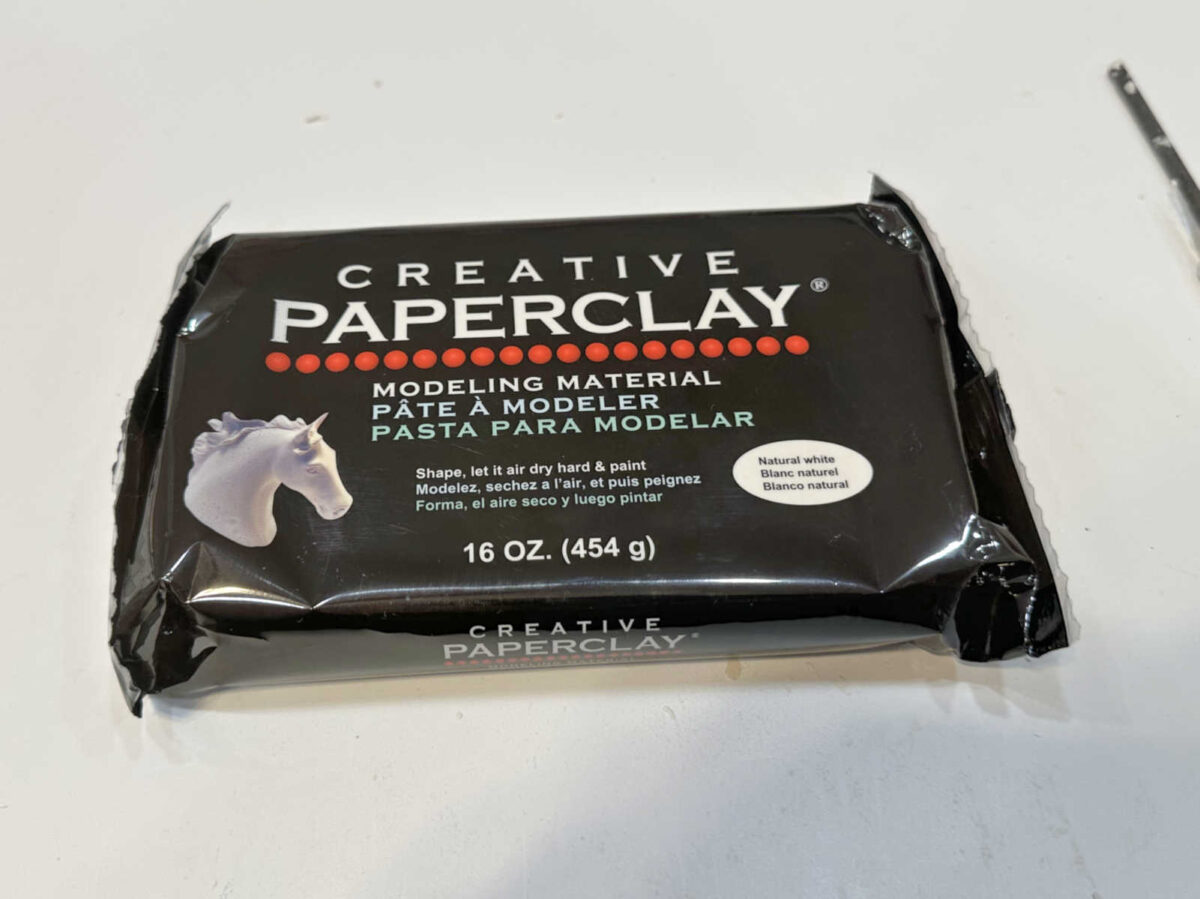
I’m nonetheless engaged on this closet chandelier undertaking, and I’m very enthusiastic about the way it’s going. Yesterday, I shared that I had some issues making the flowers as a result of the clay I selected to you utilize caught to every little thing it touched. It was inconceivable to roll out that clay and mould it or lower something from it.
So I returned that clay and obtained this one. And these things is superb!!
It took me some time to get my flower making approach down. I made a complete lot of flowers earlier than I got here up with the proper dimension sample for the petals, the proper variety of petals, the proper overlap of the petals, and so on. So by the point I went to mattress final evening, I solely had 9 of the 38 flowers that I would like for the chandelier.
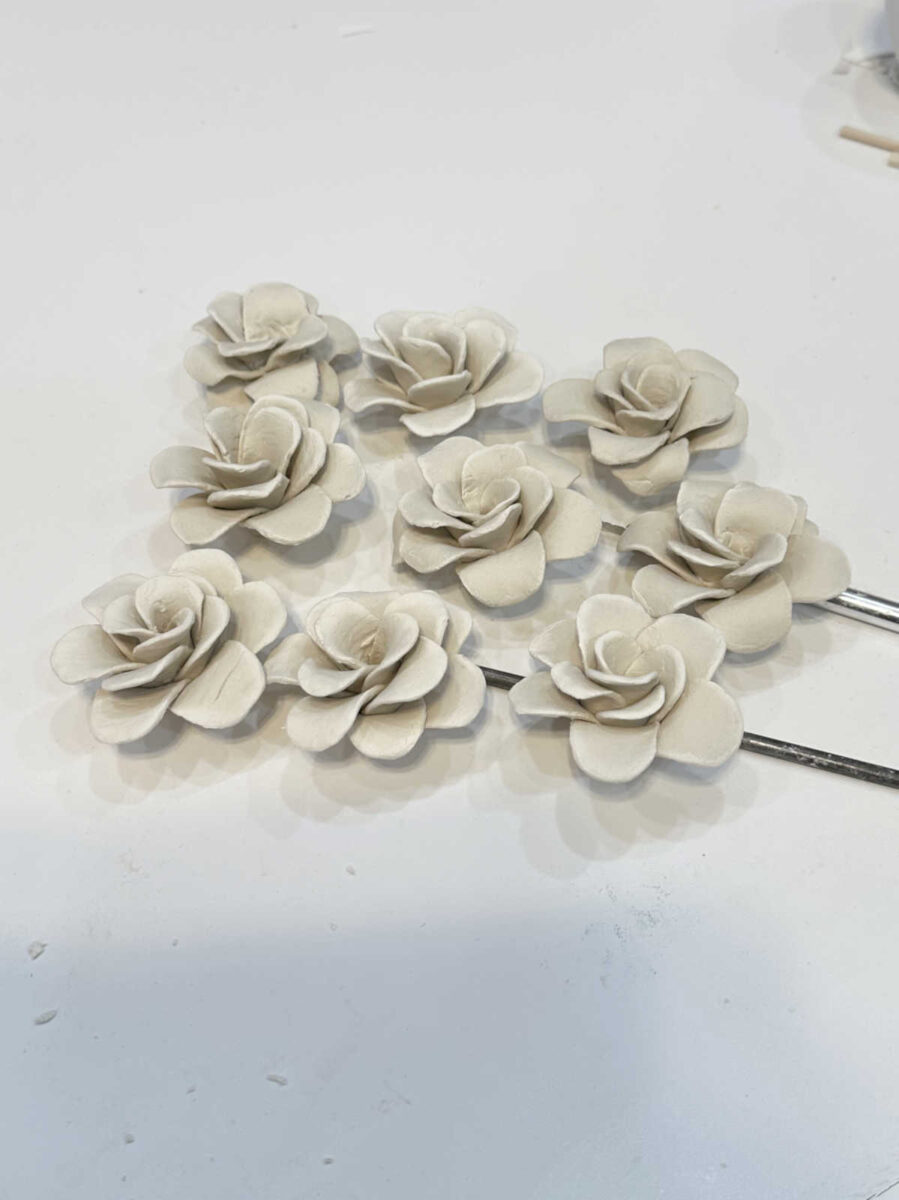
However a minimum of it was a enjoyable and stress-free day attending to play with clay. 😀 And now that I lastly have a system and system down, I’m hoping the remaining will go a lot quicker.
I’ll present you the way I made the flowers, after which offer you a peek at one of many flowers on the chandelier type.
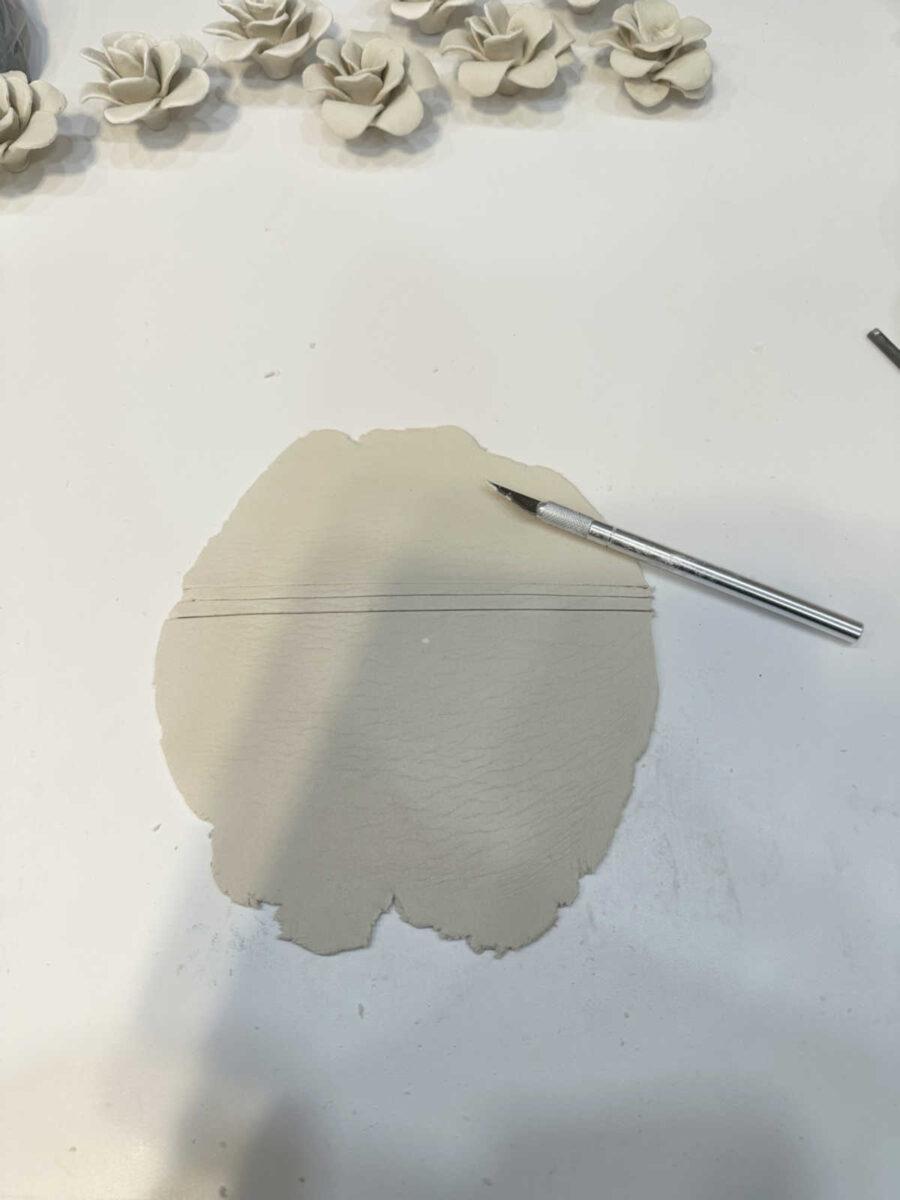
To roll out the clay uniformly from one flower to the subsequent, I lower some scrap strips of 1/4″ wooden to 1/8″ thick and used these as guides to roll out the clay.
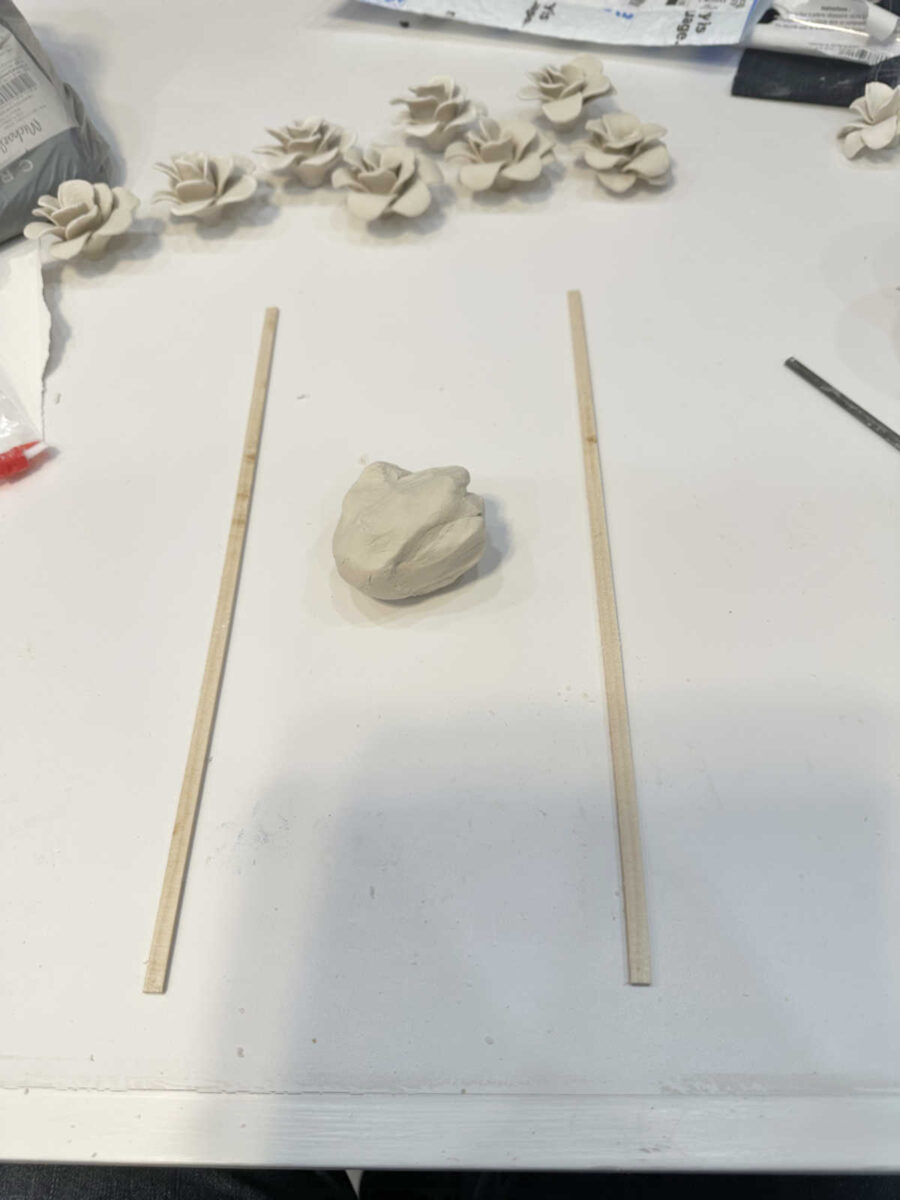
I purchased this little acrylic curler to roll the clay, and it rested on the guides to make it uniform in thickness.
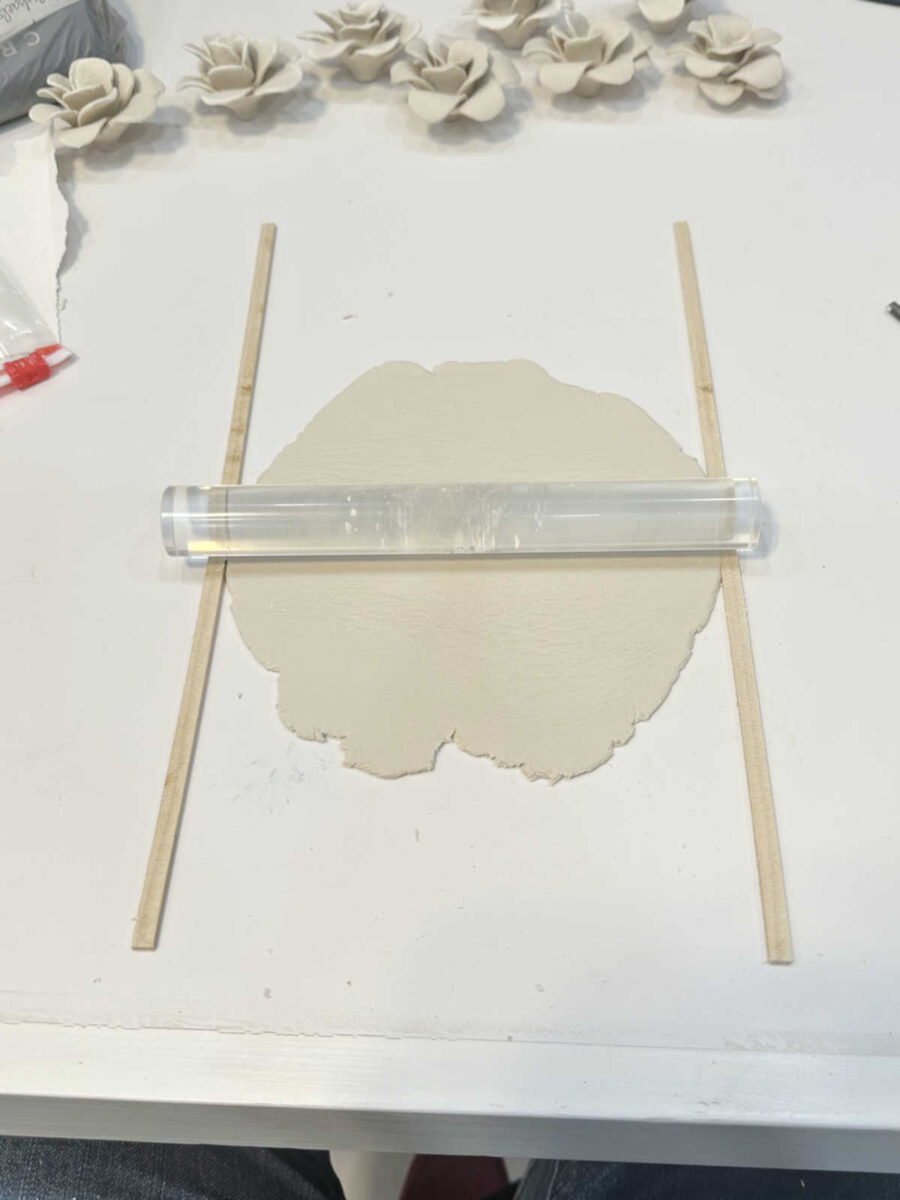
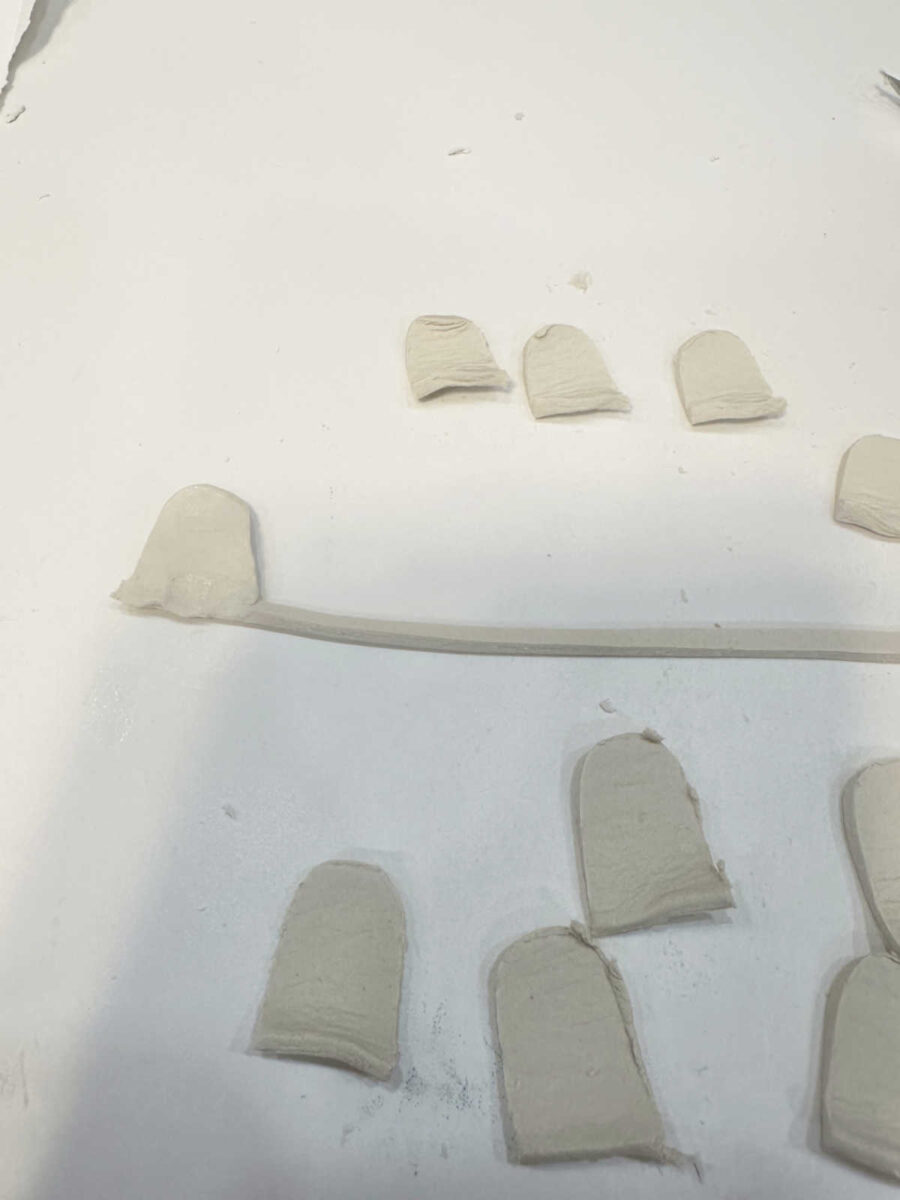
Then I used my X-acto knife and lower two skinny strips out of the center and set these strips apart.
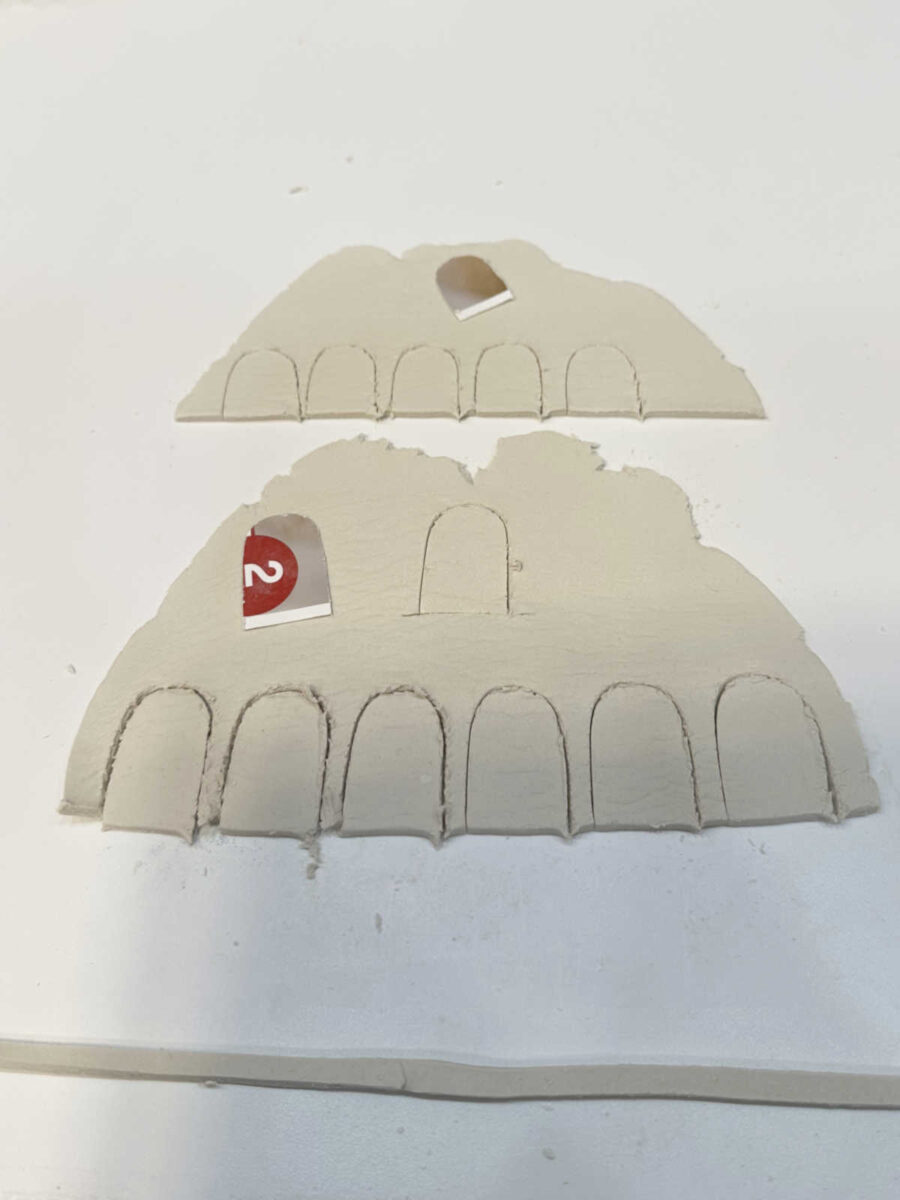
I used these straight lower edges to chop the petals. I had made patterns for my petals out of unsolicited mail. I used two sizes of petals, and lower 5 of the small ones and 7 of the massive ones.
So every flower consists of 5 small petals, seven massive petals, and one lengthy strip of clay from the 2 strips that I had lower and pressed collectively.
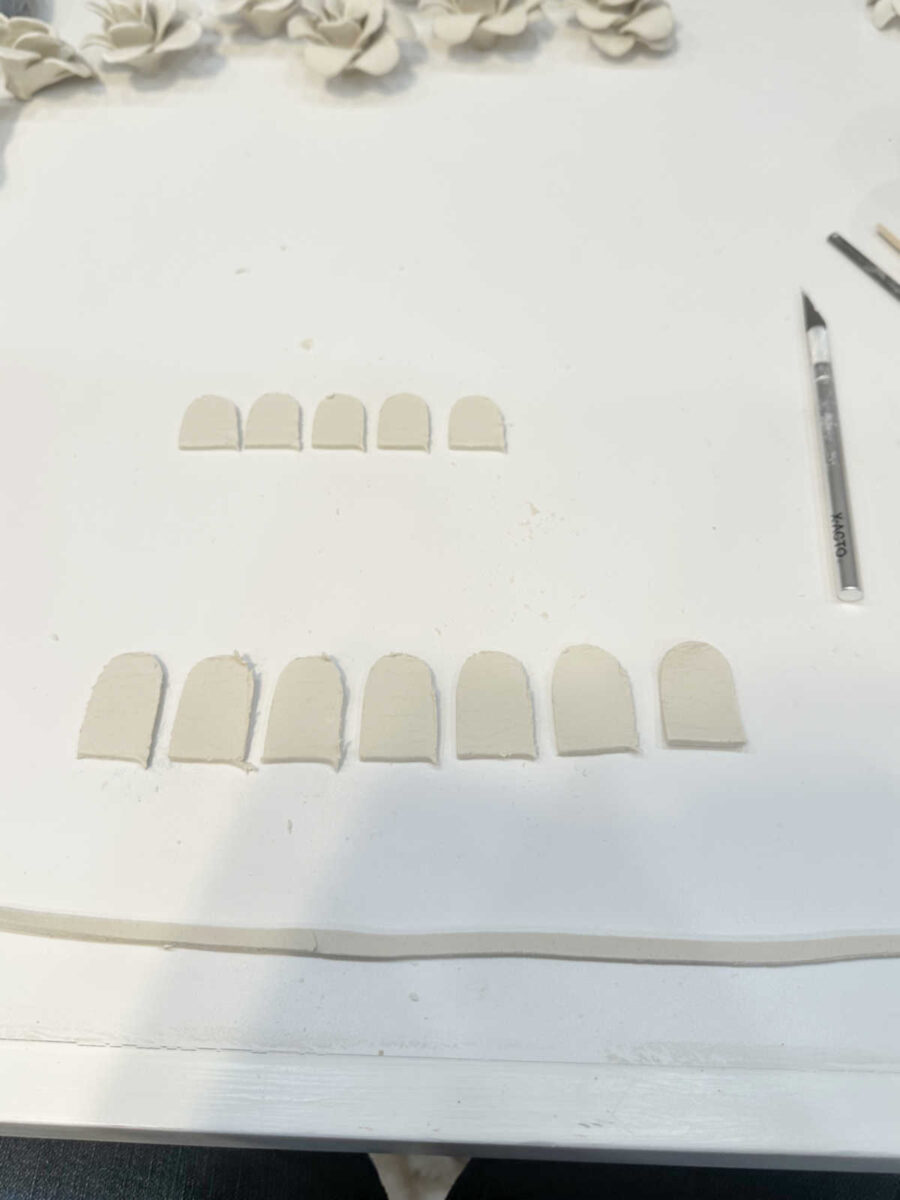
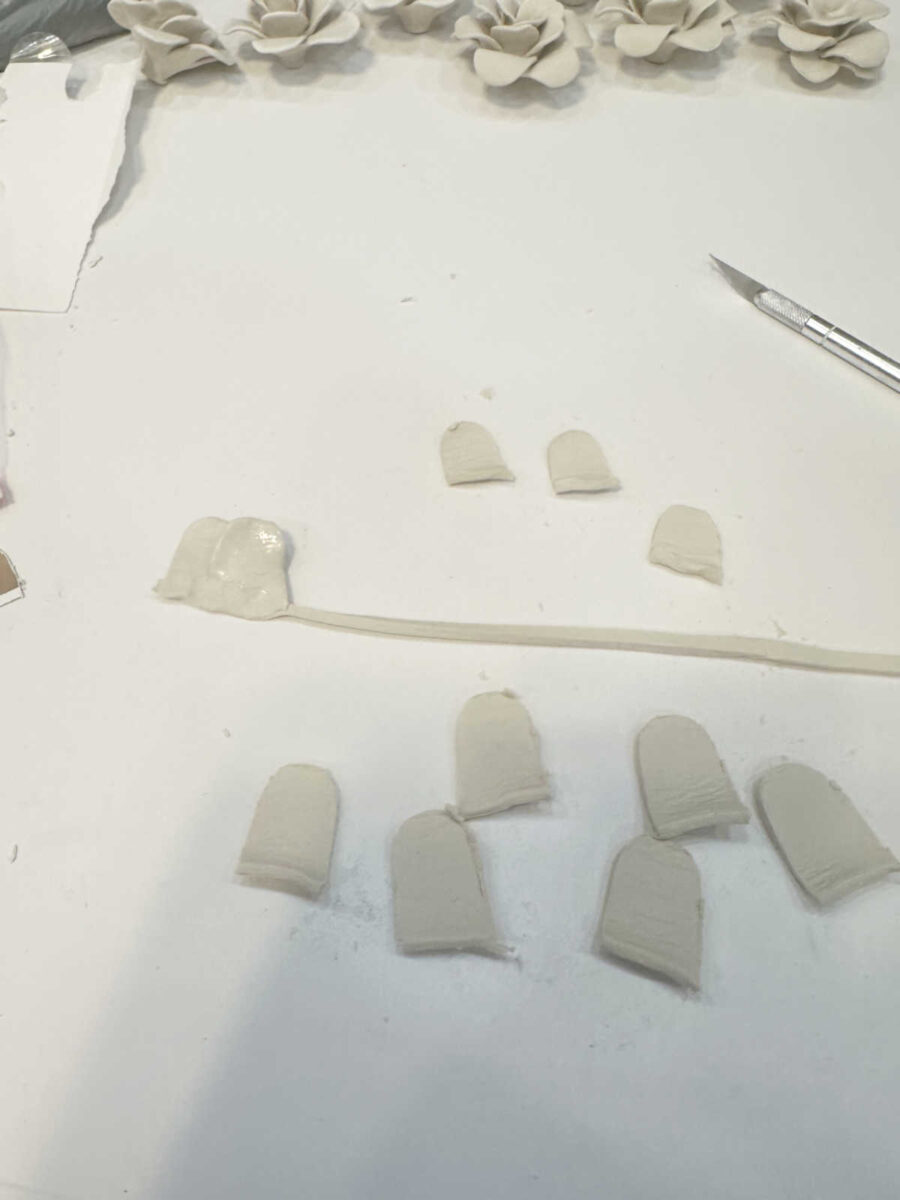
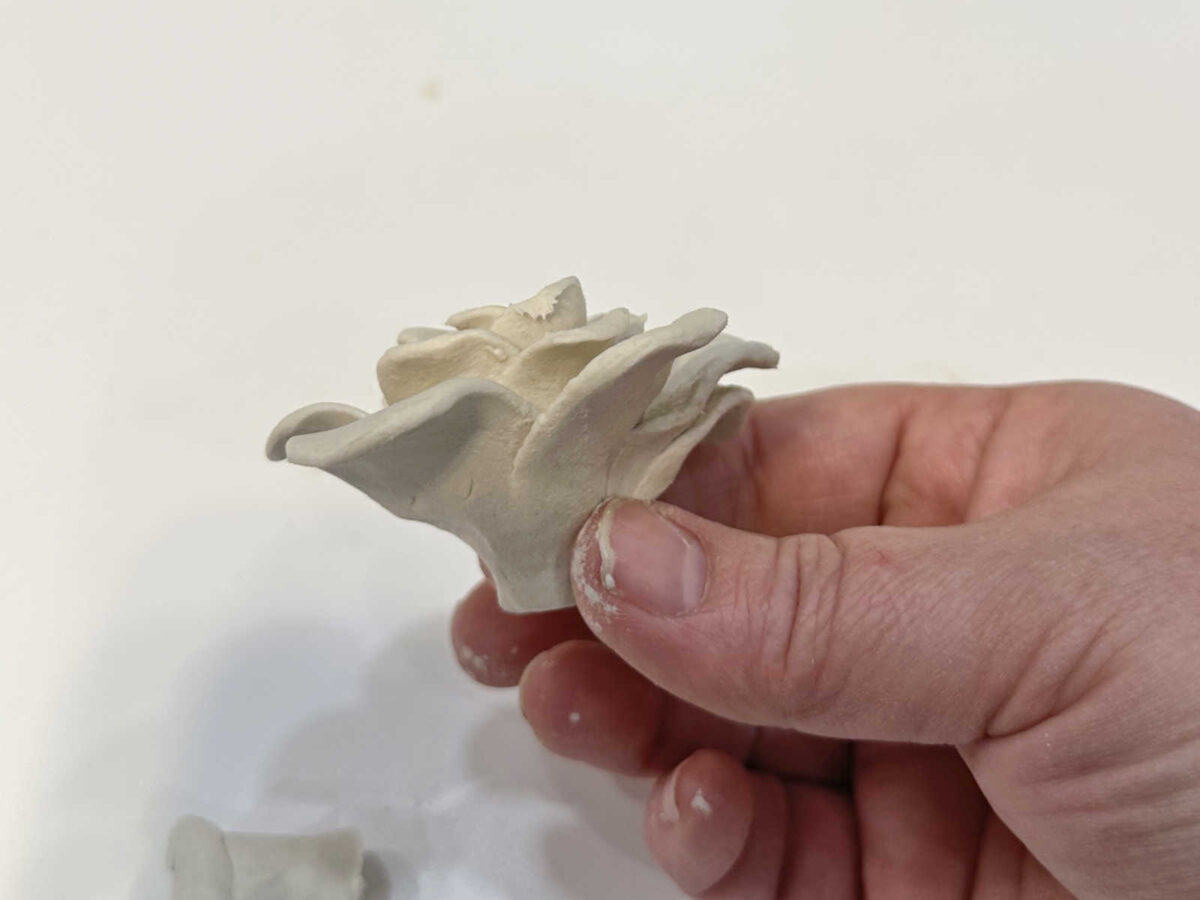
Subsequent, I took every petals and squeezed across the edges to get rid of the lower marks, after which I used my finger, dipped in water, to spherical them off and easy them out much more.
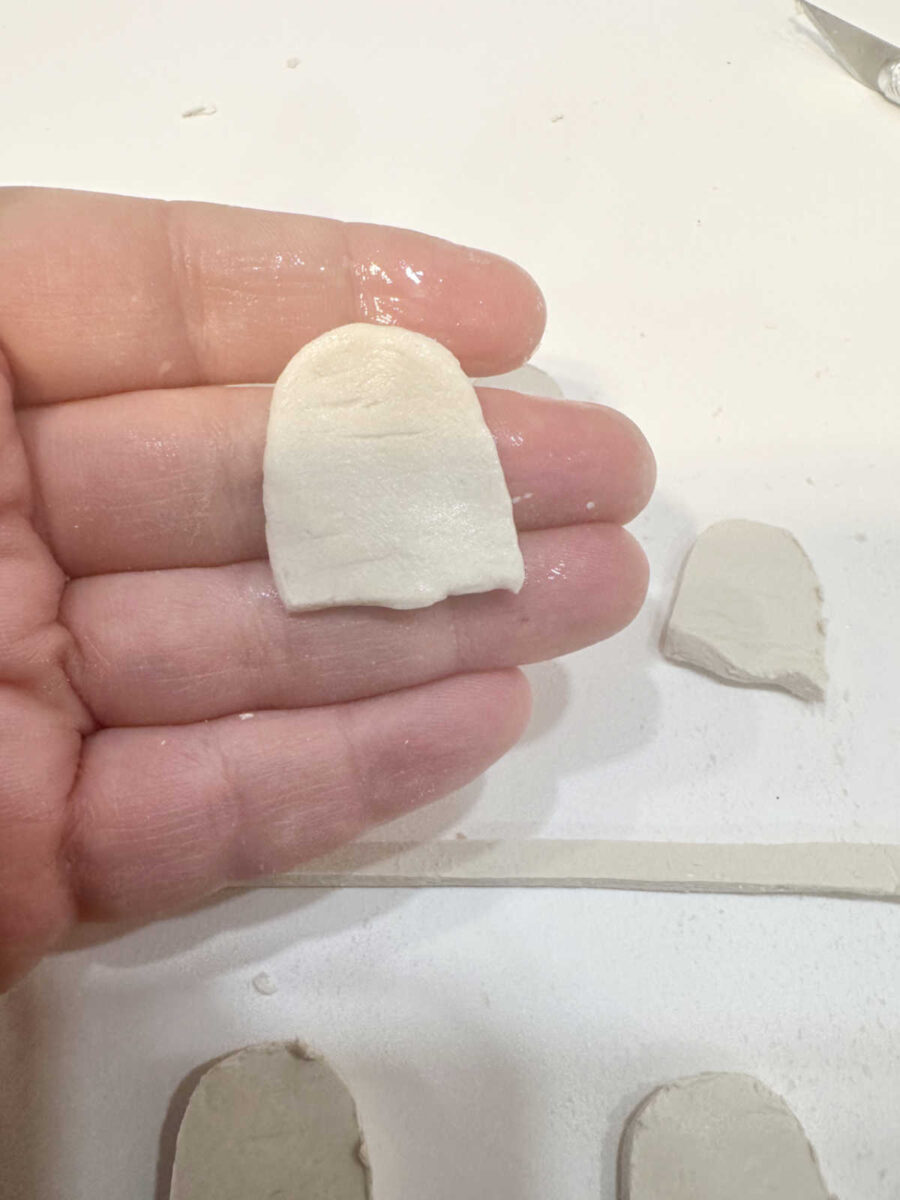
After which I pressed every petal into the strip of clay.
I continued doing that, overlapping the petals by half.
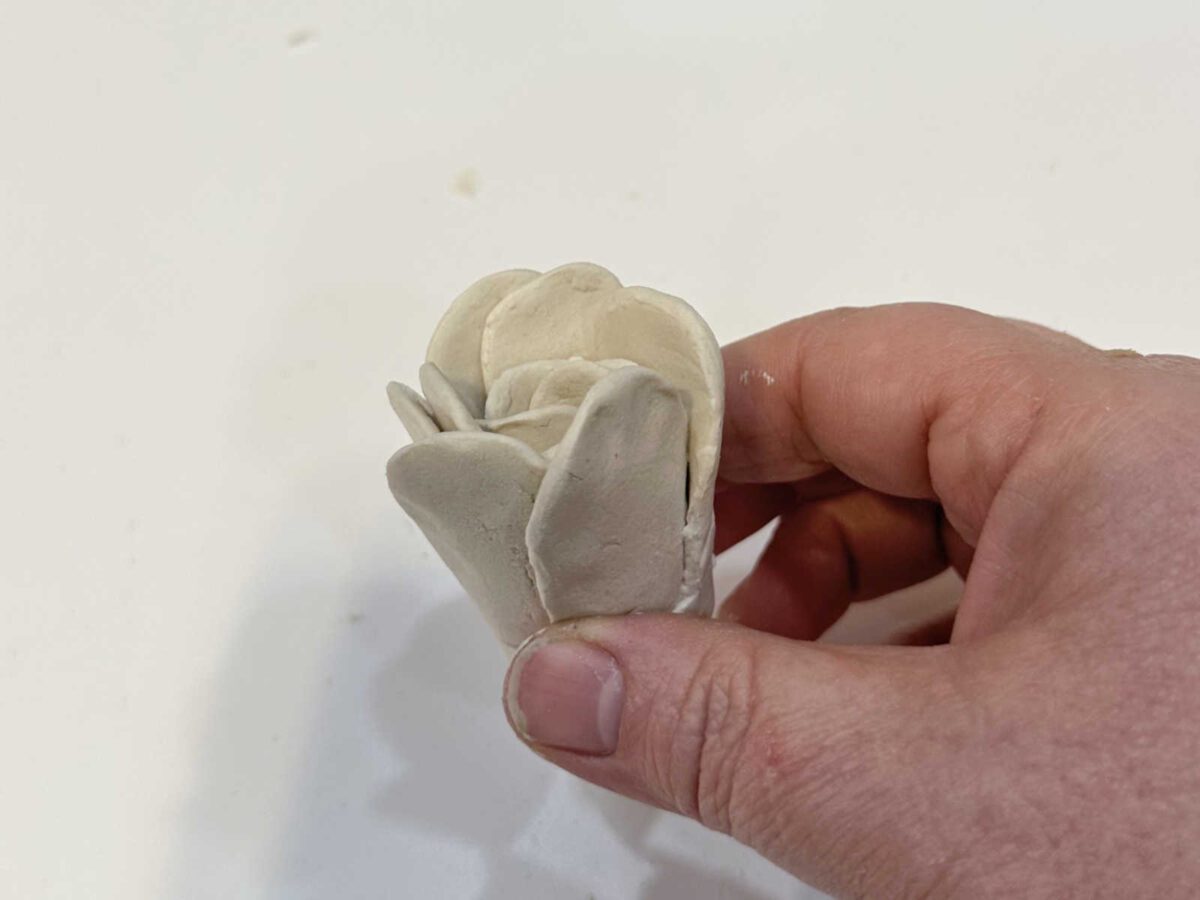
I did all the small petals first…
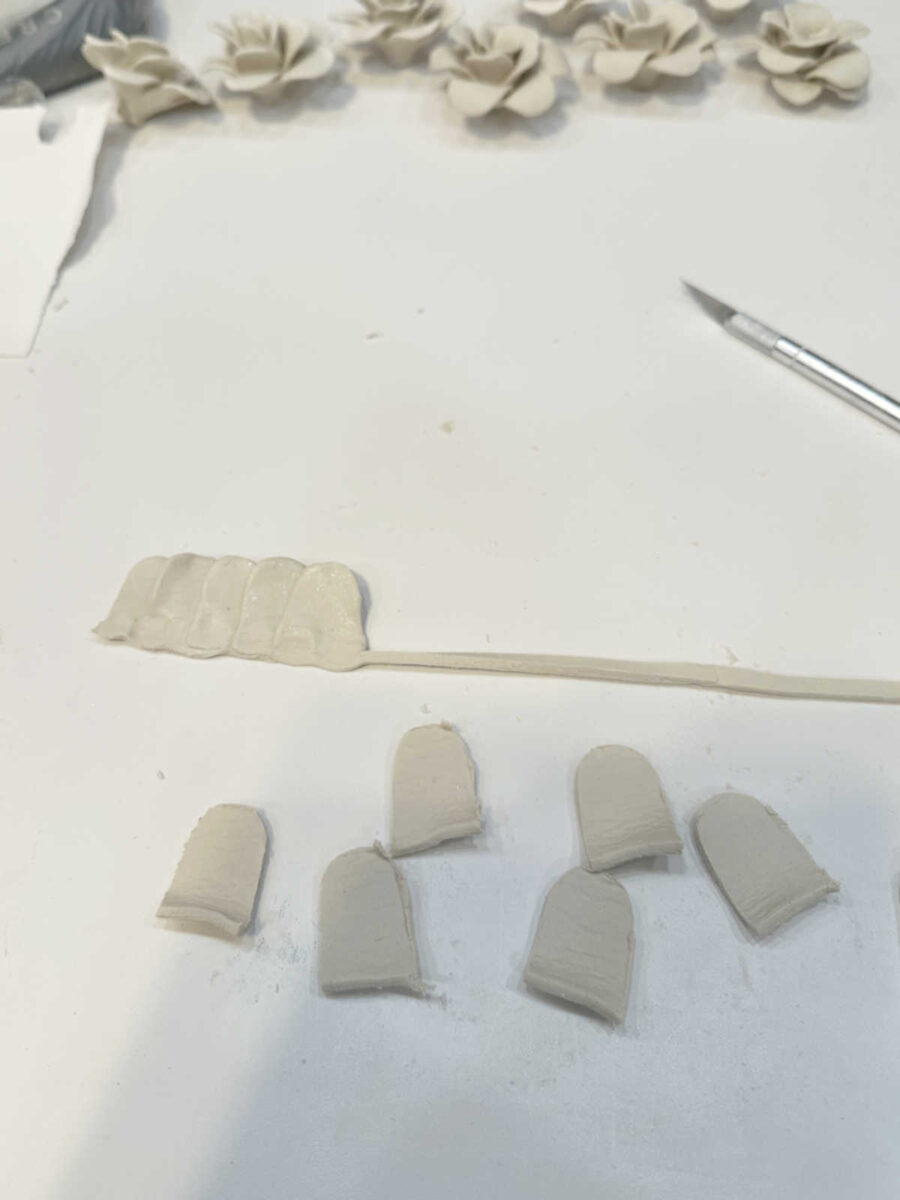
After which did the seven massive petals, persevering with to overlap them by half.
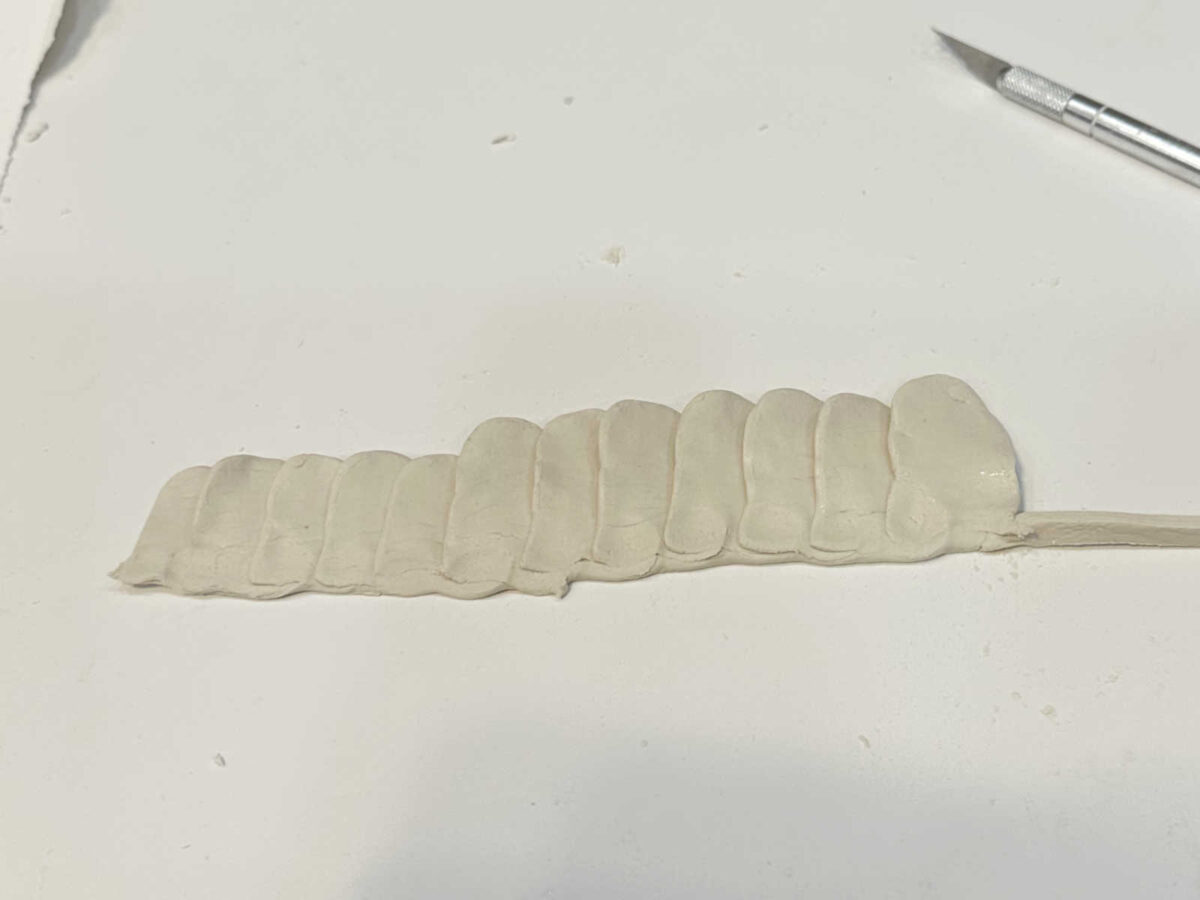
As soon as all the petals have been pressed onto the strip of clay, I lower away the surplus strip, after which rolled up the petals, ranging from the left aspect with the small petals, and persevering with to roll them up till I had this…
Right here’s what it appeared like from the highest…
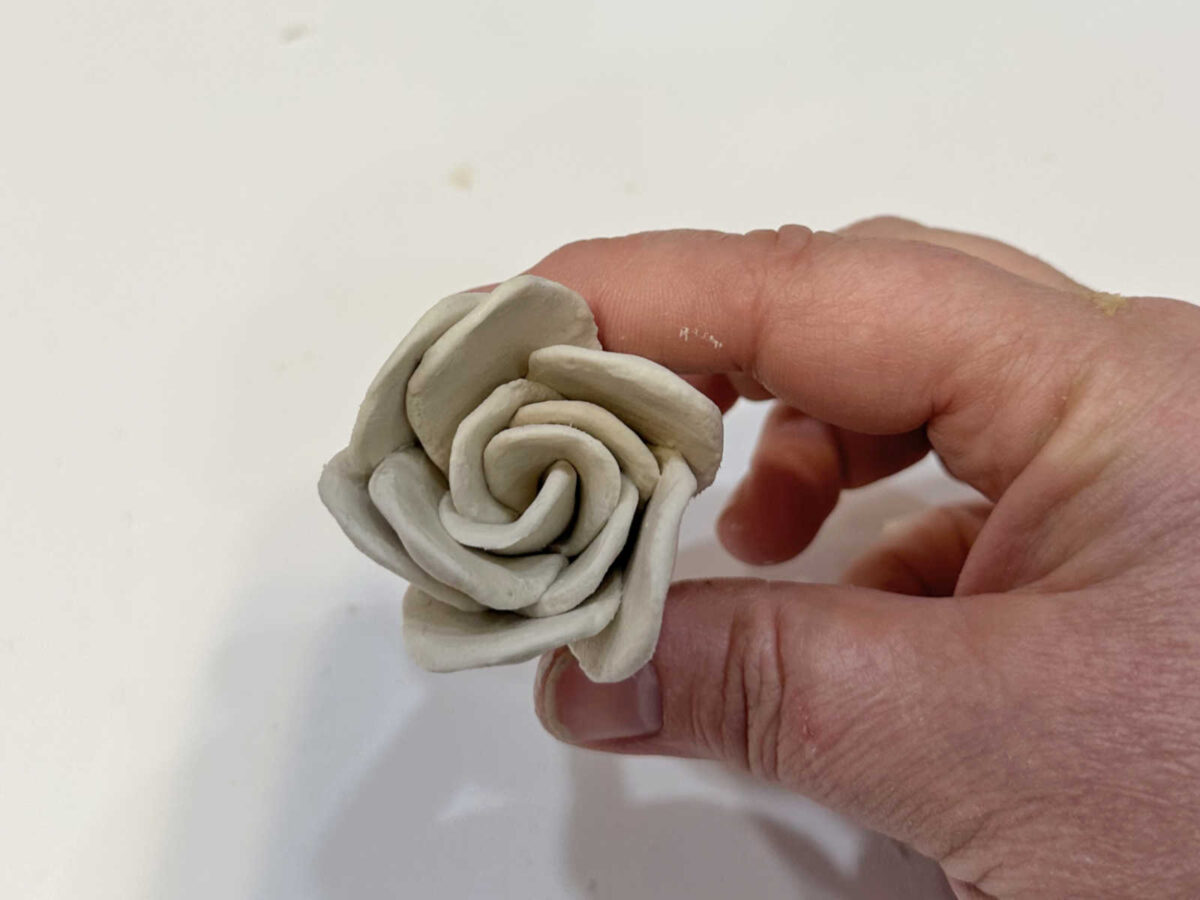
And right here’s a aspect view…
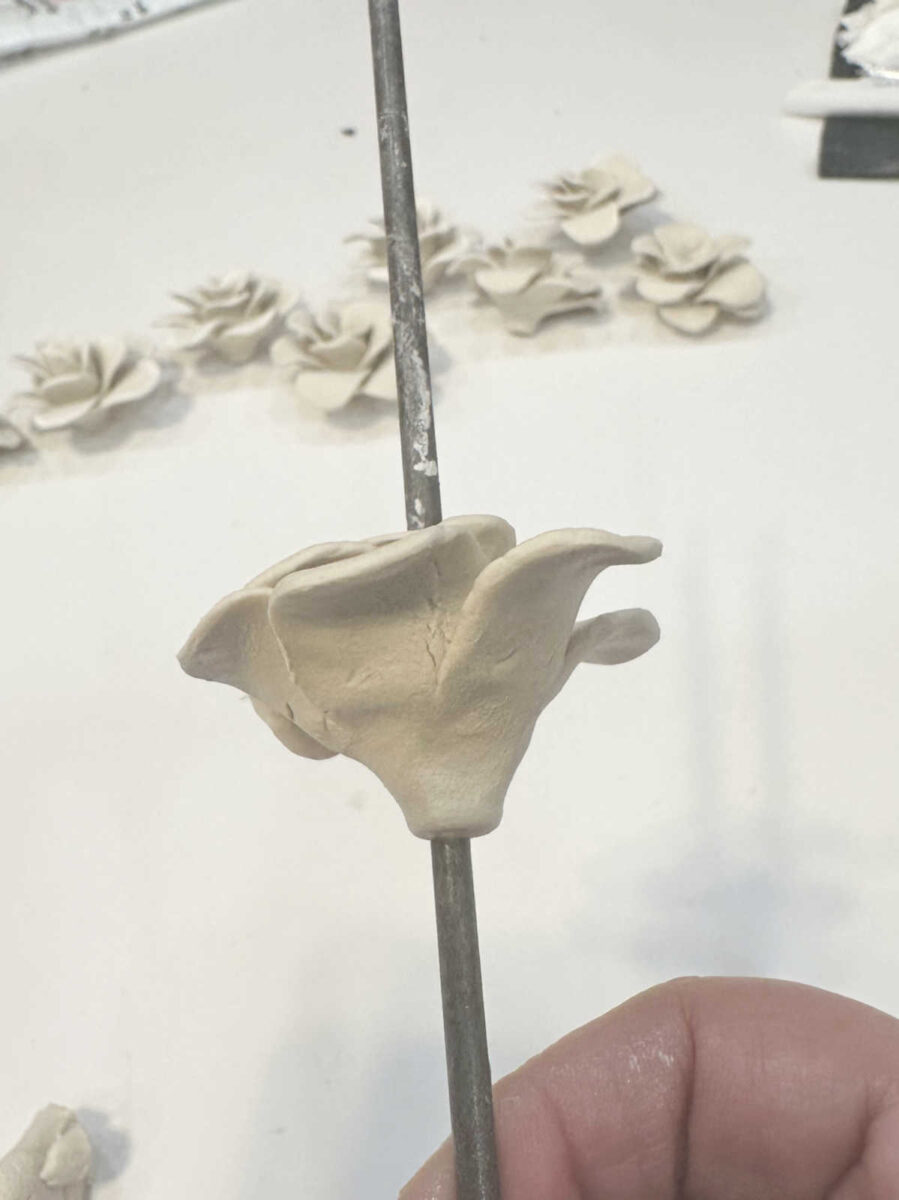
After which I simply began squeezing the underside space collectively to type extra of a flower form, whereas additionally working with the petals to bend them out and provides the flower some form.
As soon as I had it how I needed it, I lower off the surplus clay on the backside…
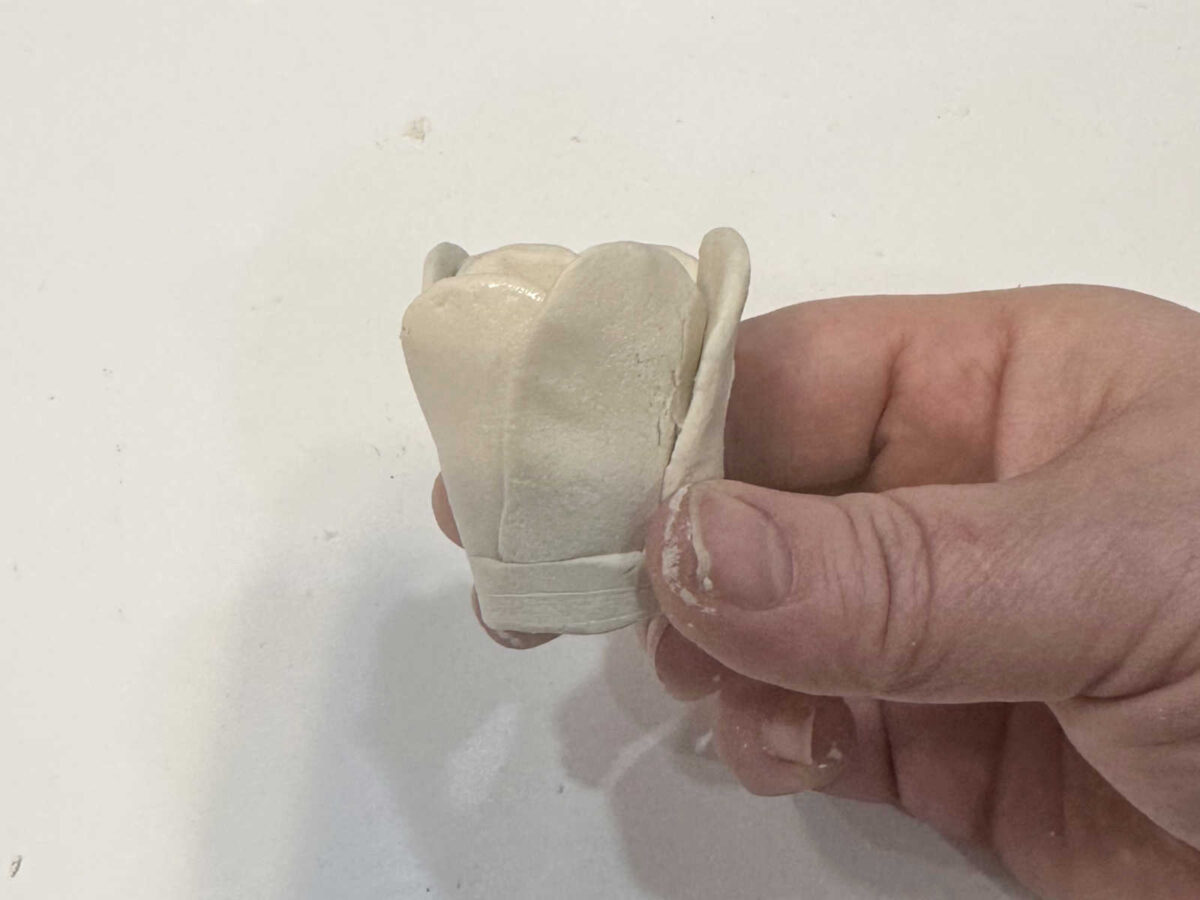
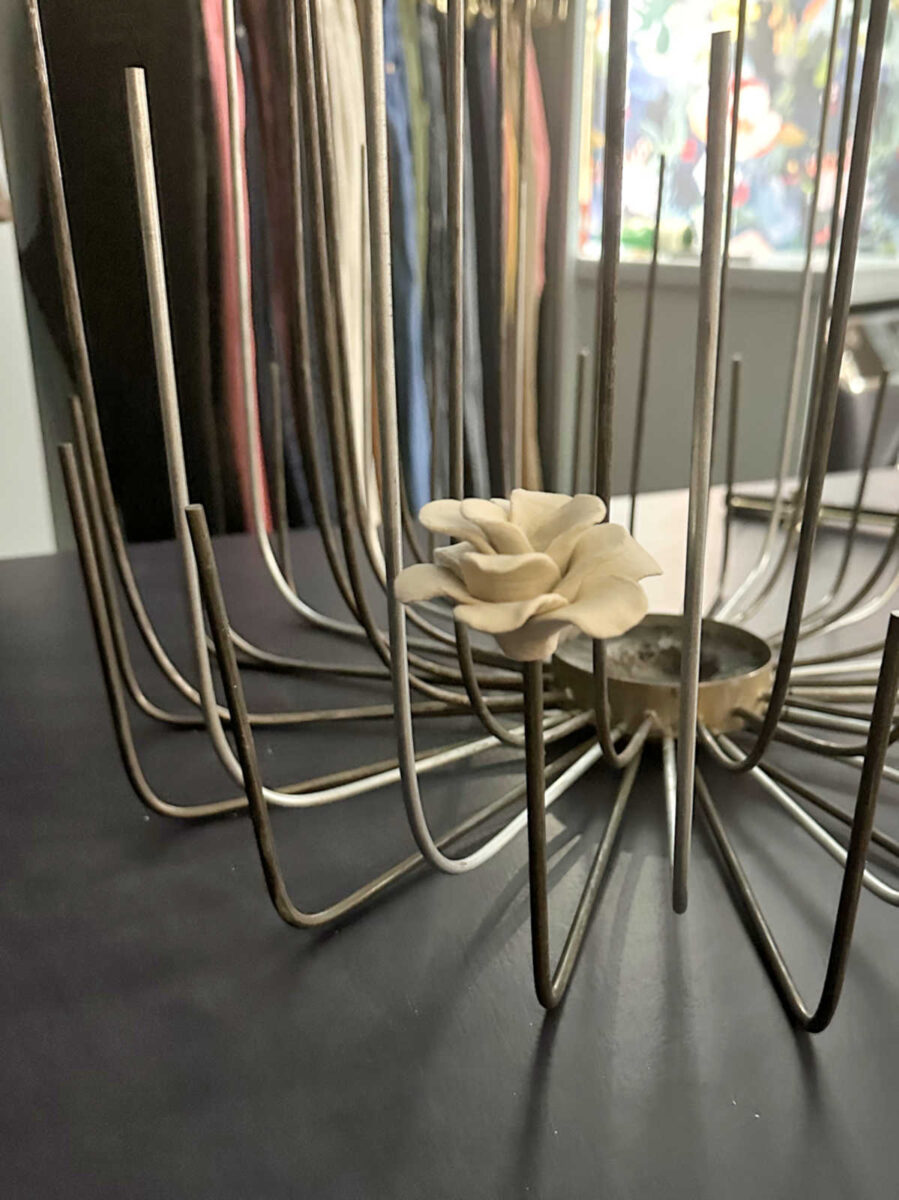
After which I caught a 3/16″ steel rod via the middle of the flower. This is identical dimension steel rod that I used to type the body for the chandelier.
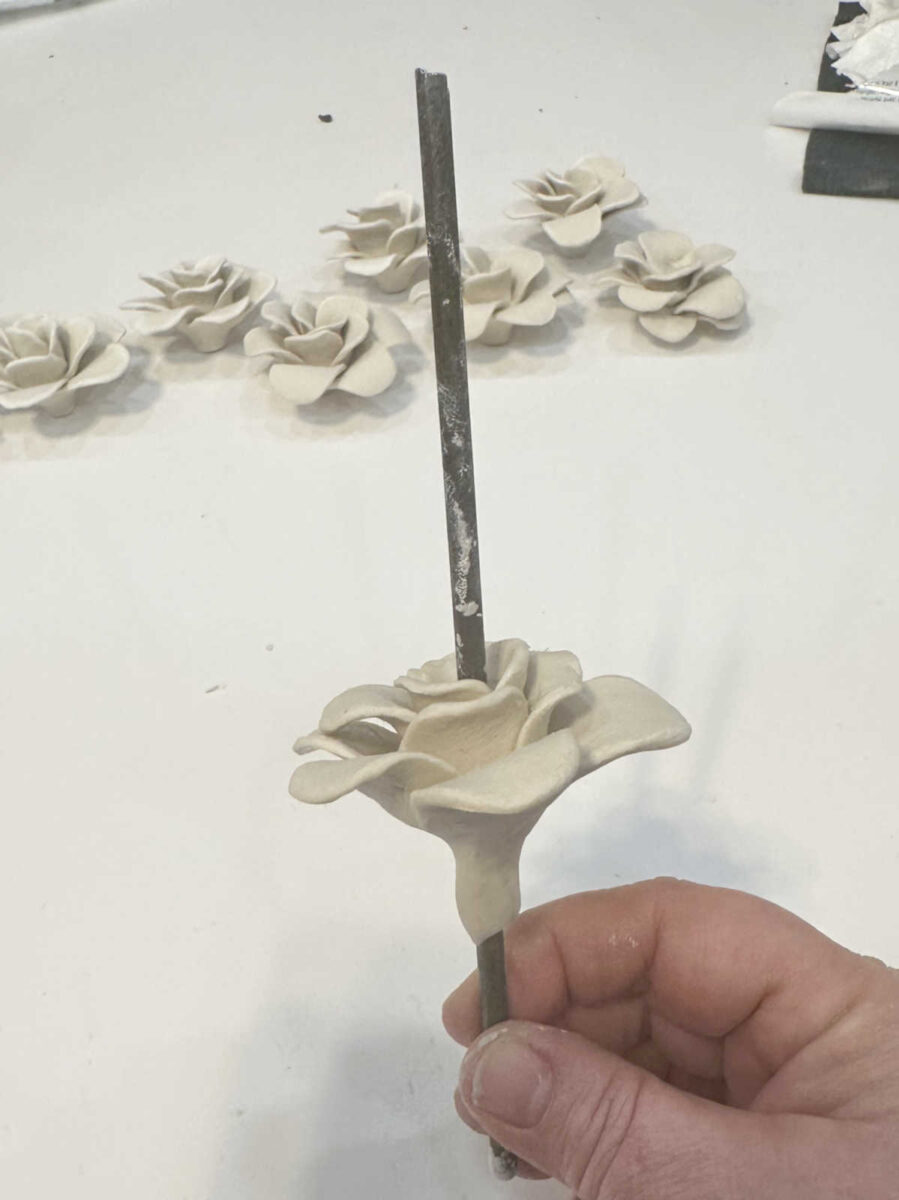
After which I trimmed up the underside of the flower to provide it a cleaner look…
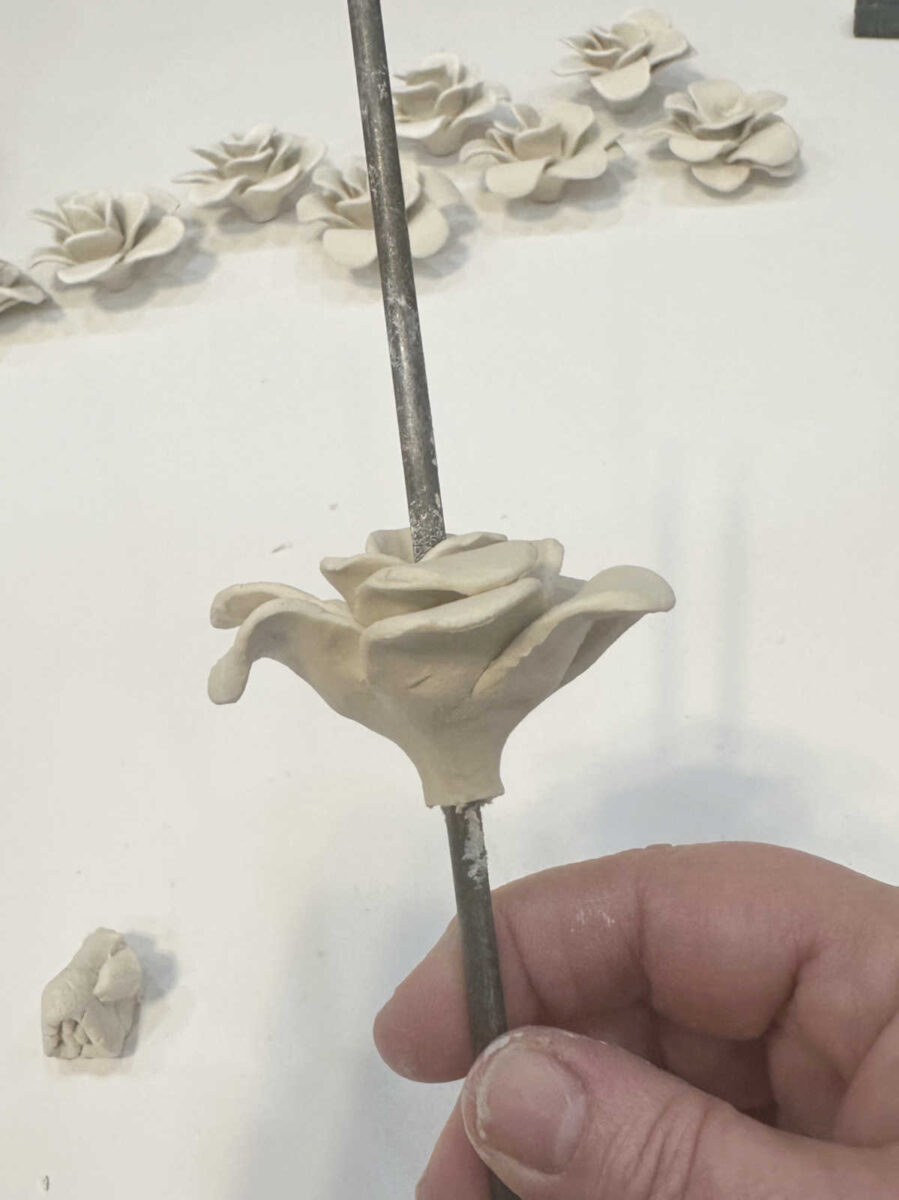
And at last, I dipped my finger into water and used it to easy out the lower edges.
And that’s it! It’s a fairly enjoyable course of, and I can inform you that I’d a lot moderately be doing this than constructing something proper now. I would like these enjoyable, inventive, simple initiatives now and again. And I’d say that my confidence degree has elevated to about 95%. 😀
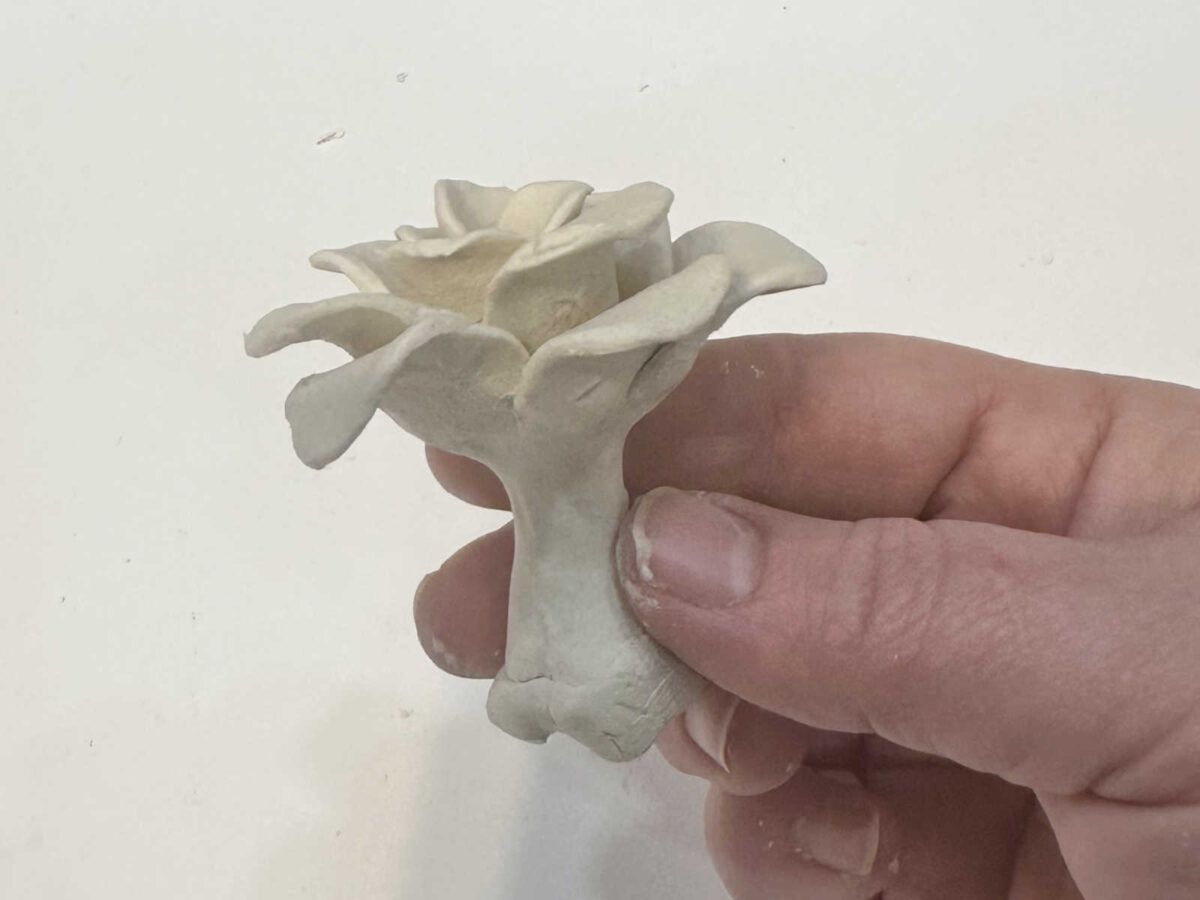
I nonetheless have to trim the “stems” on the chandelier body to the proper peak, so I didn’t need to connect the flowers but. However I used to be curious to see what a minimum of one would seem like. So right here’s a peek. I like it!

Addicted 2 Adorning is the place I share my DIY and adorning journey as I transform and beautify the 1948 fixer higher that my husband, Matt, and I purchased in 2013. Matt has M.S. and is unable to do bodily work, so I do nearly all of the work on the home on my own. You can learn more about me here.
Trending Merchandise


![Rustic Grey Mason Jar Sconces for Home Decor, Decorative Chic Hanging Wall Decor Mason Jars with LED Strip Lights, 6-Hour Timer, Silk Hydrangea, & Iron Hooks for Home & Kitchen Decorations [Set of 2]](https://m.media-amazon.com/images/I/41DPf4UgGOL._SS300_.jpg)
