
Effectively, I’m nonetheless engaged on trim within the bed room, and it’s nonetheless not completed. However I made fairly a little bit of progress over the weekend, and I’m nonetheless feeling actually motivated and excited to get in there and get this trim completed.
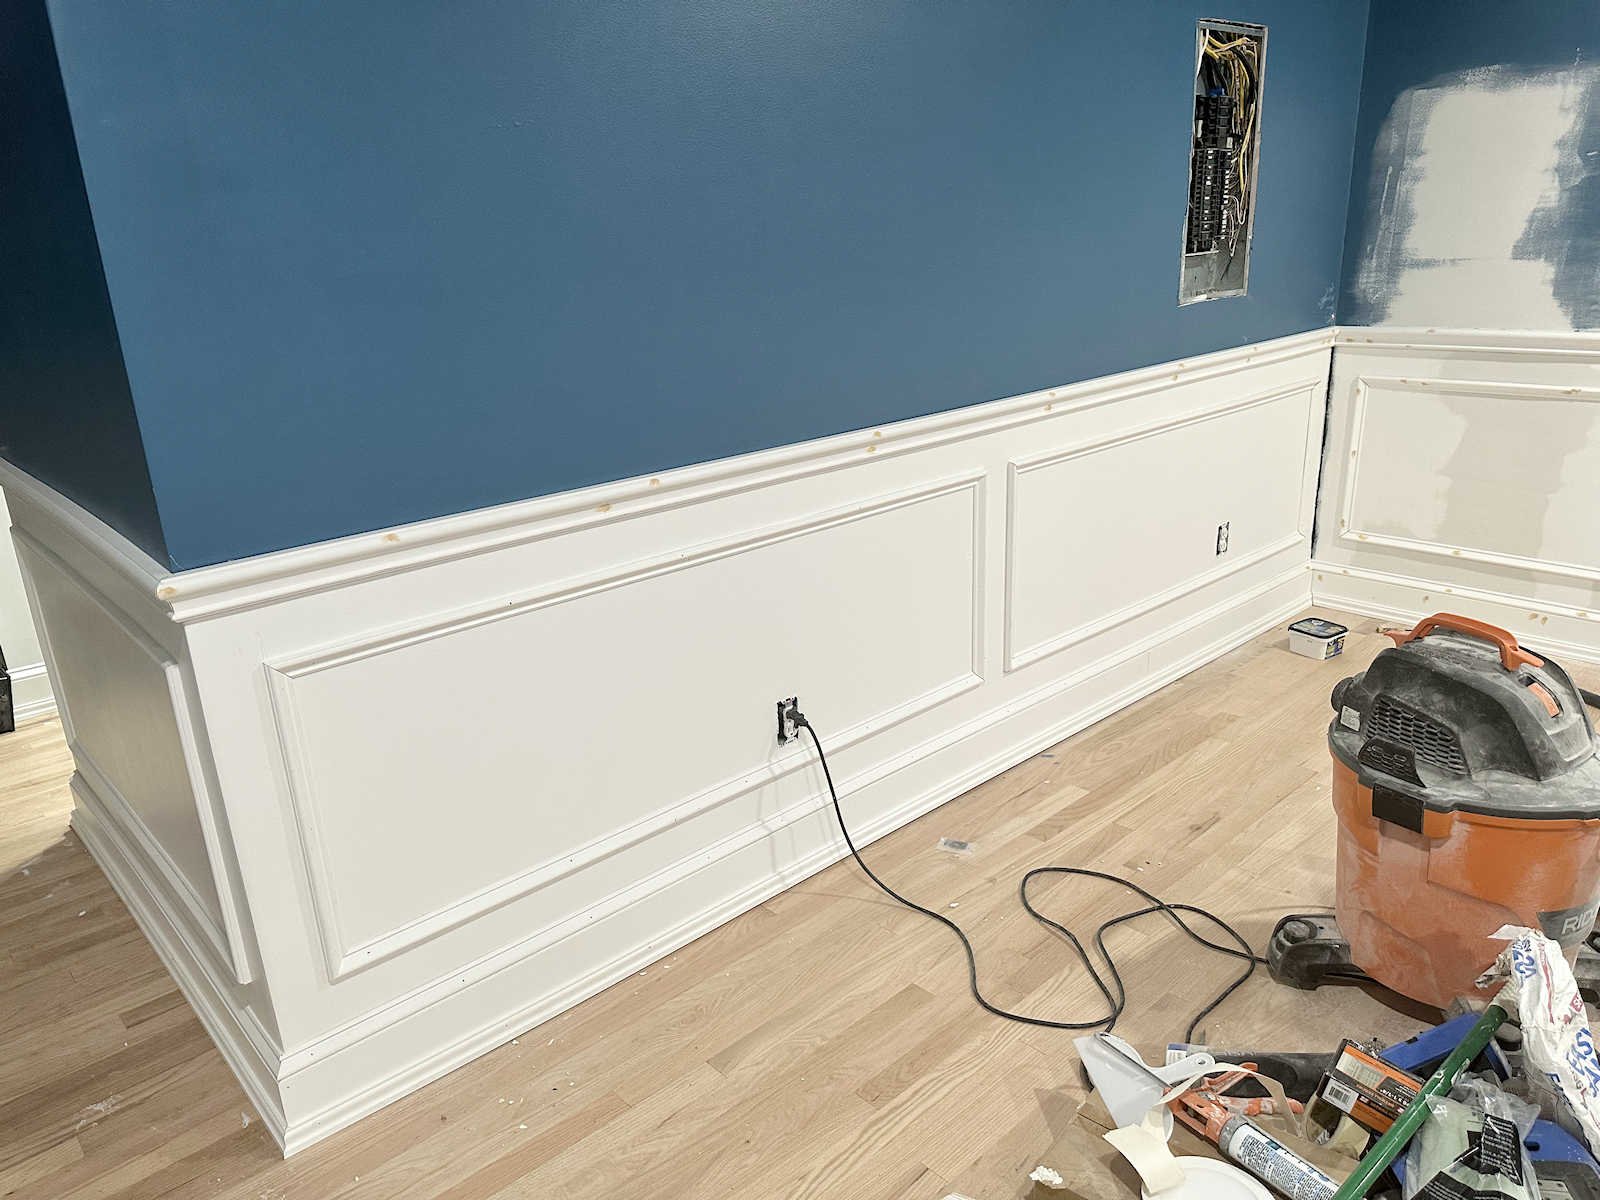
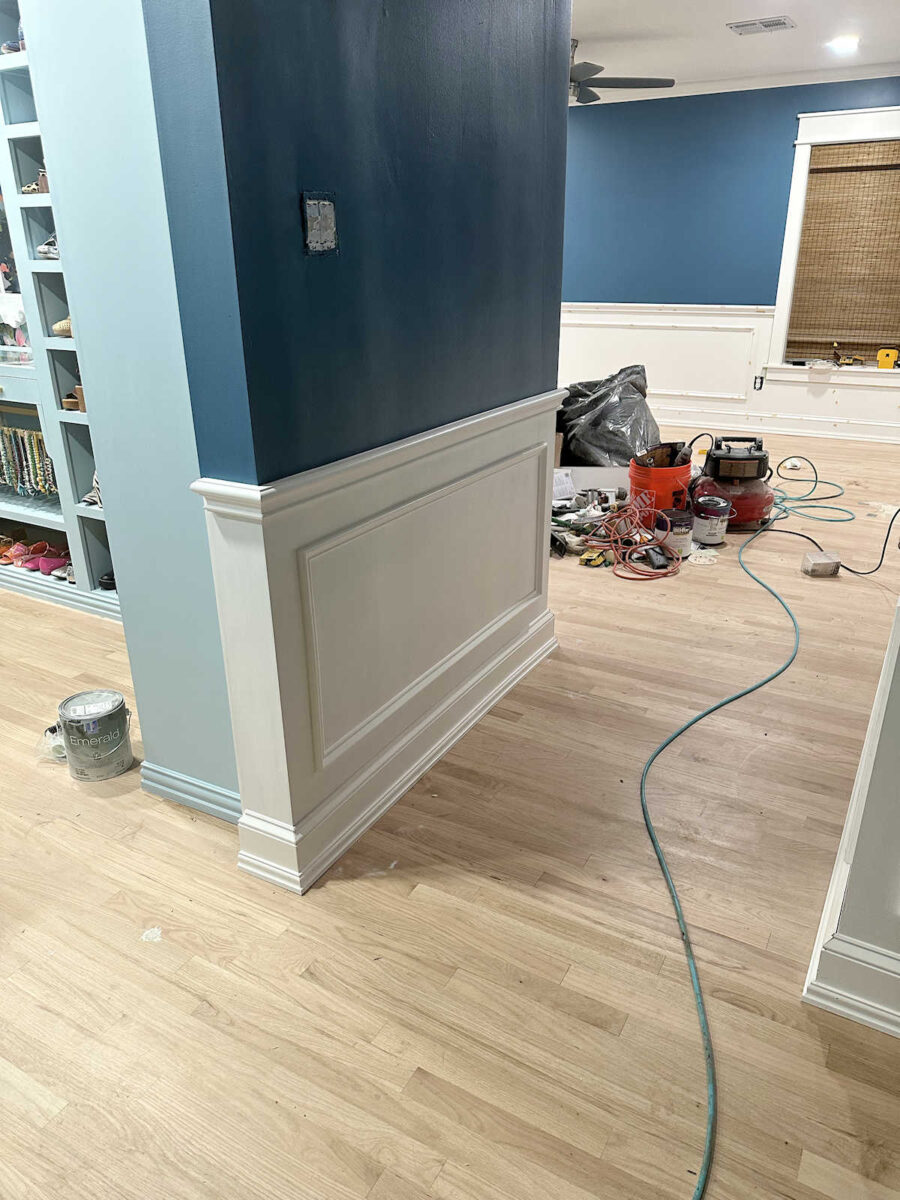
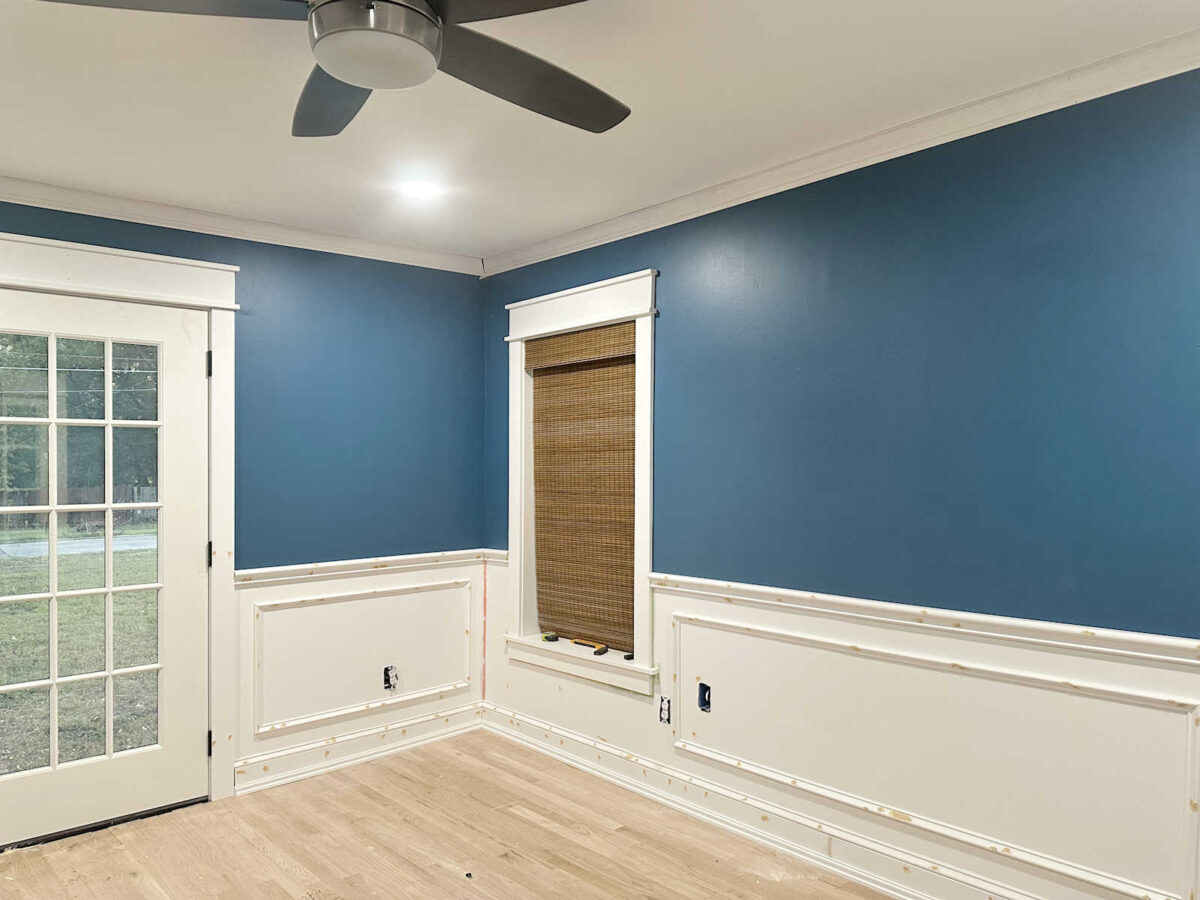
My first precedence this weekend was to get all the image body molding reduce and hooked up, in order that’s the place I began. As soon as all of that was put in, and I began filling the nail holes with wooden filler, I then wanted to resolve what to do about this massive hole on the backside of this wall. That’s not solely a vertical hole between the underside of the baseboard and the ground, nevertheless it’s additionally a niche between the entrance fringe of the baseboard and the place the flooring begins. So I knew that this is able to require one thing a lot bigger than a easy shoe molding or quarter spherical molding.
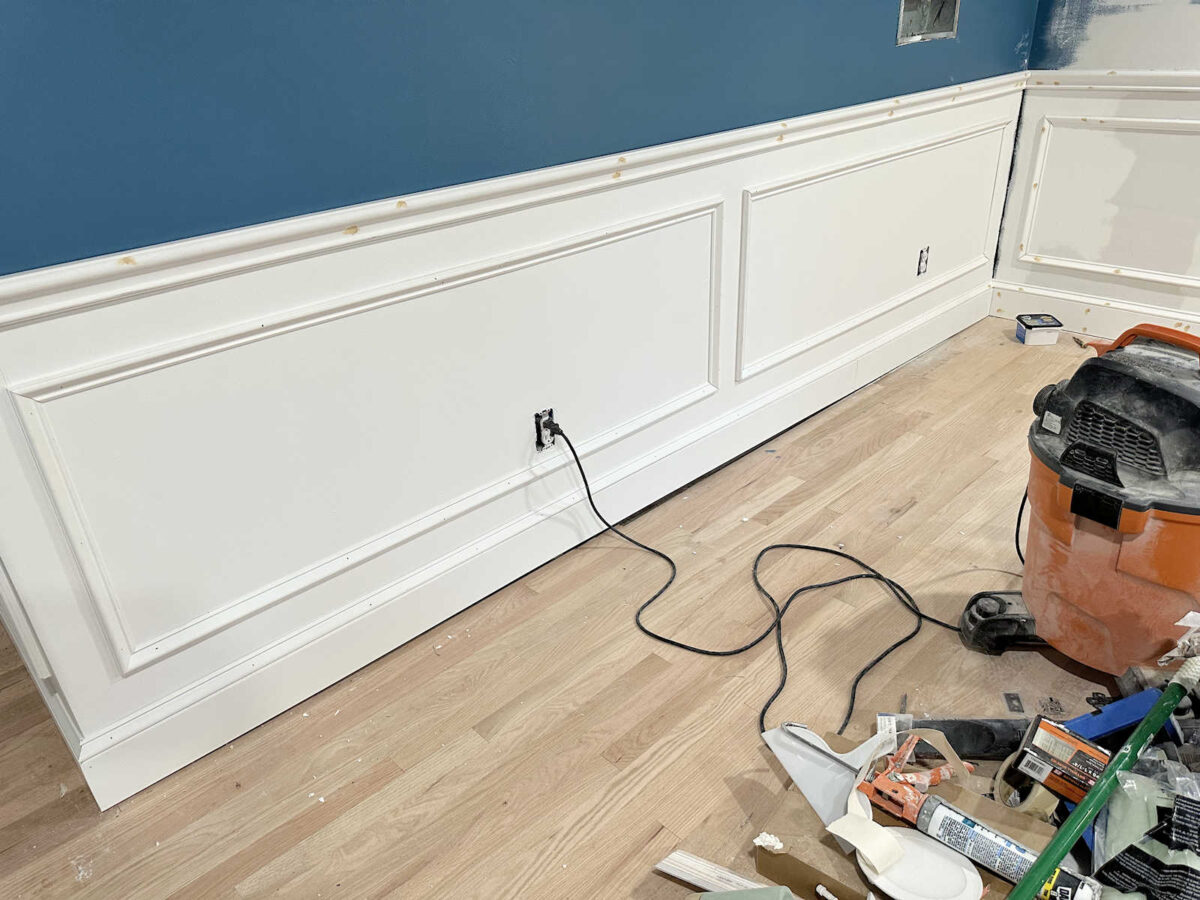
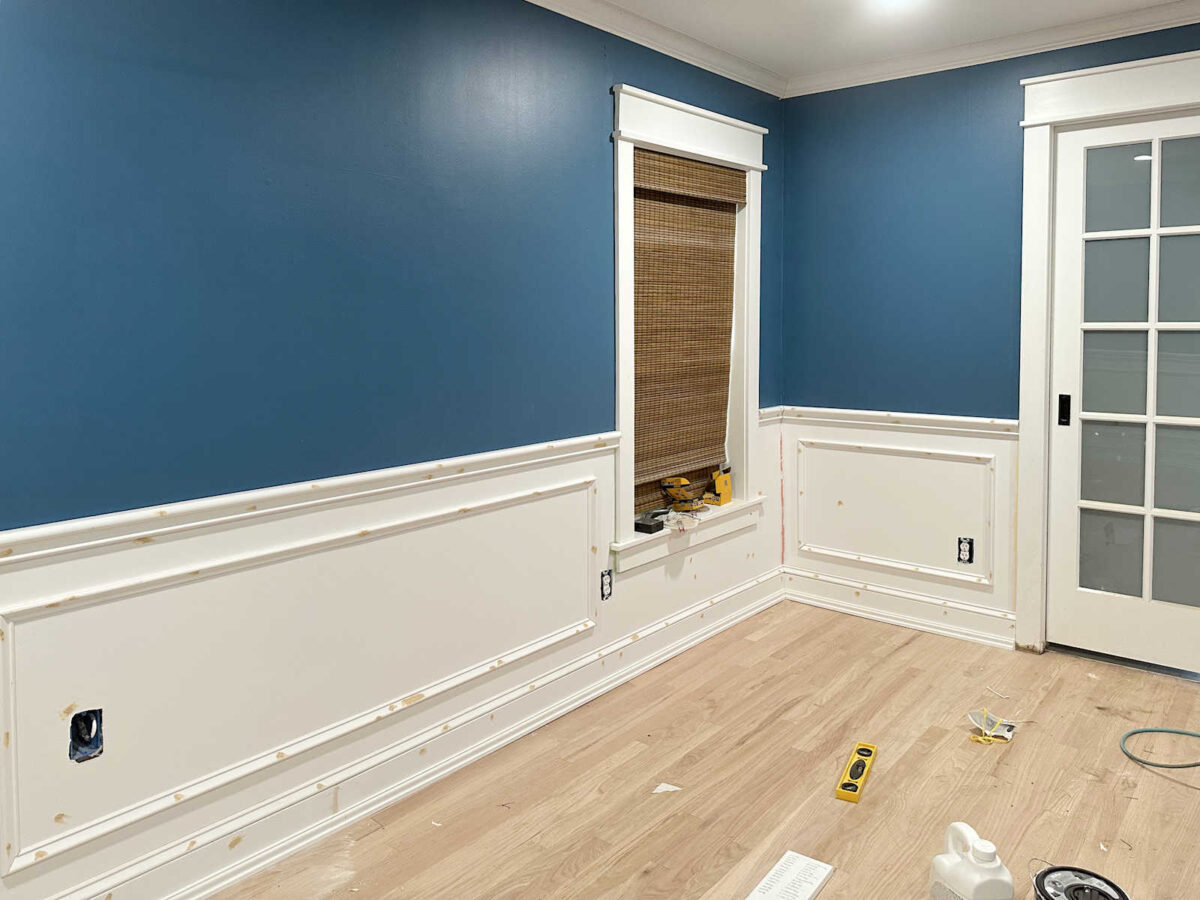
I checked out just a few choices at House Depot, nevertheless it didn’t take me lengthy to comprehend that the best choice could be one in every of my favourite trims from Lowe’s — this PVC shingle molding that comes in 8-foot lengths. When putting in it, I needed to break up the distinction vertically, so there’s nonetheless a small hole beneath the trim. I’m unsure but if I’ll go away it as is, or if I’ll caulk beneath it in order that the white meets the ground. However I believe it seems to be so significantly better now. And I like the look of that trim and the way it provides a bit extra class to the wainscoting.
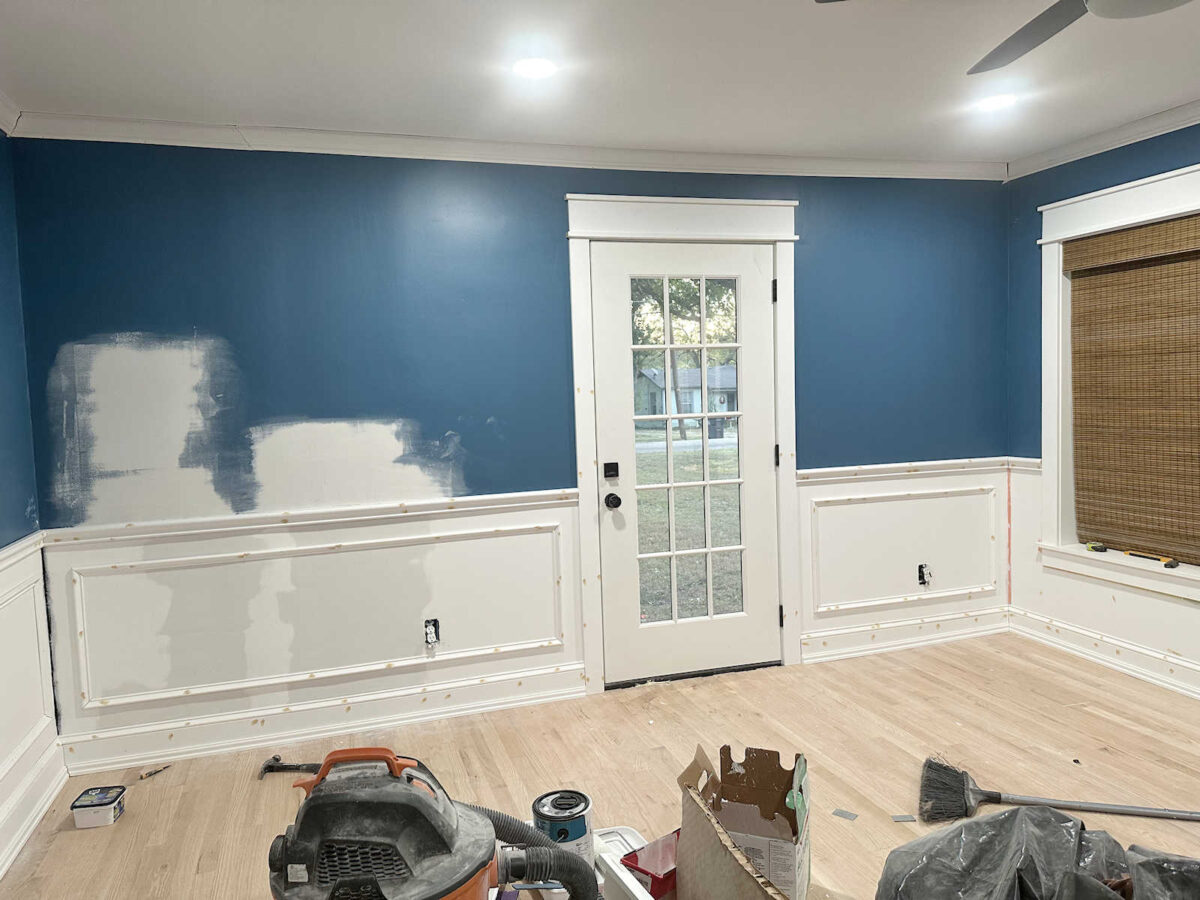
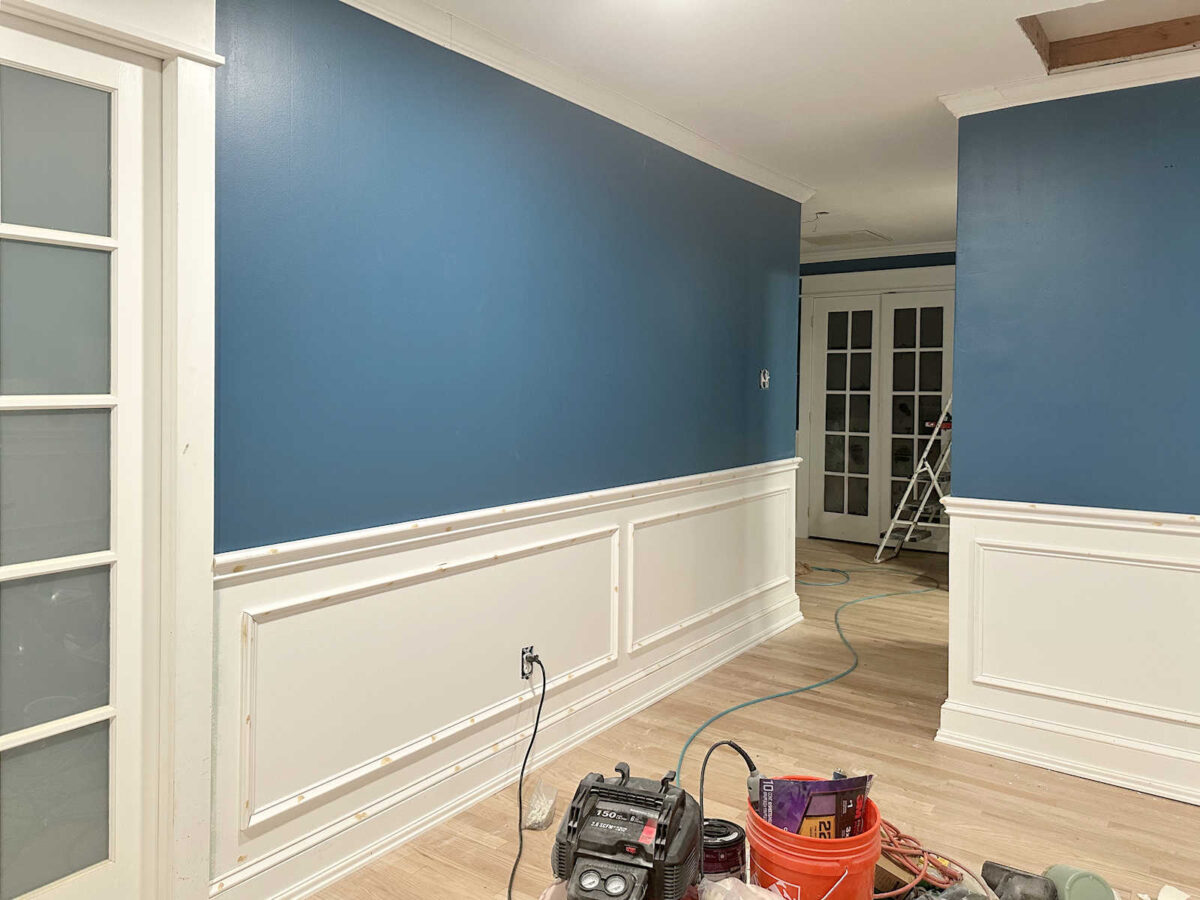
And since I used to be including it to the bed room, that meant that I additionally had so as to add it to the lobby. I used to be a bit annoyed having to return to an space that I believed was completed and having to do extra, however I’m so glad I did. I believe that backside trim provides such a phenomenal final touch. Right here’s what this space regarded like earlier than the trim.
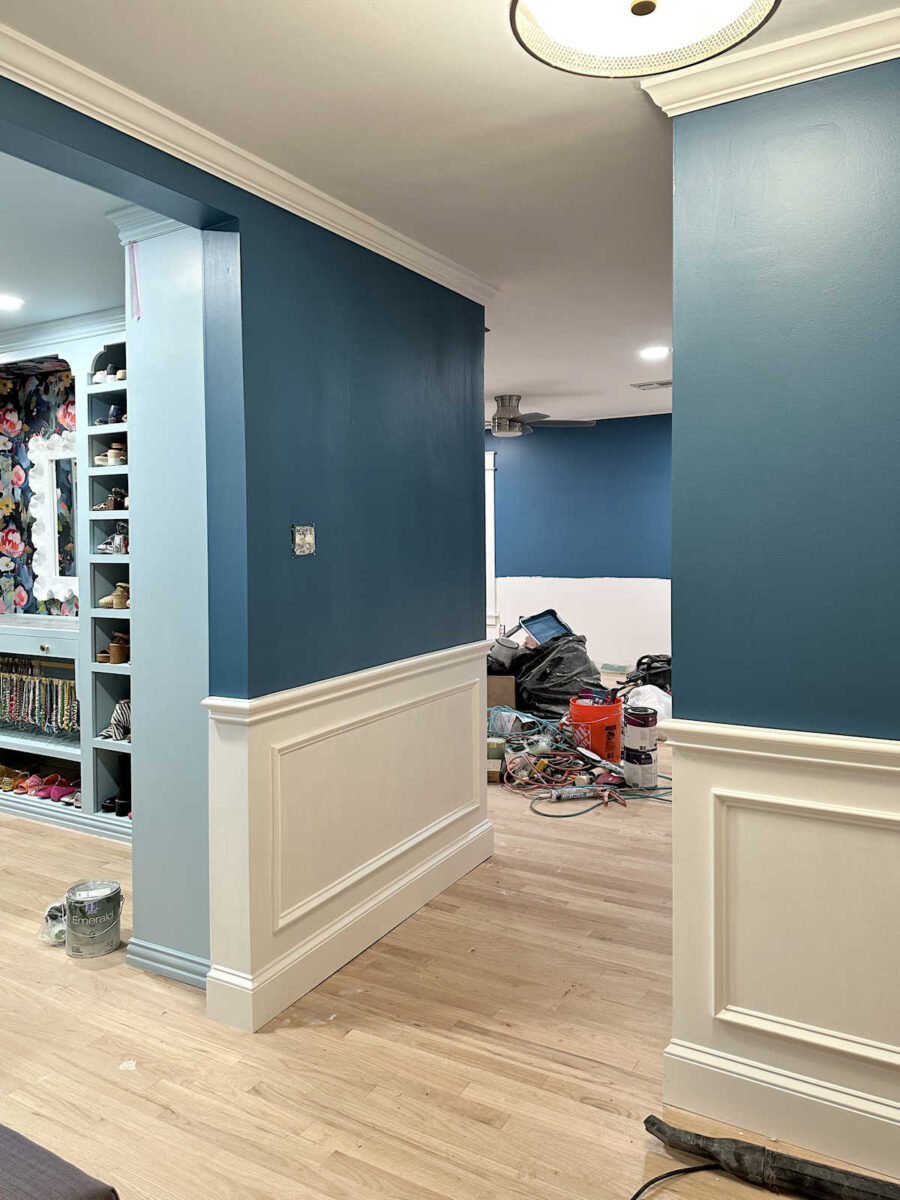
And right here it’s with the trim alongside the ground. I believe it actually completed it off properly.
Right here’s one other reminder of how the wall with the toilet door regarded final week earlier than I added the image body molding and the underside trim…
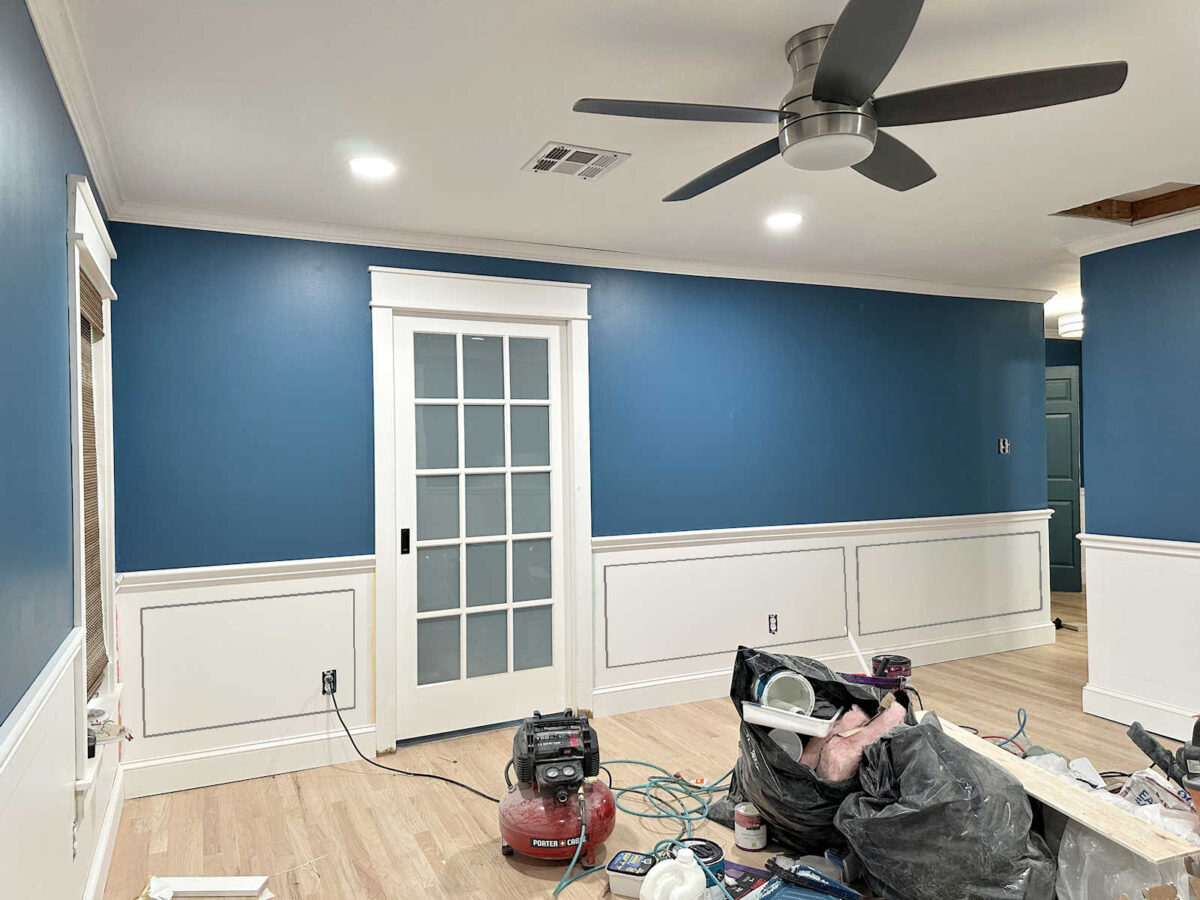
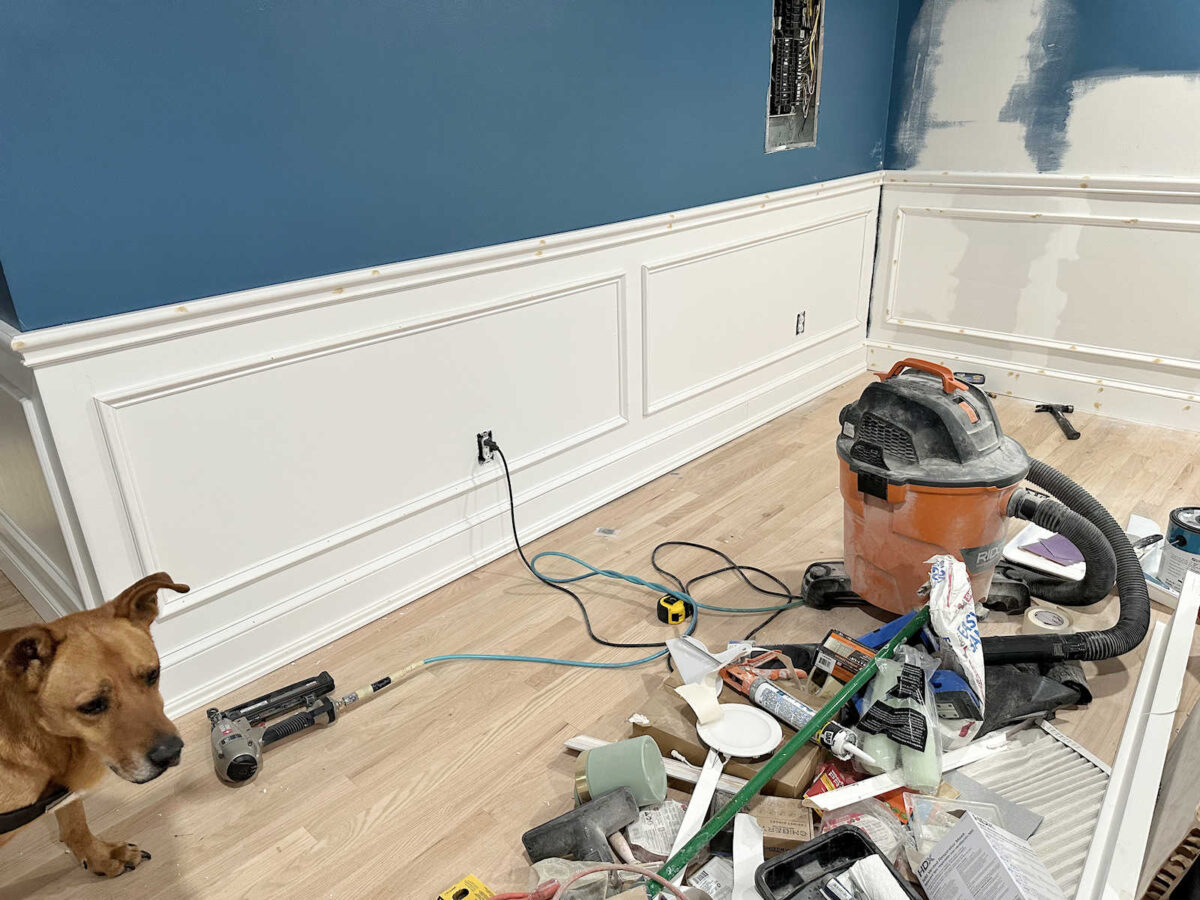
And right here it’s with all the trim put in. I’m nonetheless engaged on sanding all the wooden filler on the nail holes, after which I’ll simply must caulk and paint.
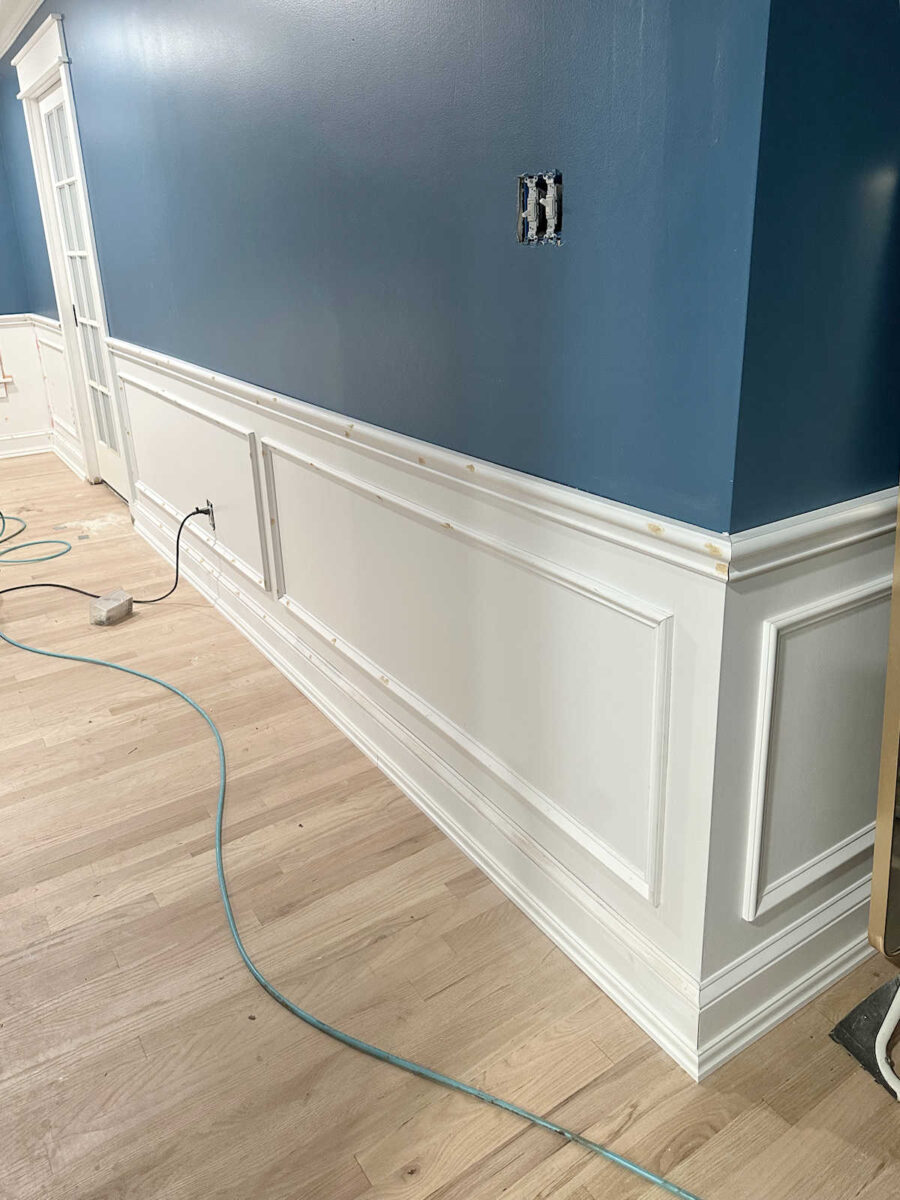
This wall continues to be a large number, however not less than all the trim is put in. I made a decision to attend on the priming and portray on the areas the place I had to take action a lot restore on the wavy wall. I used to be going to do it earlier than, however I simply wished to get the trim on and never have to attend for primer and paint to dry first. Since I nonetheless have to take action a lot portray, it received’t be an enormous deal to prime and paint that space after I’m portray the remainder of the trim.
This nook continues to be a little bit of a large number, nevertheless it’s so significantly better than it initially regarded. And as soon as the draperies are up, that prime nook might be hidden anyway, so I’m not likely fearful about it.
So I did get quite a bit accomplished, however I’m now caught on the gradual half — all the wooden filling, sanding, and caulking. However not less than I see that vibrant mild on the finish of the tunnel, and I’m nonetheless feeling very inspired and motivated.
And I’m feeling an enormous sense of aid now that I do know this wall will truly look first rate when it’s all stated and accomplished. I used to be very involved that I’d by no means have the ability to disguise that unlevel flooring, however I don’t suppose it seems to be dangerous in any respect.

In actual fact, I believe it seems to be fairly wonderful contemplating what I needed to work with (i.e., essentially the most unlevel room in our whole home).
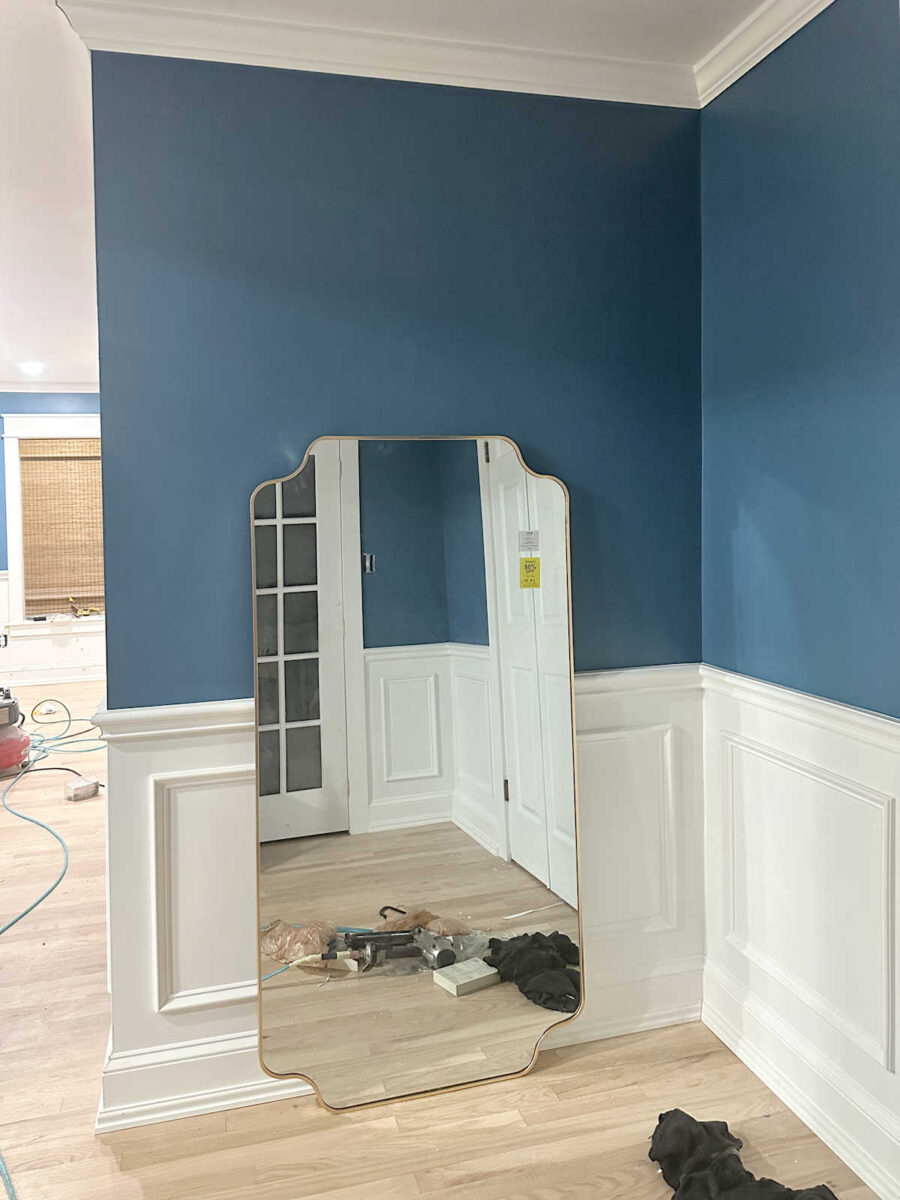
And in different information, I lastly introduced the brand new mirror in to see what it’ll appear like within the lobby. I believe it’s going to be so fairly! I simply must get the wiring run for the sconces that can flank the mirror.
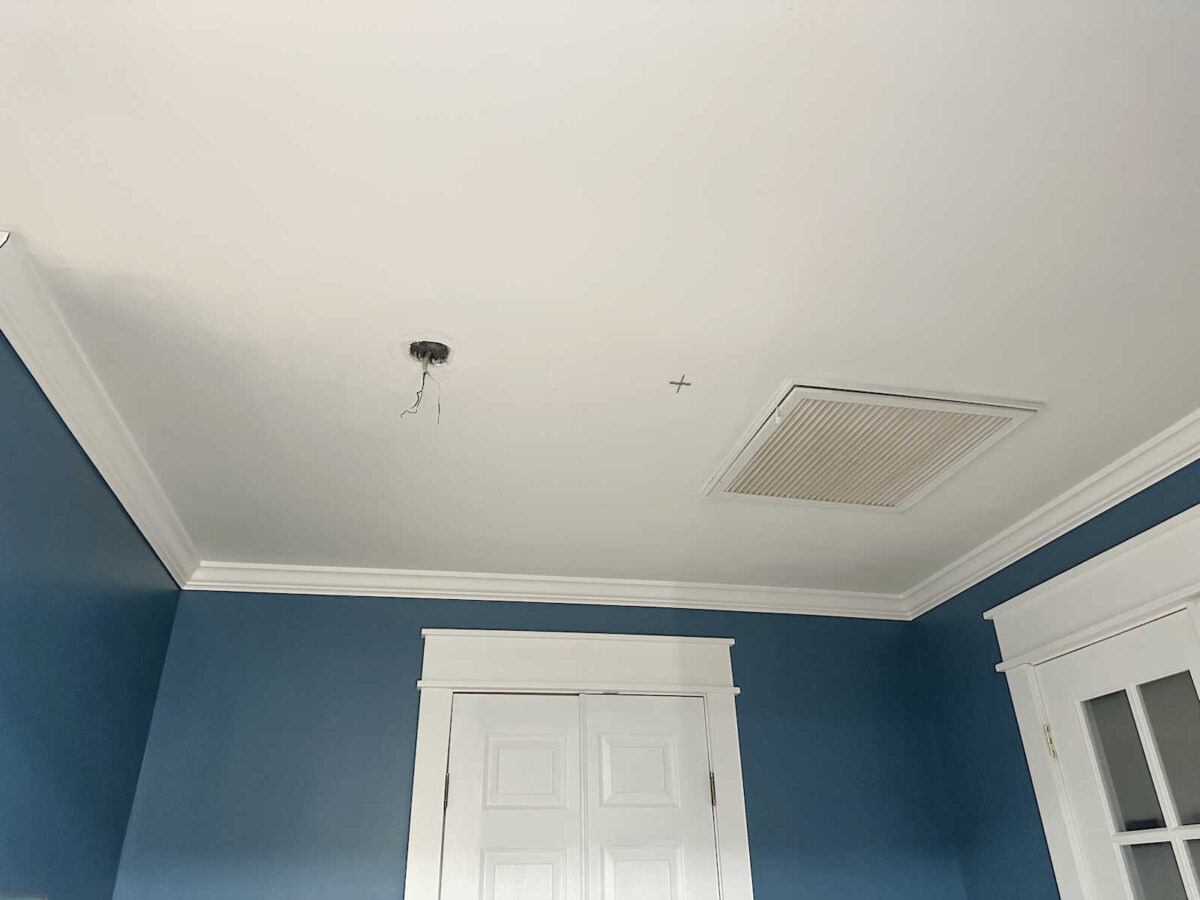
And I additionally began to maneuver the ceiling field for the brand new mild, after which I noticed that earlier than I set up the brand new mild, I’m going to have to show the vent on the HVAC consumption duct in order that it opens from the opposite aspect. If I maintain it as it’s, it’s going to open proper onto the brand new mild. In order that’s yet another mission added to my “to do” listing. Hopefully, will probably be a straightforward repair.
In order that’s the progress! Having to take the time to go and buy that backside trim after which reduce and set up it positively slowed me down, however I’m so glad that I did it. I believe that new trim is the right final touch for the wainscoting. It actually took the general look of the wainscoting up a notch whereas going a good distance in the direction of hiding some drawback areas.
I felt fairly assured that it might all work out in the long run, however I’ve to confess that I used to be having some doubts throughout that “in between” stage as I used to be engaged on the wainscoting. At one level, I believed I had made an enormous mistake with my determination so as to add wainscoting to those areas, however persistence and artistic options have paid off. Hopefully, with these points solved, I can get these partitions fully completed within the subsequent couple of days.
Extra About Our Grasp Bed room
see all grasp
bed room diy tasks

learn all grasp
bed room weblog posts

Addicted 2 Adorning is the place I share my DIY and adorning journey as I rework and beautify the 1948 fixer higher that my husband, Matt, and I purchased in 2013. Matt has M.S. and is unable to do bodily work, so I do the vast majority of the work on the home on my own. You can learn more about me here.
Trending Merchandise


![Rustic Grey Mason Jar Sconces for Home Decor, Decorative Chic Hanging Wall Decor Mason Jars with LED Strip Lights, 6-Hour Timer, Silk Hydrangea, & Iron Hooks for Home & Kitchen Decorations [Set of 2]](https://m.media-amazon.com/images/I/41DPf4UgGOL._SS300_.jpg)
