
I modified my thoughts on what I needed to work on yesterday. As a substitute of engaged on the island, I made a decision I needed to attempt to knock off as lots of the small objects left on my to-do listing as potential. I gained’t bore you with each tiny element, however I began off the day with 30 objects on my listing, and I acquired 14 of them performed, and the fifteenth is in progress. So it was a really productive day! And getting nearly 15 issues knocked off of my listing felt a lot extra satisfying than simply attempting (and presumably failing) to get one massive factor performed. I wanted that enhance yesterday.
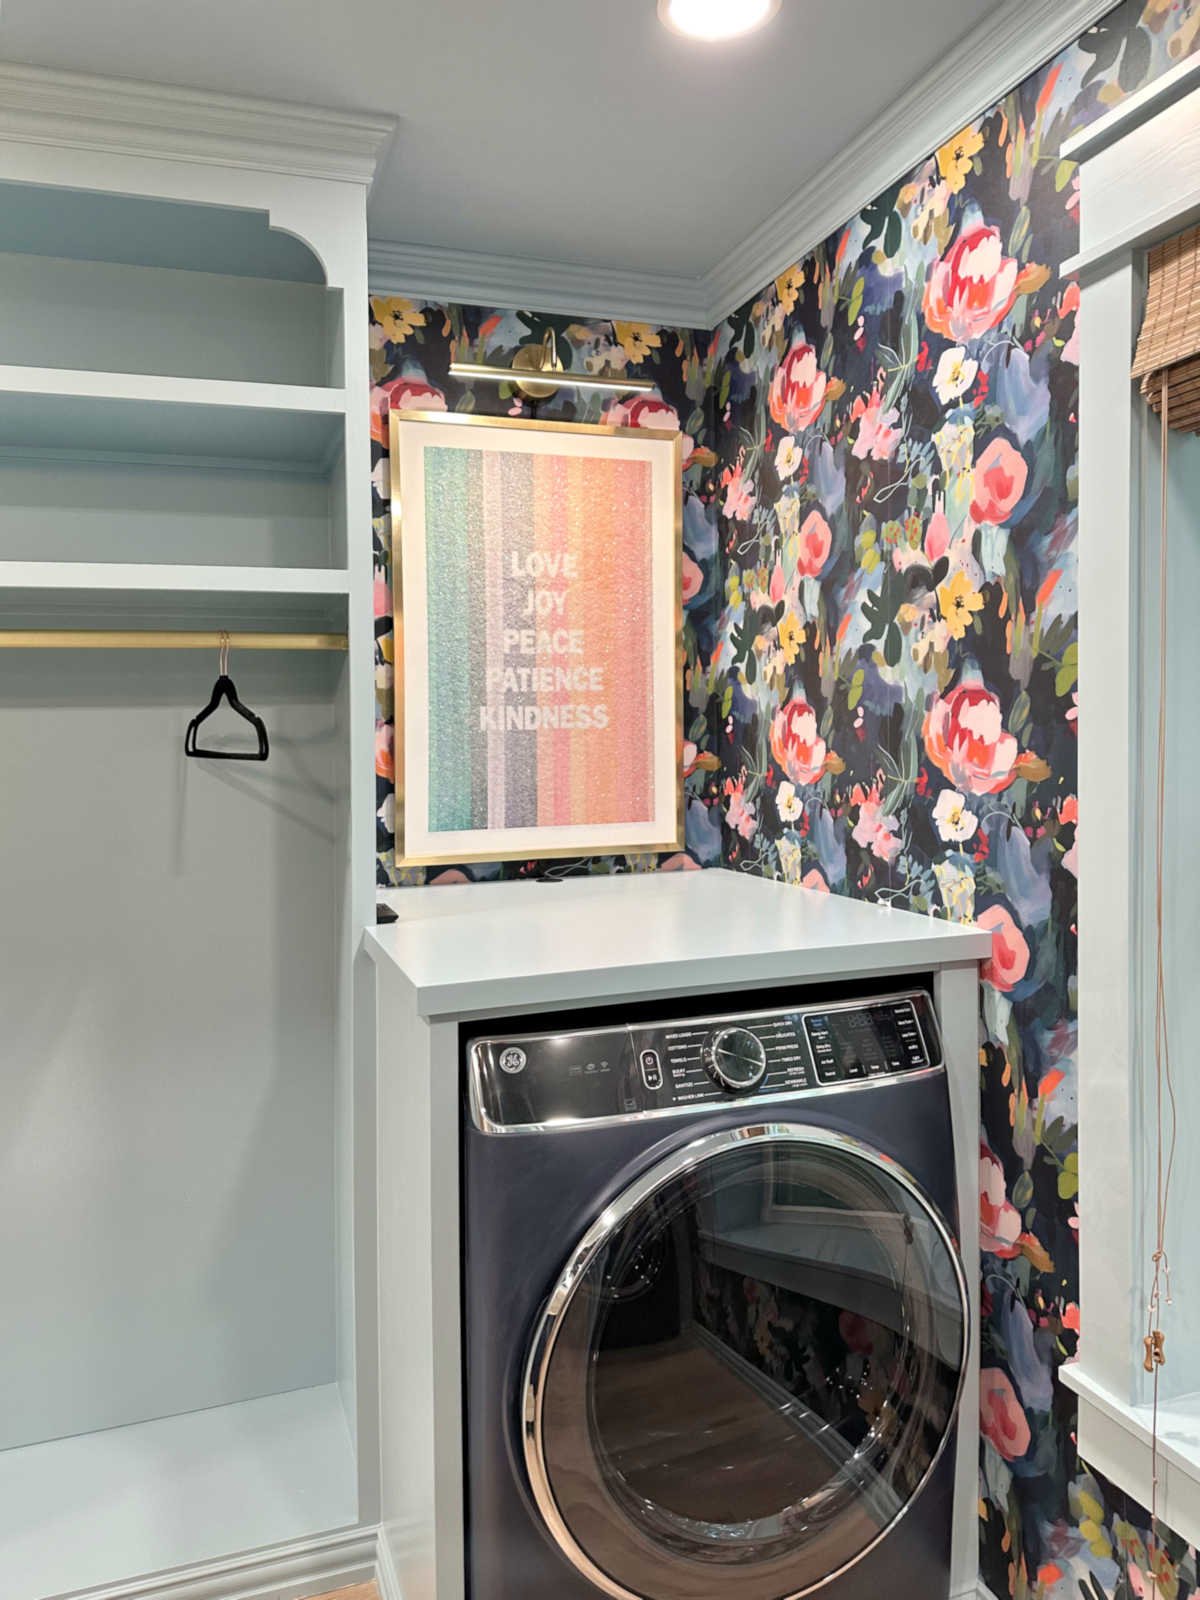
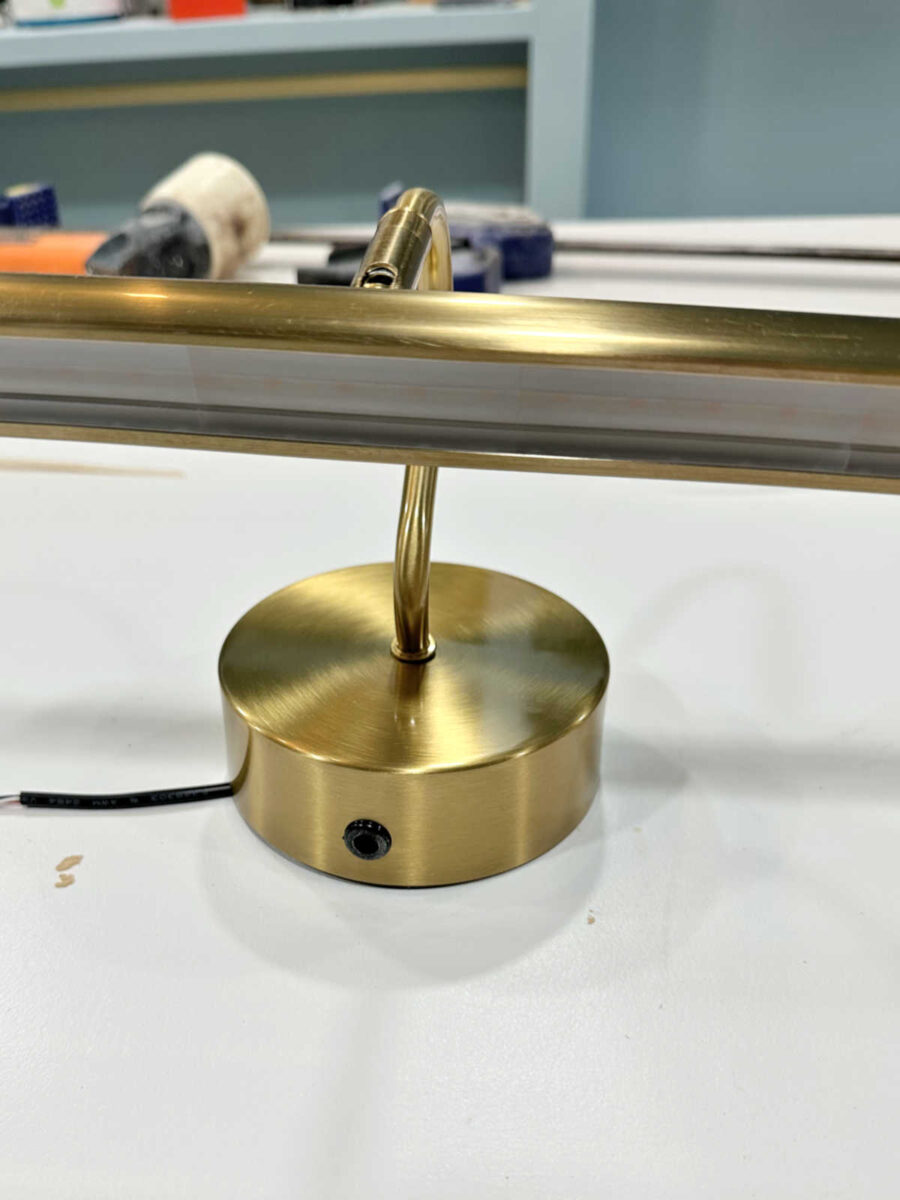
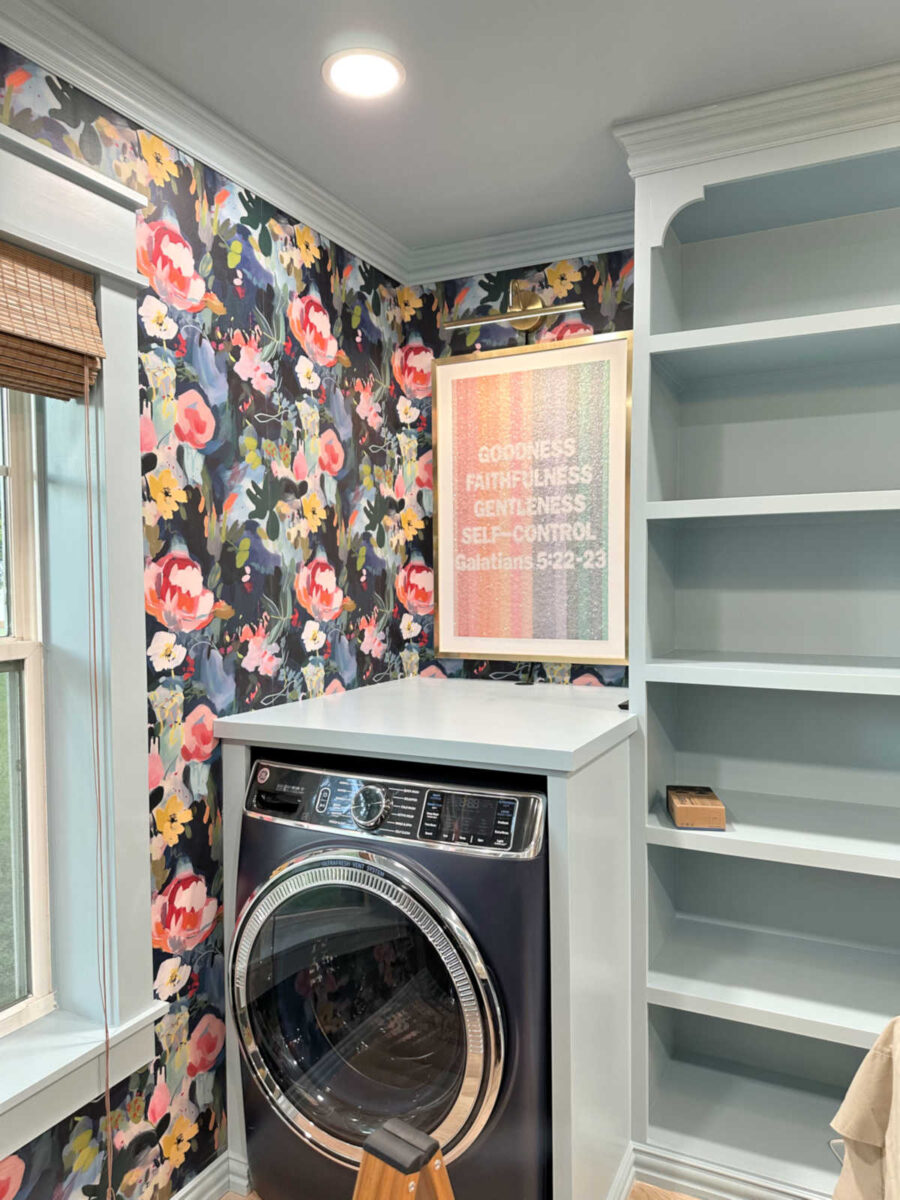
The very first thing I needed to get performed was hanging the images and lights above the washer and dryer. I purchased these picture lights (affiliate hyperlink) that come able to be hardwired, however I didn’t need to put junction containers within the wall. So I made a decision to wire them in order that they are often plugged in as a substitute. Fortunately, they’d a gap within the backplate in order that they could possibly be wired for plugin.
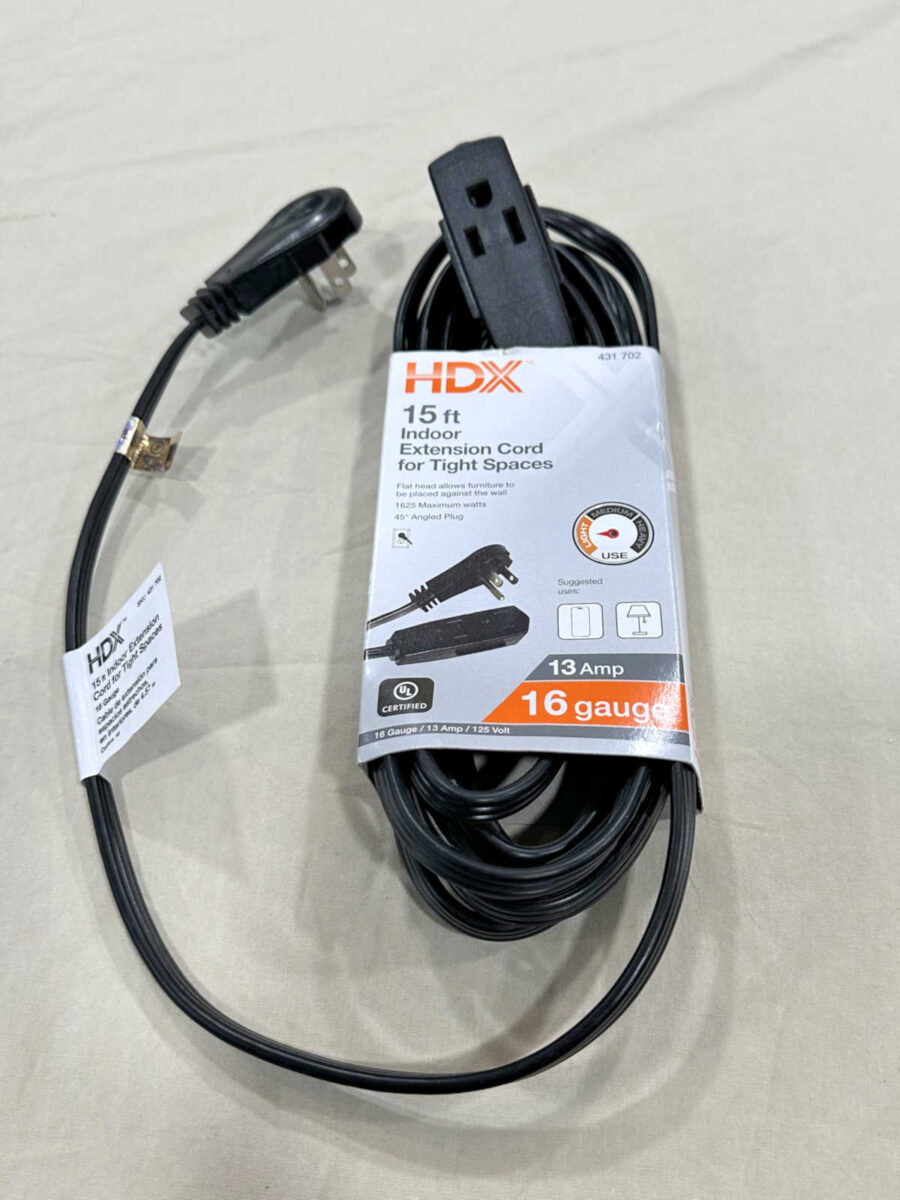
To try this, I bought two of those extension cords from Residence Depot…
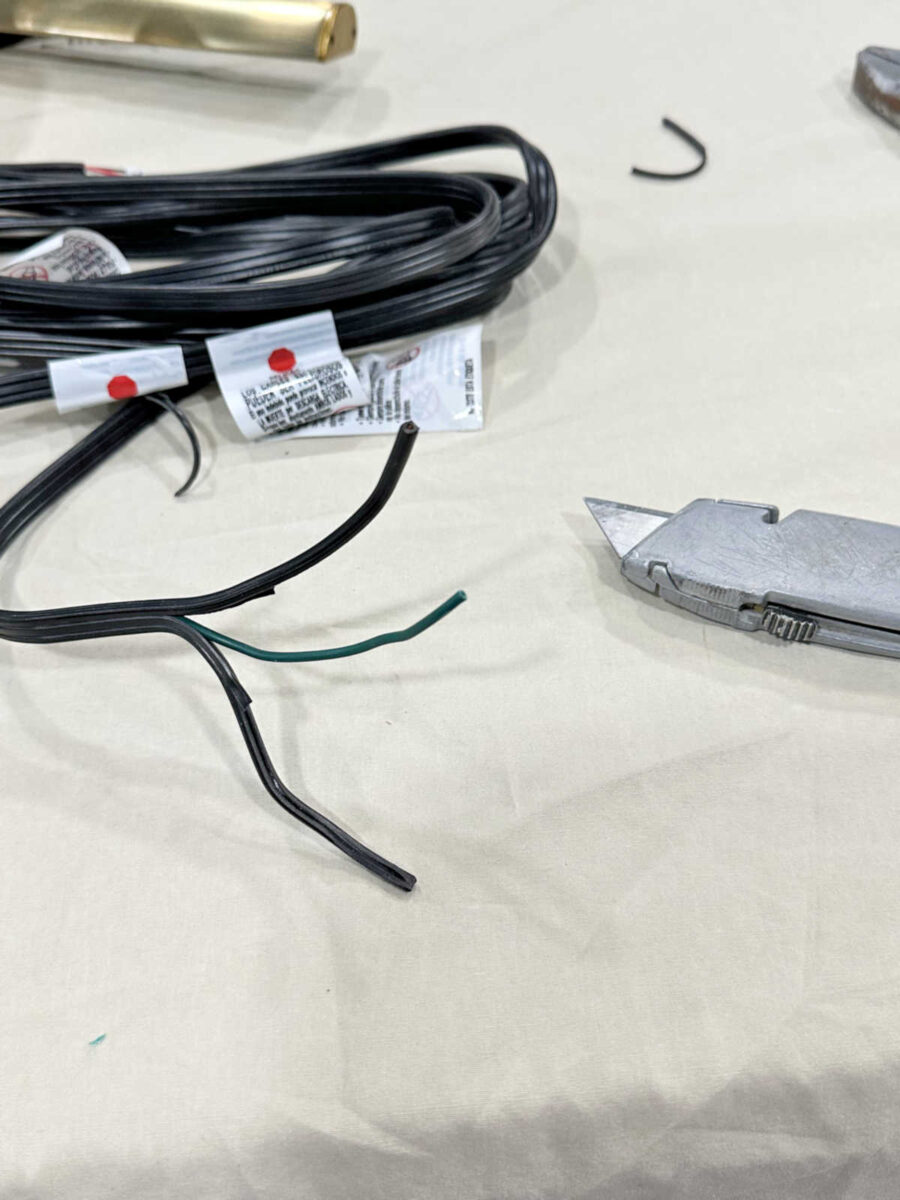
After which I used my wire cutters to chop the receptacle finish off of the twine.
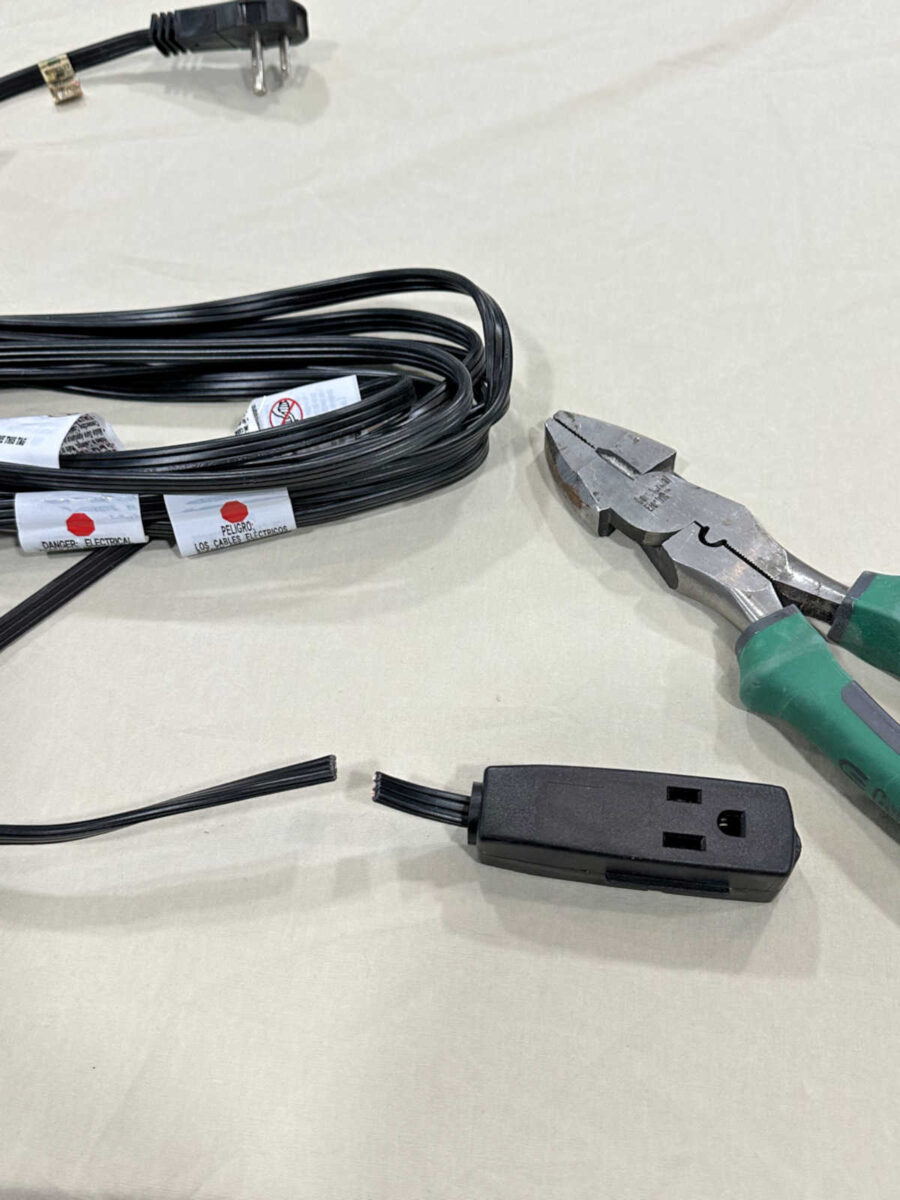
Utilizing my utility knife, I separated the three wires.
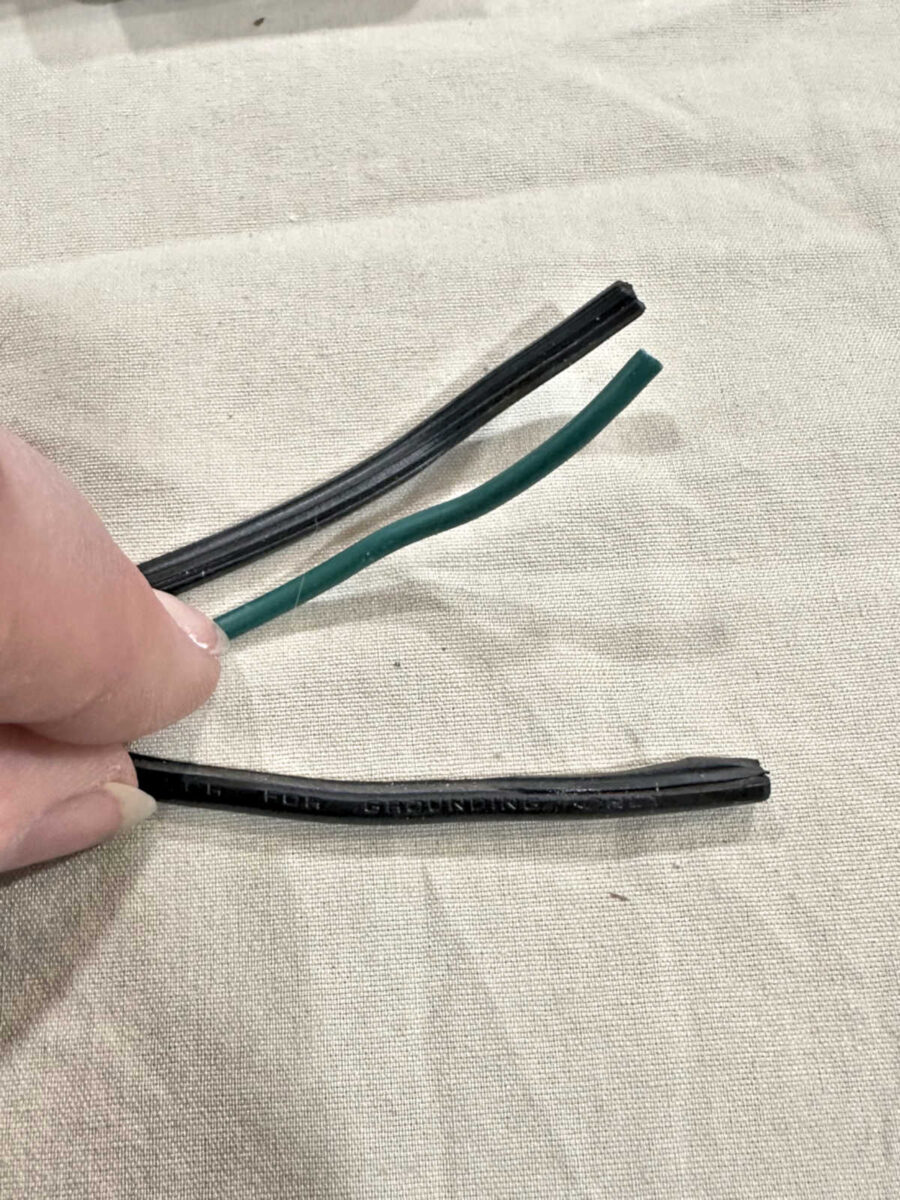
Subsequent, I recognized the new wire and the impartial wire. The wires within extension cords are nearly by no means wrapped in black and white, so it’s not fairly as simple to determine which one is scorching and which one is impartial. However all it’s important to do is take a look at the sheathing on every wire. You’ll discover that the sheathing on one can be easy, and the sheathing on the opposite can be ribbed going the size of the wire. The ribbed wire is the impartial that connects to the white wire within the mild fixture. The sleek wire is the new wire that connects to the black wire within the fixture.
Hopefully you possibly can see what I imply within the photograph beneath. The wire on the underside is the graceful (scorching) wire and the wire on the highest is the impartial (ribbed) wire. You do should watch out not to concentrate to the areas the place the person sheathings had been lower or torn aside. These torn/lower elements can usually be mistaken for the ribbed sheathing, so it’s important to be sure you ignore these areas.
After which stripped the tip of every wire about 5/8 inch.
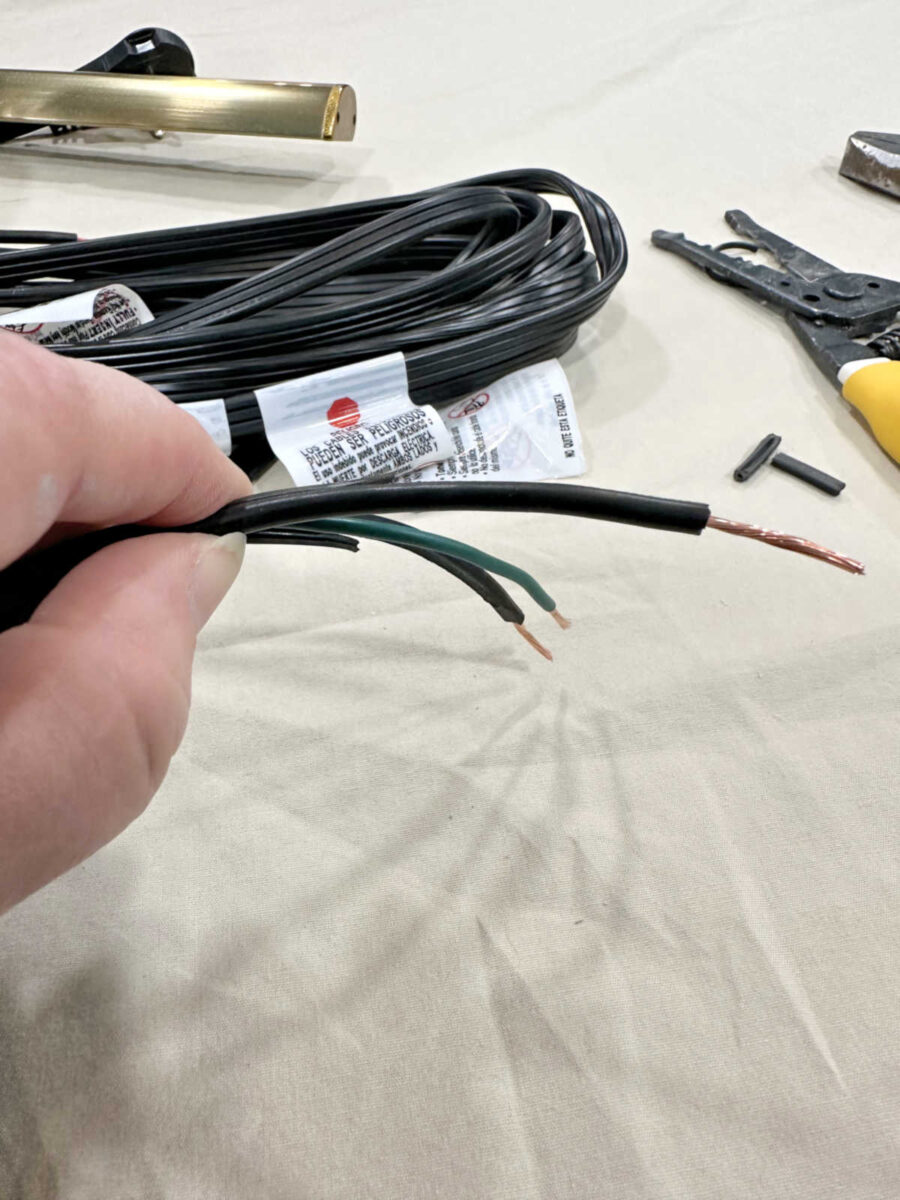
And eventually, I put the wires by way of the opening on the backplate of the sunshine, and wired the twine to the sunshine — easy to black, ribbed to white, and floor to floor.
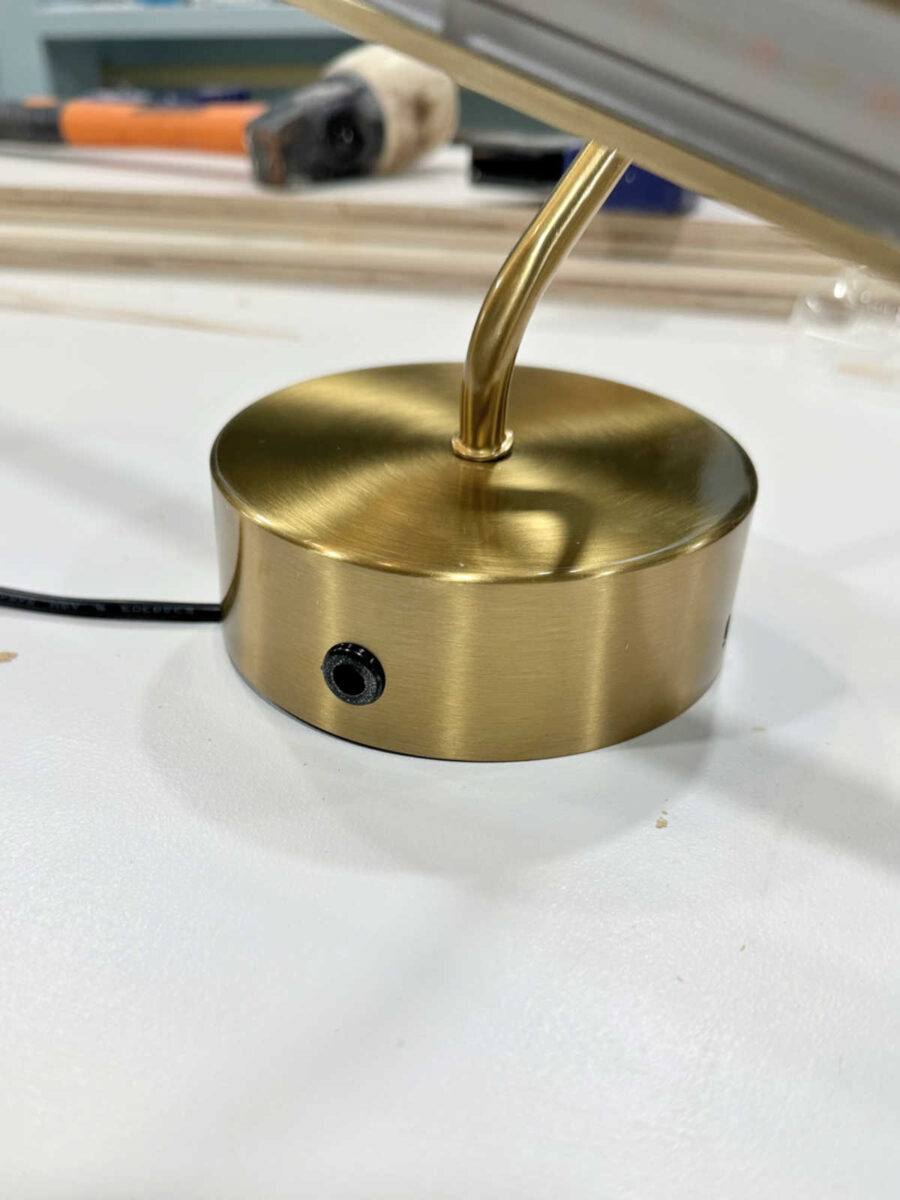
The set up was the identical as it will have been had I hardwired it. I used the identical mounting plate supplied. The one distinction is that the twine comes out the underside of the sunshine and runs behind the image.

I actually love these lights. They arrive with a distant, and you’ll change the colour in addition to the brightness.
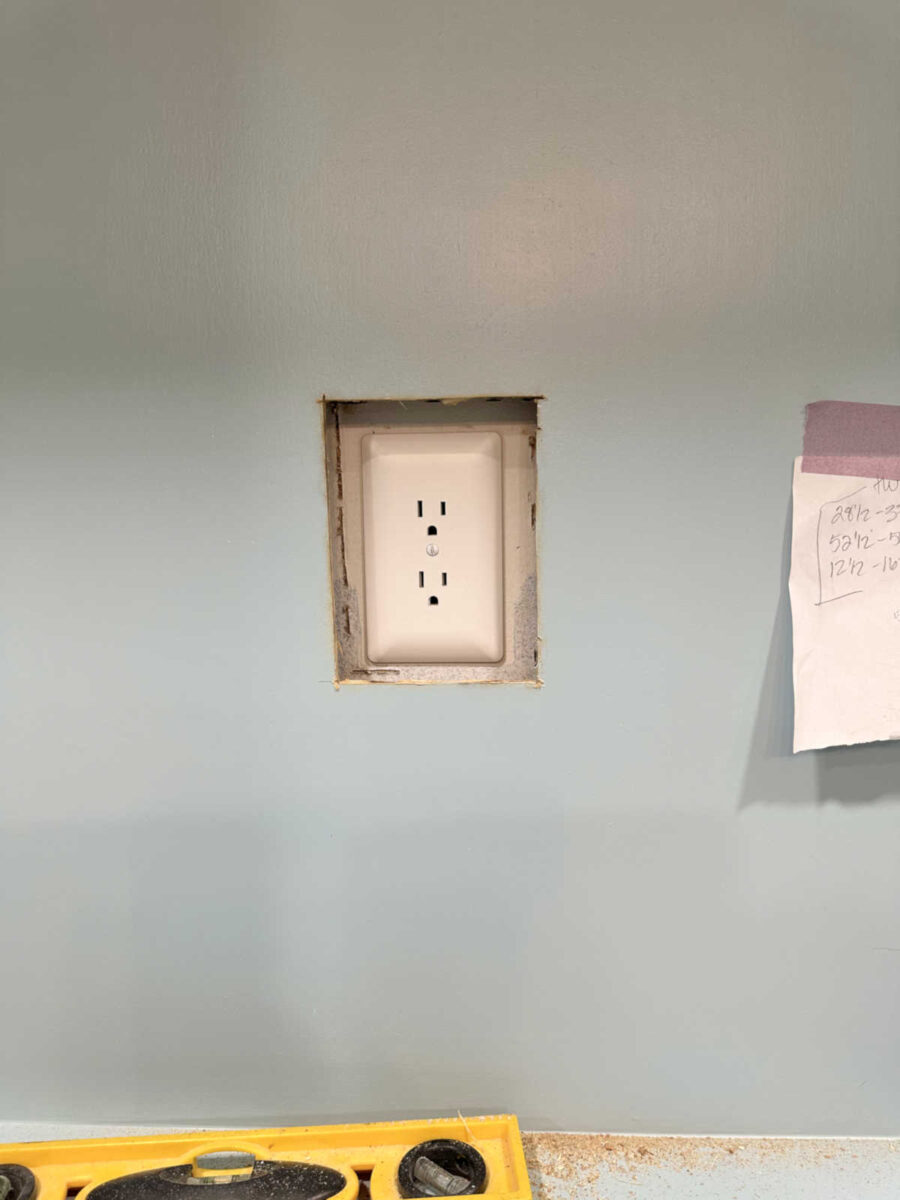
I need to share another of my tasks from yesterday that is likely to be useful for a few of you. I’ve 4 shops that had been coated over by the closet cupboards, so that they wanted to be uncovered. Typically, I used field extenders in order that they shops might be prolonged in order that they’re flush with the again of the cupboards. However on this case, there wasn’t sufficient wire to convey them ahead that a lot. So I needed to get artistic.
I used my Dremel Multi-Max to chop a rectangle that was about 1.25″ bigger than the outlet on all sides. After which I used a full protection paintable outlet cowl on the wall.
Then I used 1/4″ wooden, lower to the width I wanted on my desk noticed, and made this dimensional body. The again half matches into the rectangle I lower and sits towards the wall, and the entrance half frames it in order that the lower edges of the cupboard again are hidden.
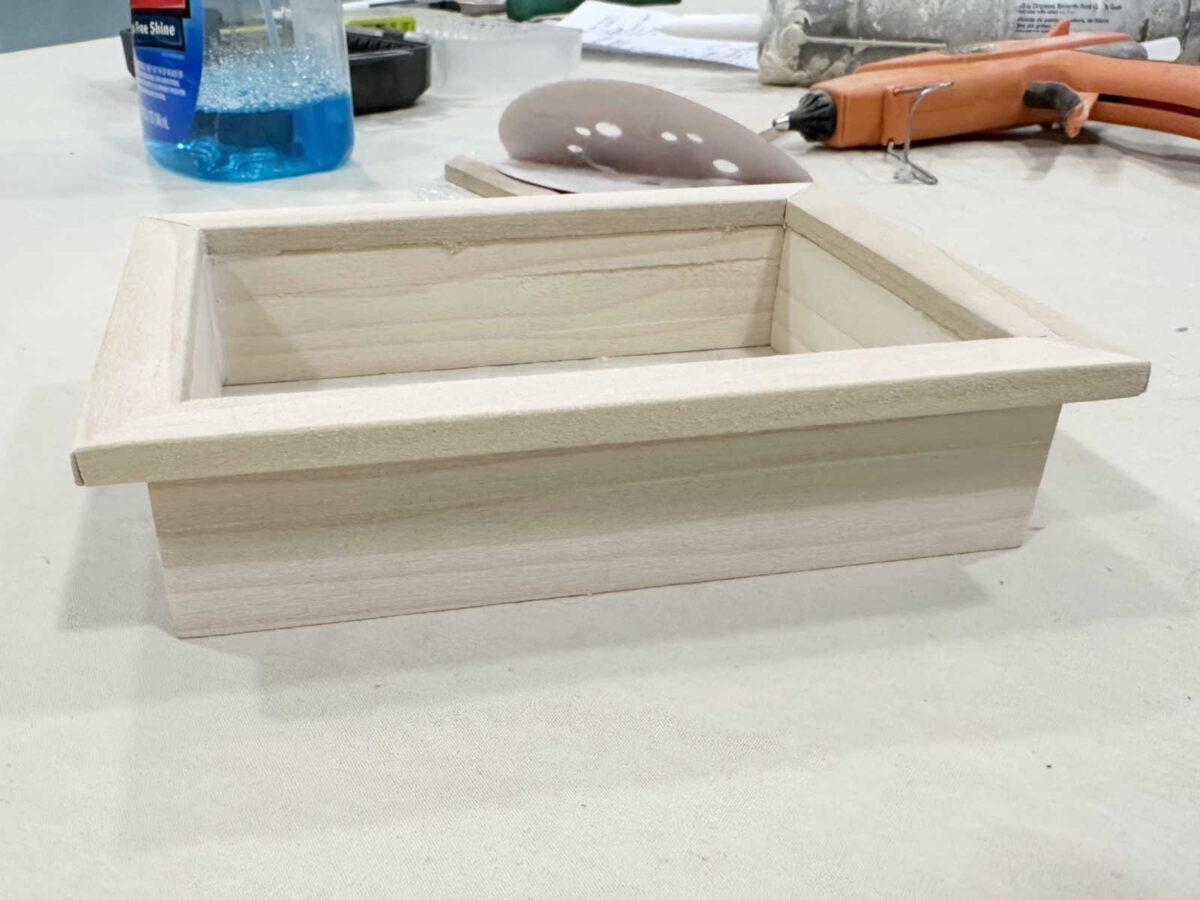
I put it along with my scorching glue gun, did a bit of caulking, after which positioned it into the rectangle cutout and secured it with 5/8″ 18-gauge nails.
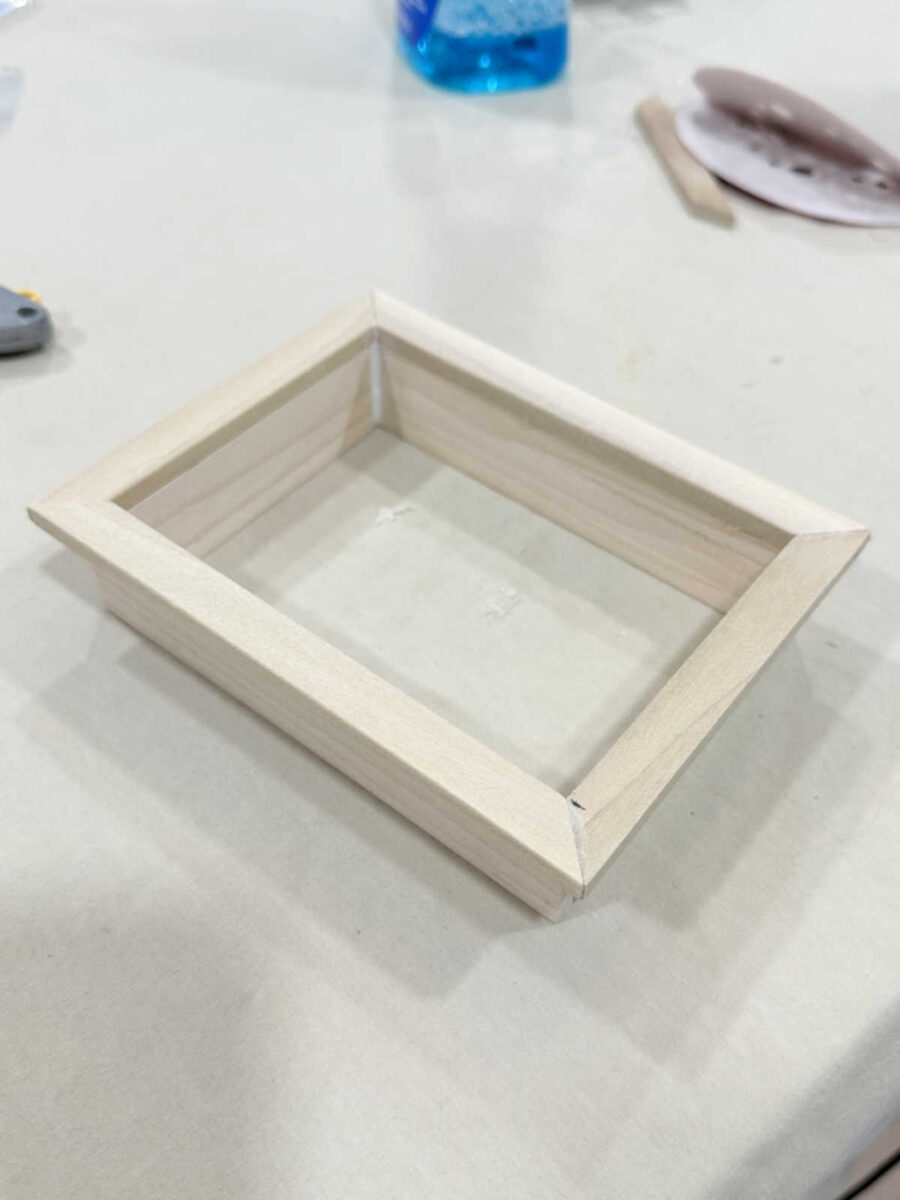
After which I painted the entire thing to match the again of the cupboard.
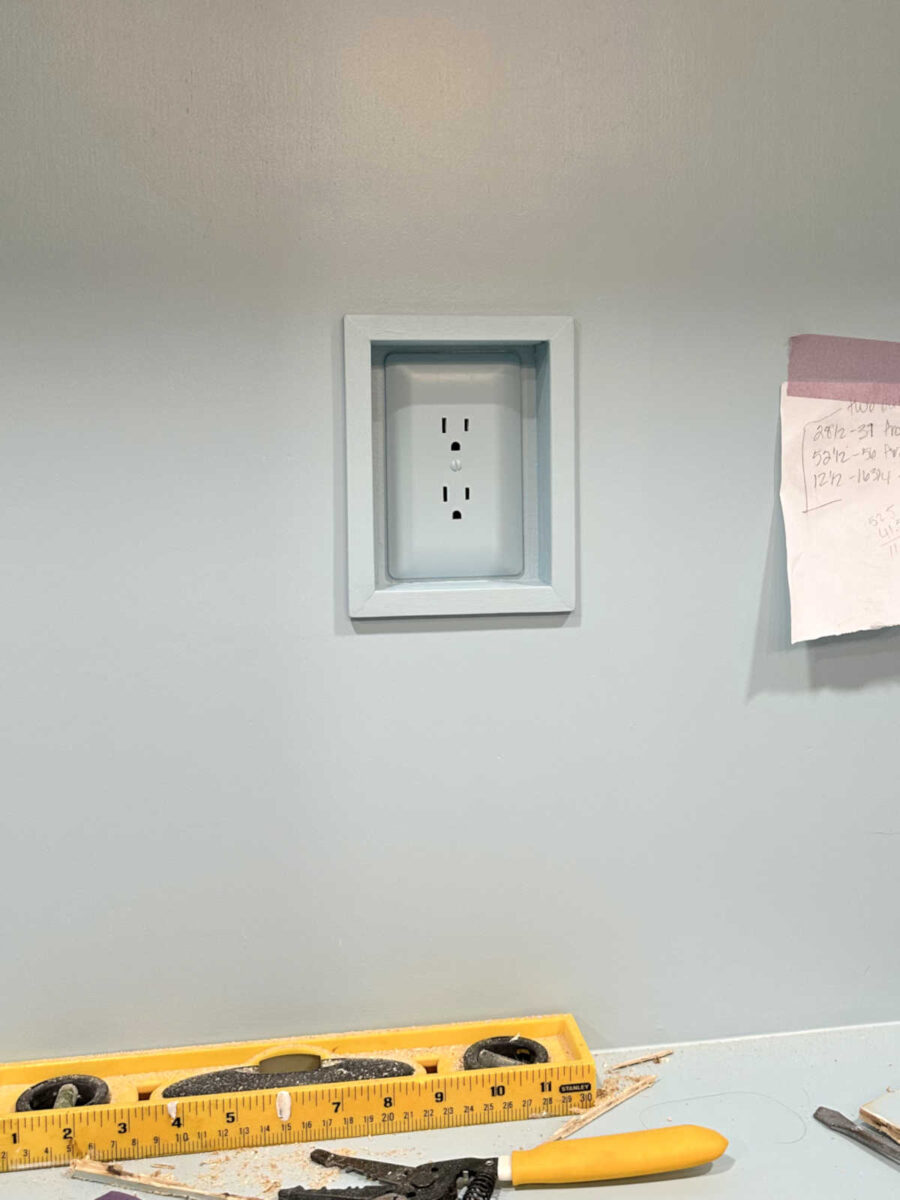
I really like that it’s set again from the cupboard like this. Since it is a part for hanging garments, I really feel prefer it’s safer having it recessed like that. So it labored out nice!
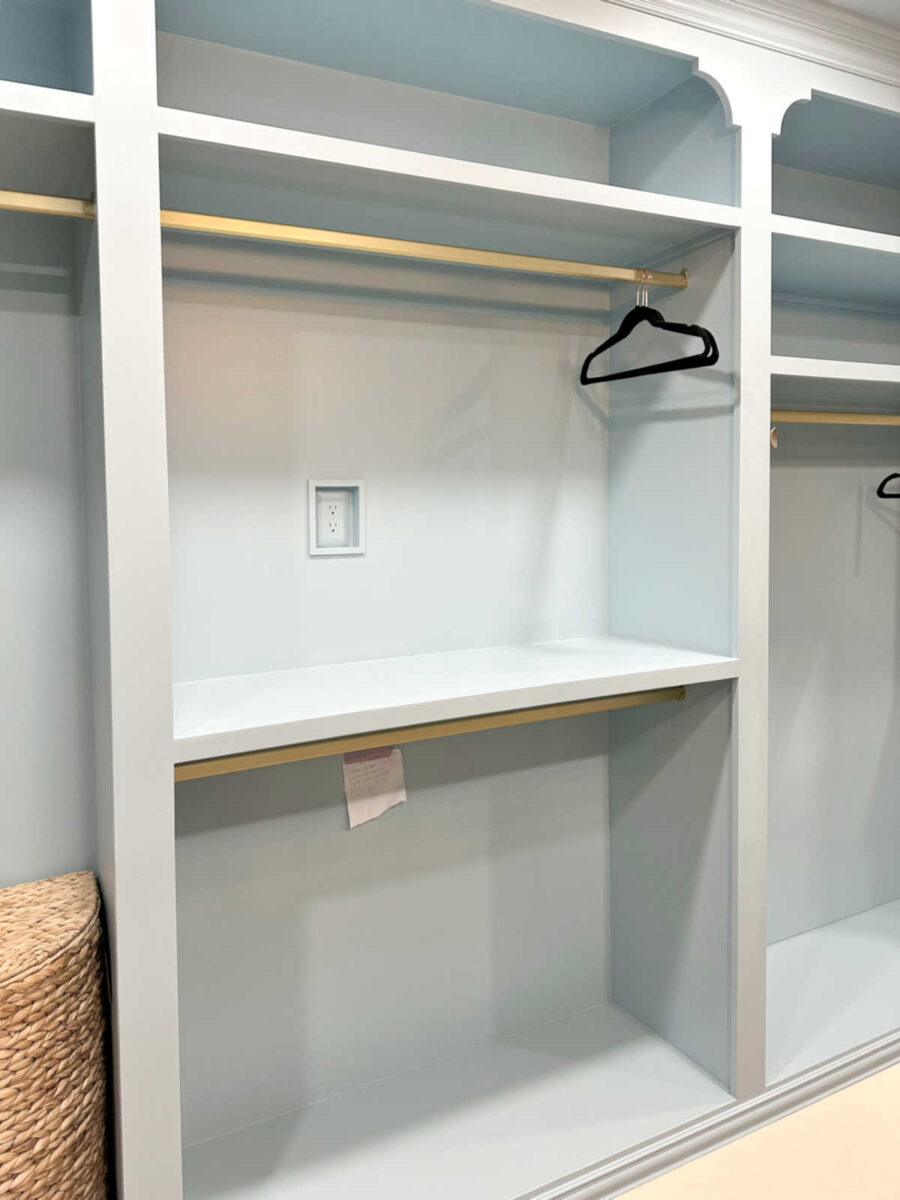
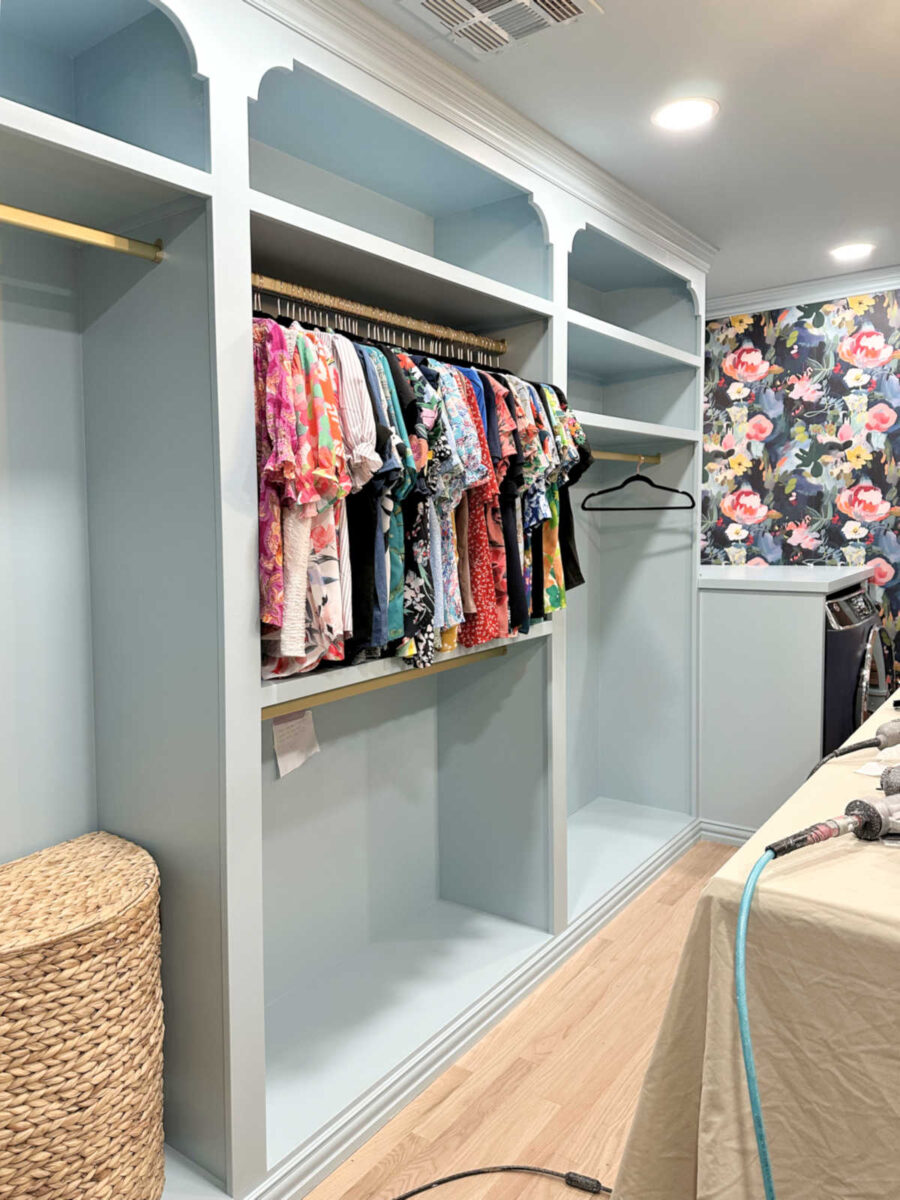
And as soon as that paint was dry, I might lastly begin bringing stuff in! I didn’t get very far with it, however I did get this part stuffed…
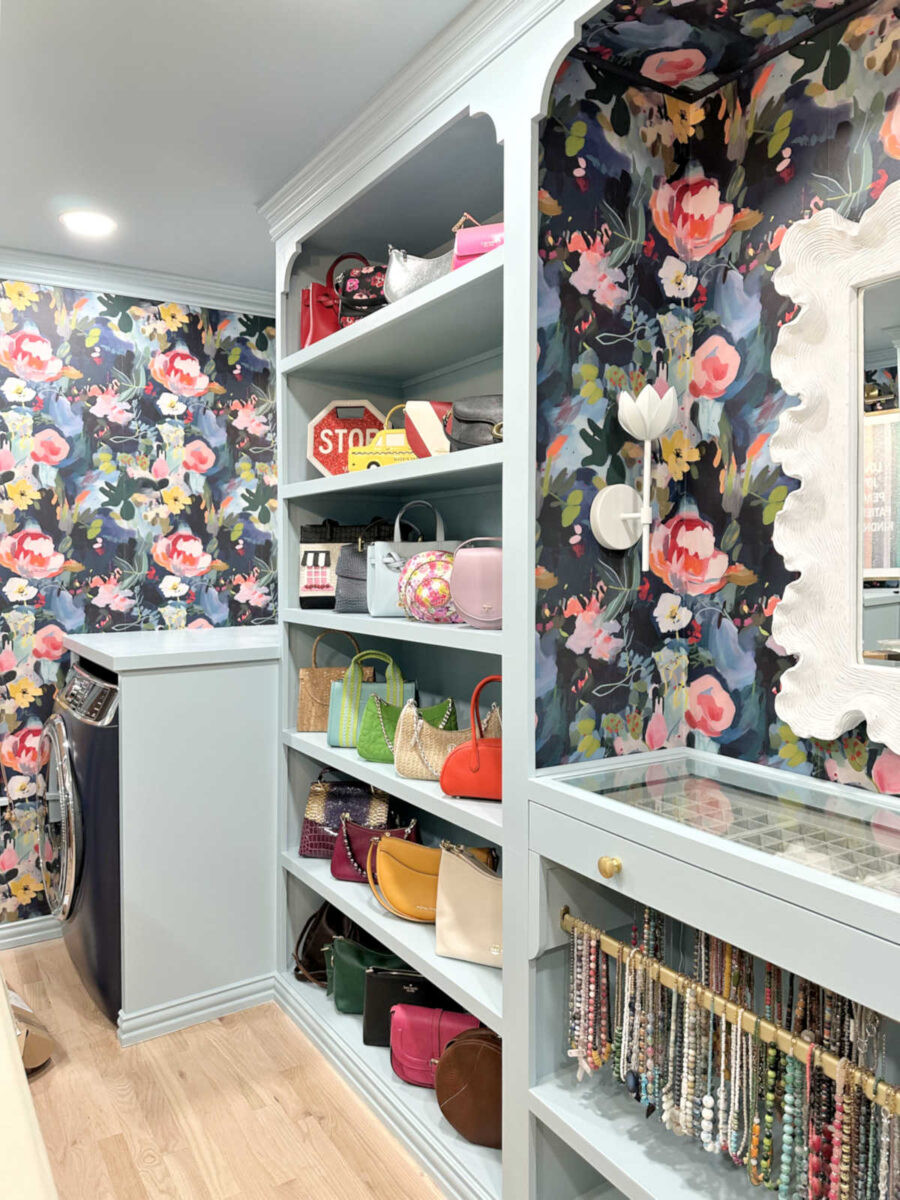
After which I introduced in all of my purses and acquired them organized.
So I’m inching my approach in direction of that end line, slowly however absolutely!
Extra About My Stroll-In Closet/Laundry Room

see all walk-in
closet diy tasks

learn all walk-in
closet weblog posts

Addicted 2 Adorning is the place I share my DIY and adorning journey as I transform and enhance the 1948 fixer higher that my husband, Matt, and I purchased in 2013. Matt has M.S. and is unable to do bodily work, so I do nearly all of the work on the home on my own. You can learn more about me here.
Trending Merchandise


![Rustic Grey Mason Jar Sconces for Home Decor, Decorative Chic Hanging Wall Decor Mason Jars with LED Strip Lights, 6-Hour Timer, Silk Hydrangea, & Iron Hooks for Home & Kitchen Decorations [Set of 2]](https://m.media-amazon.com/images/I/41DPf4UgGOL._SS300_.jpg)
